


04/3/19
XL-DV50H(H)_E.fm
E-37
ENGLISH
TINSZA007SJZZ
XL-DV50H
Radio
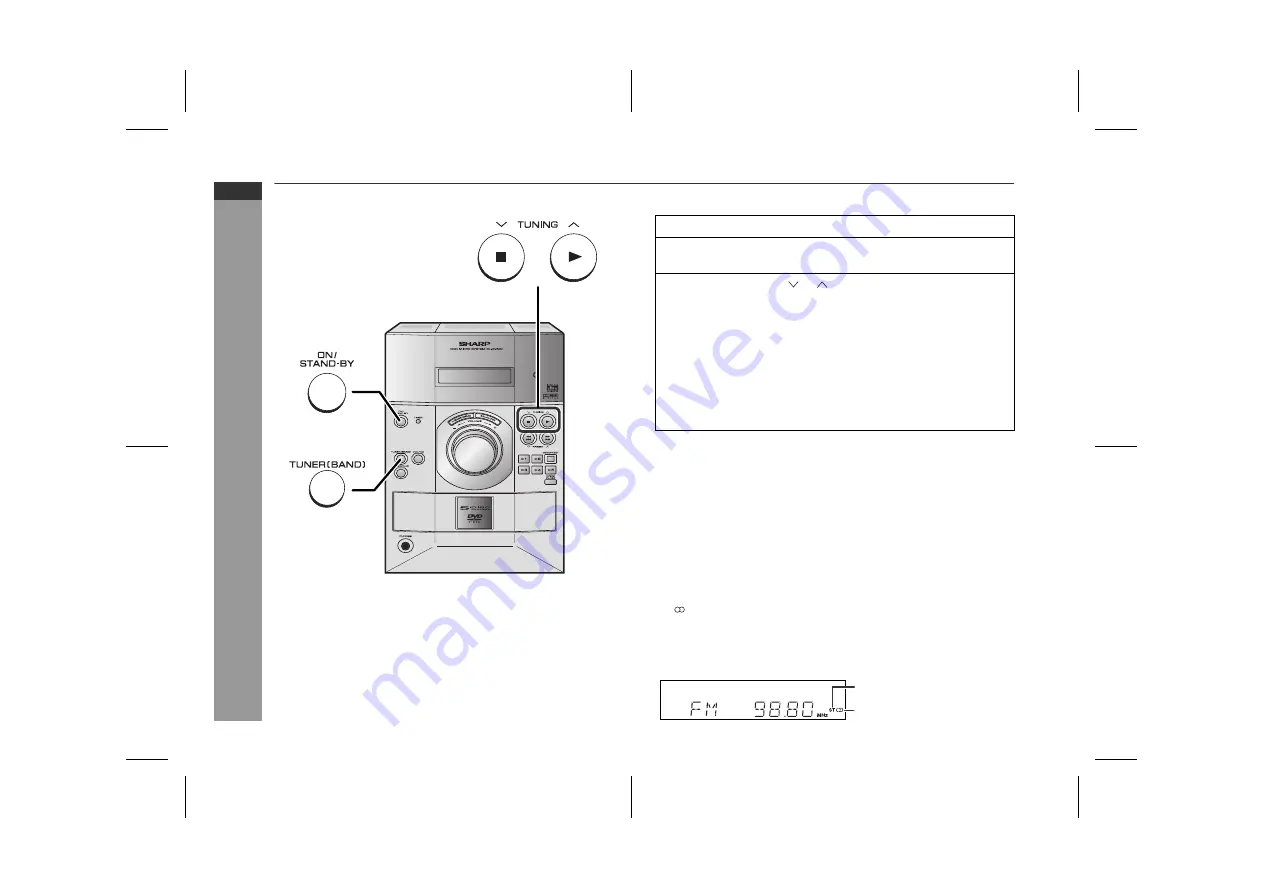
Listening to the radio
"
Tuning
Notes:
!
When radio interference occurs, auto scan tuning may stop auto-
matically at that point.
!
Auto scan tuning will skip weak signal stations.
!
To stop the auto tuning, press the TUNING button again.
!
When an RDS (Radio Data System) station is tuned in, the fre-
quency will be displayed first, and then the RDS indicator will
light. Finally, the station name will appear.
!
Full auto tuning can be achieved for RDS stations "ASPM", see
page 41.
To receive an FM stereo transmission:
Press the TUNER (BAND) button to display the "ST" indicator.
!
"
" will appear when an FM broadcast is in stereo.
!
If the FM reception is weak, press the TUNER (BAND) button to
extinguish the "ST" indicator. The reception changes to monau-
ral, and the sound becomes clearer.
1
Press the ON/STAND-BY button to turn the power on.
2
Press the TUNER (BAND) button repeatedly to select the
desired frequency band (FM or AM).
3
Press the TUNING ( or ) button to tune in to the desired
station.
Manual tuning:
Press the TUNING button as many times as required to tune in
to the desired station.
Auto tuning:
When the TUNING button is pressed for more than 0.5 sec-
onds, scanning will start automatically and the tuner will stop at
the first receivable broadcast station.
FM stereo mode indicator
FM stereo receiving indicator
Downloaded from:


