20
LC-26D4U
LC-32D4U
LC-37D4U
How to upgrade the software
1
Shut off the AC power (i.e. unplug the AC cord).
2
Insert the SD card for version upgrade (prepared as above) into the service socket located below left of the
right side cooling fan in the rear of the unit, in a way that the cut corner of the SD card comes at the right-
hand side.
Note: If the SD card is inserted in a wrong way, the card will go deep inside the unit beyond retrieval. Take due
care to insert the SD card correctly.
3
While depressing the SYSTEM RESET button located in the rear left side of the unit, turn on the AC power
(i.e. plug in the AC cord).
Note: After the unit is started, you may release the SYSTEM RESET button.
4
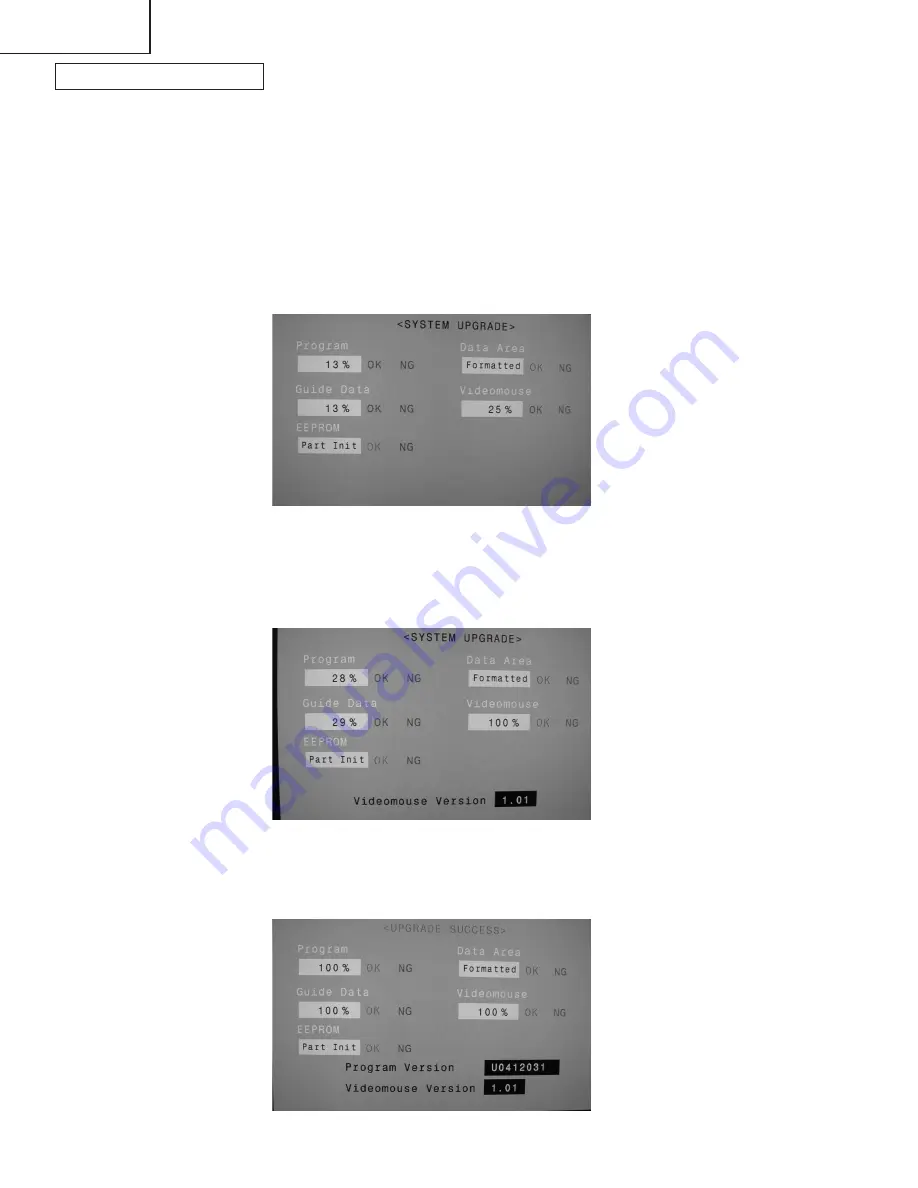
After the unit startup, the system upgrade screen as shown below appears within 20-40 seconds.
5
Even a single failure in the process will trigger the upgrade failure screen as shown below. The word "NG"
changes to red for the item failed.
Note: In the event of a failure, repeat the upgrading process. If the process repeatedly fails, it is likely that the
hardware is troubled.
6
Upon completion of the whole process, the upgrade success screen as shown below appears. You can
check the new software version on this screen. The version information appears after the upgrade is
complete.


