10
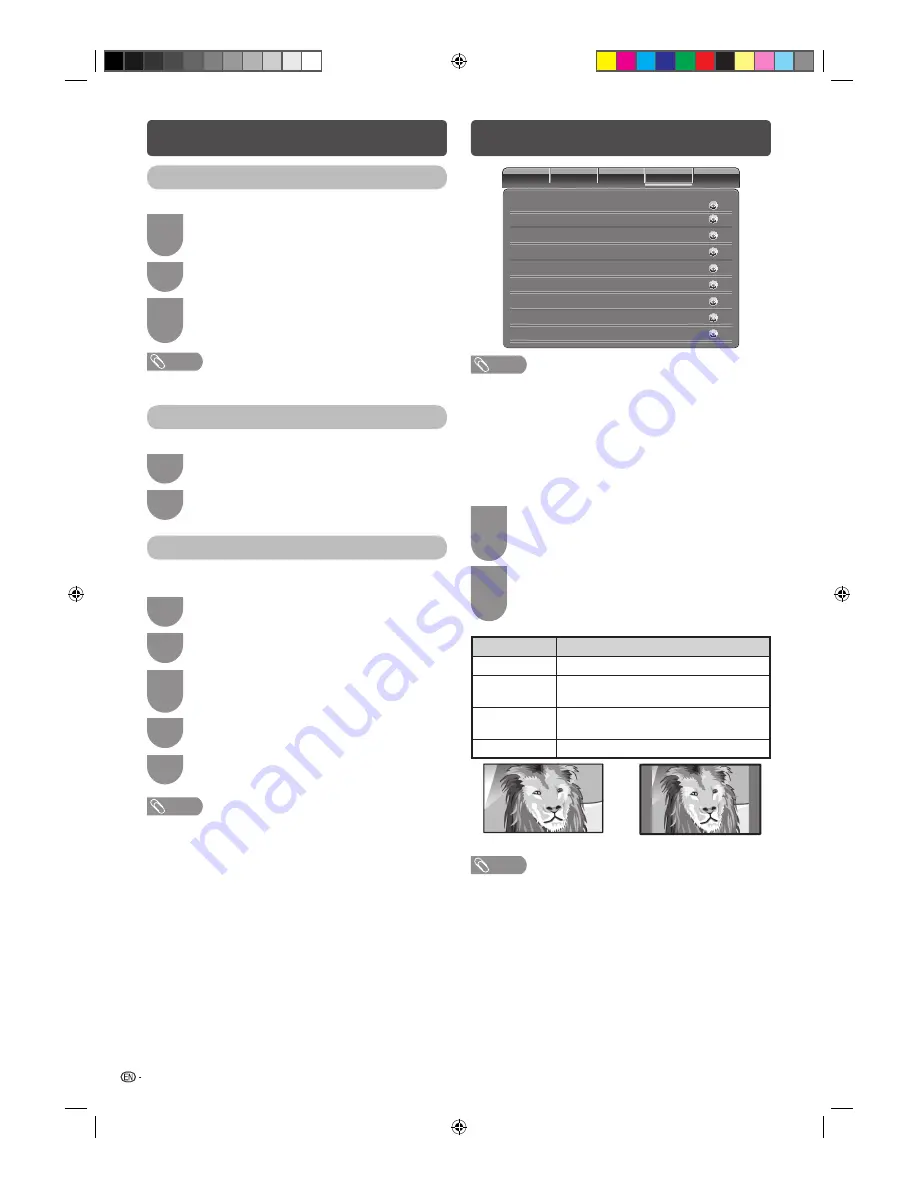
Setup menu
C
h
annels
Video
Audio
TV
Setup
Parental
Normal
On
Off
Disable
Screen Mode
DPMS
Blue Mute
No signal off
30min.
No operation off
Auto
Time Setup
Input Select
Off
PAP/PIP
English
OSD Language
NOTE
• The displayed menu items in Setup menu are different,
depending on the input or signal source.
H
OSD Language
Select from among 4 languages: English, Simplifi ed
Chinese, Persian and Arabic.
H
Screen Mode
You can select different picture sizes that account for
the kind of each picture.
1
Press
WIDE
.
• The SCREEN MODE menu displays.
• The menu lists the wide mode options selectable
for the type of video signal currently received.
2
Press
WIDE
or
c
/
d
while the Screen Mode
menu displays on the screen.
• As you toggle down the options, each mode is
immediately refl ected on the TV.
Selected item
Description
Full
Full screen for both 4:3 and 16:9 pictures.
Normal
Available for 4:3 pictures only. A side bar
appears on each side.
Panorama
In this mode the picture is progressively
stretched toward each side of the screen.
Auto
Automatically adjusts the picture size.
4:3 picture on “Panorama”
4:3 picture on “Normal”
NOTE
• Some picture sizes may not be displayable depending on
the input signal.
H
PAP/PIP
You can display dual pictures on the screen at one
time. You can select either dual picture mode the “PAP”
(Picture And Picture) or “PIP” (Picture In Picture).
H
DPMS (Display Power Management Signals)
You can set the TV to automatically power off when no
image is displayed on PC. (On, Off)
If no signal inputs for approximately 40 seconds, the
power off.
When you start using the PC and the signal inputs
again, the TV turns on.
TV menu (Continued)
Analogue Channel Fine Tune
You can adjust the frequency to your desired position.
1
Go to “MENU” > “TV” > “Channels” >
“Analogue Channel Fine Tune”, and then press
ENTER
.
2
Press
a
/
b
to select the channel you want
to fi ne tune, and then press
ENTER
.
3
Adjust the frequency by pressing
c
/
d
while checking the background picture as a
reference, and then press
ENTER
to set.
NOTE
• Analogue Channel Fine Tune is grayed out and unselectable
in DTV mode.
Clear Channel List
Channel list will be reset to clear.
1
Go to “MENU” > “TV” > “Channels” > “Clear
Channel List”, and then press
ENTER
.
2
Press
c
/
d
to select “OK”, and then press
ENTER
.
Colour System (ATV only)
You can change the colour system to one that is
compatible with the image on the screen.
1
Go to “MENU” > “TV” > “Channels”> “Channel
Scan”, and then press
ENTER
.
2
Press
a
/
b
to select “Colour System”.
3
Press
c
/
d
to select the optimum colour
system to receive. (Auto, PAL, SECAM,
NTSC3.58, NTSC4.43, PAL-60)
4
Press
ENTER
.
5
Press
c
/
d
to select “OK”, and then press
ENTER
.
NOTE
• If “Auto” is selected, colour system for each channel is
automatically set. If an image does not display clearly, select
another colour system (e.g. PAL, NTSC4.43).
LC24LE430X_EN.indb 10
LC24LE430X_EN.indb 10
7/19/2011 9:38:13 AM
7/19/2011 9:38:13 AM
Summary of Contents for Aquos LC-24LE430X
Page 2: ...LC24LE430X_EN indb 2 LC24LE430X_EN indb 2 7 19 2011 9 38 04 AM 7 19 2011 9 38 04 AM ...
Page 24: ...Memo LC24LE430X_EN indb 22 LC24LE430X_EN indb 22 7 19 2011 9 38 17 AM 7 19 2011 9 38 17 AM ...
Page 25: ...Memo LC24LE430X_EN indb 23 LC24LE430X_EN indb 23 7 19 2011 9 38 17 AM 7 19 2011 9 38 17 AM ...
Page 26: ...Memo LC24LE430X_EN indb 24 LC24LE430X_EN indb 24 7 19 2011 9 38 17 AM 7 19 2011 9 38 17 AM ...
Page 27: ...LC24LE430X_EN indb 25 LC24LE430X_EN indb 25 7 19 2011 9 38 17 AM 7 19 2011 9 38 17 AM ...


