Using the SKM 9000
86 |
Digital 9000
Using the SKM 9000
Switching the SKM 9000 on/off
To switch the SKM 9000
on
:
왘
Keep the
ON
/
OFF
button
pressed until the Sennheiser logo
appears on the display panel
.
The
ON
/
OFF
button
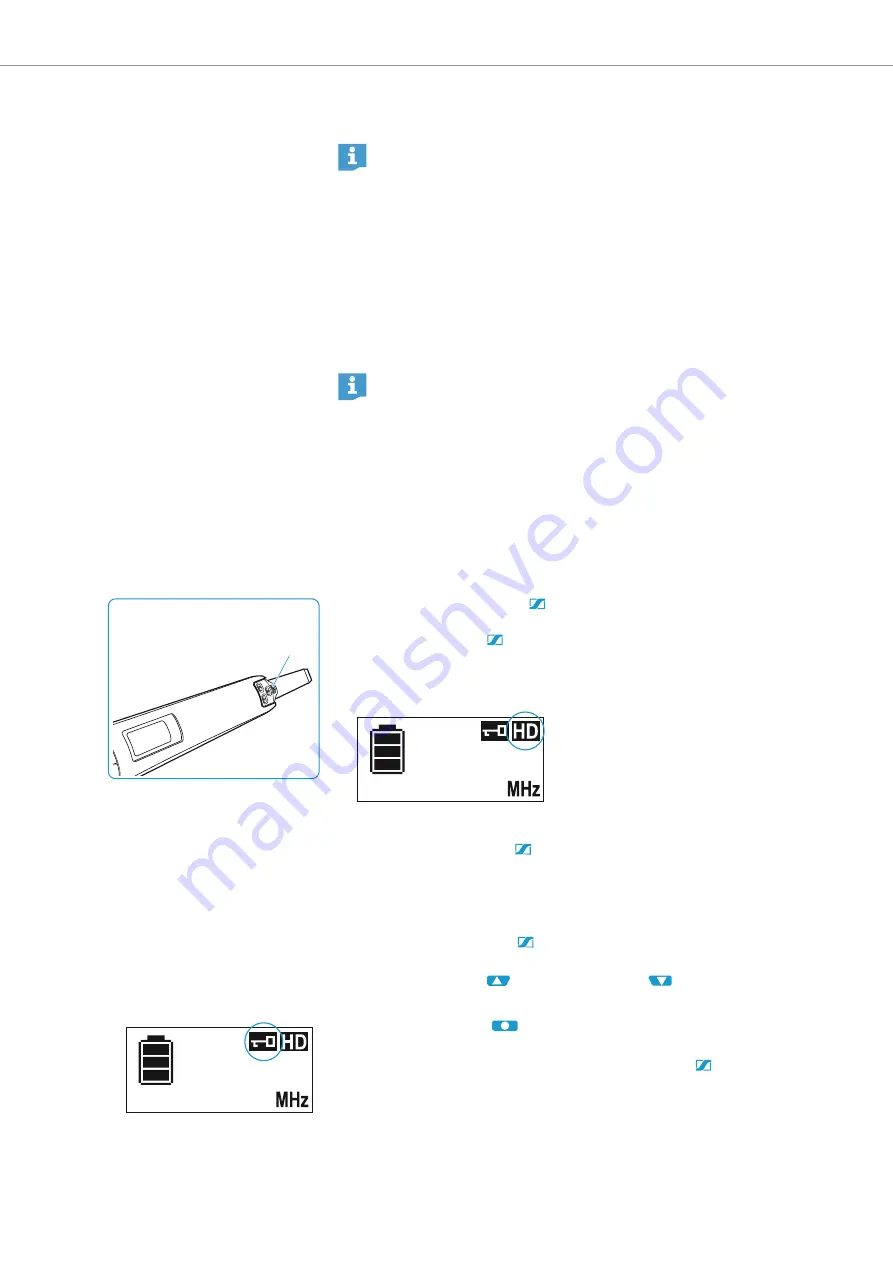
is backlit in blue and the standard display
(here: “
Frequency
”, see page 90) appears on the display panel
. The
radio microphone transmits an RF signal and the transmission mode
display “
HD
”/“
LR
”
lights up constantly:
To switch the SKM 9000
off
:
왘
Keep the
ON
/
OFF
button
pressed until the display panel goes off.
왘
Remove the accupack/battery pack when the radio microphone will not
be used for extended periods of time (see page 40).
To switch the SKM 9000
off
with
the lock mode activated
:
왘
Press the
ON
/
OFF
while the standard display is shown.
“
LOCK
” appears on the display panel because the lock mode is activated.
왘
Press the
UP
button
or
the
DOWN
button .
“
UNLOCK
” appears on the display panel.
왘
Press the
SET
button .
The lock mode is temporarily deactivated, the lock mode icon
왘
Within the next 2 seconds, press the
ON
/
OFF
button
and keep it
pressed until the display panel goes off.
왘
If you switch on the SKM 9000, the lock mode is activated again.
Before
using your radio microphone, ask the relevant wireless regu-
latory authority for the exact frequency allocations and apply for an
individual license if necessary.
The supplied supplement “Framework requirements and restrictions
on frequency usage in Europe” provides an overview of the different
European framework requirements and restrictions on frequency
usage. If there is no entry in the supplement, ask the relevant wire-
less regulatory authority for the current rules governing frequency
usage.
When the SKM 9000 is switched on for the first time, it contains the
first frequency preset of the transmitter frequency range (e.g. A1.1:
470.200 MHz). Via the “
ch
” menu of the EM 9046 receiver, set the
desired frequency preset and adjust the settings of other menu
items and then synchronize the transmitter and the receiver (see
page 76). In doing so, all frequency presets of the transmitter fre-
quency range will be transfered to the SKM 9000.
We recommend you to always adjust the transmitter settings via
the EM 9046 receiver and then to synchronize the transmitter and
the receiver.
B
3:59
480.000
3:59
480.000
Summary of Contents for Digital 9000
Page 1: ...System instruction manual WSM Digital 9000 Digital 9000 ...
Page 2: ......
Page 6: ......
Page 12: ......
Page 32: ......
Page 50: ......
Page 86: ......
Page 94: ......
Page 102: ......
Page 103: ...Using the L 60 Using the L 60 Digital 9000 ...
Page 106: ......
Page 110: ......
Page 111: ...Digital 9000 109 If a problem occurs If a problem occurs If a problem occurs Digital 9000 ...
Page 129: ......


