6 EN
EN
Revision 05/2021
Copyright © 2021, Fast ČR, a. s.
2.1. Glass mount
Insert the unit carefully with this groove (“rail”) all the way into the mount on car
glass or other suitable smooth surface. Installing the mount on the car glass (if soft
transparent foil is attached to the piston, remove the foil before installation):
Release the mount’s soft piston (move the lift lever away from the piston). Choose
a place with a camera view that does not obstruct the driver's view. Place the soft
piston on smooth, clean and degreased glass surface inside the car cab. Move
the lift lever all the way up to the mount body. The soft piston will thus create
underpressure to hold both mount and camera firmly in place.
Insert the camera on the mount (in the groove). Loosen the joint locking nut slightly
and adjust the camera in the desired direction. Then tighten the nut slightly.
Also, make a couple of test recordings with different resolutions and camera
positions to match the result to your expectation. When OK, tighten the camera joint
locking nut slightly.
CAUTION: Do not use excessive force when handling and working with the
mount and the camera. Both parts are very lightweight and are not exposed
to any mechanical stress during operation.
2.2. Battery and charging instructions
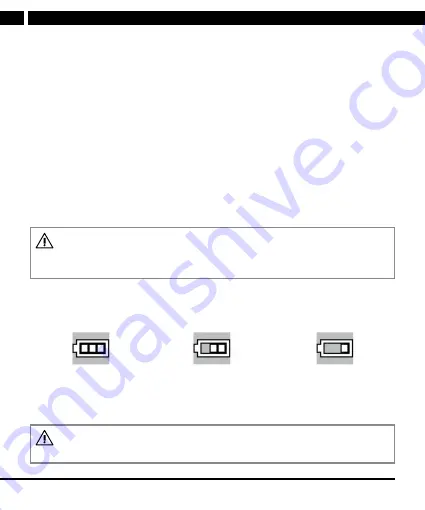
Battery charge indicator:
Full
Almost full
Weak
Power supply options: car adapter, PC USB port, external power adapter (supplied
separately).
CAUTION: Use only 5V power supply, other voltage values could damage
the unit.


