


17
Figure 2-7 Login screen of the UPSLink Web Management
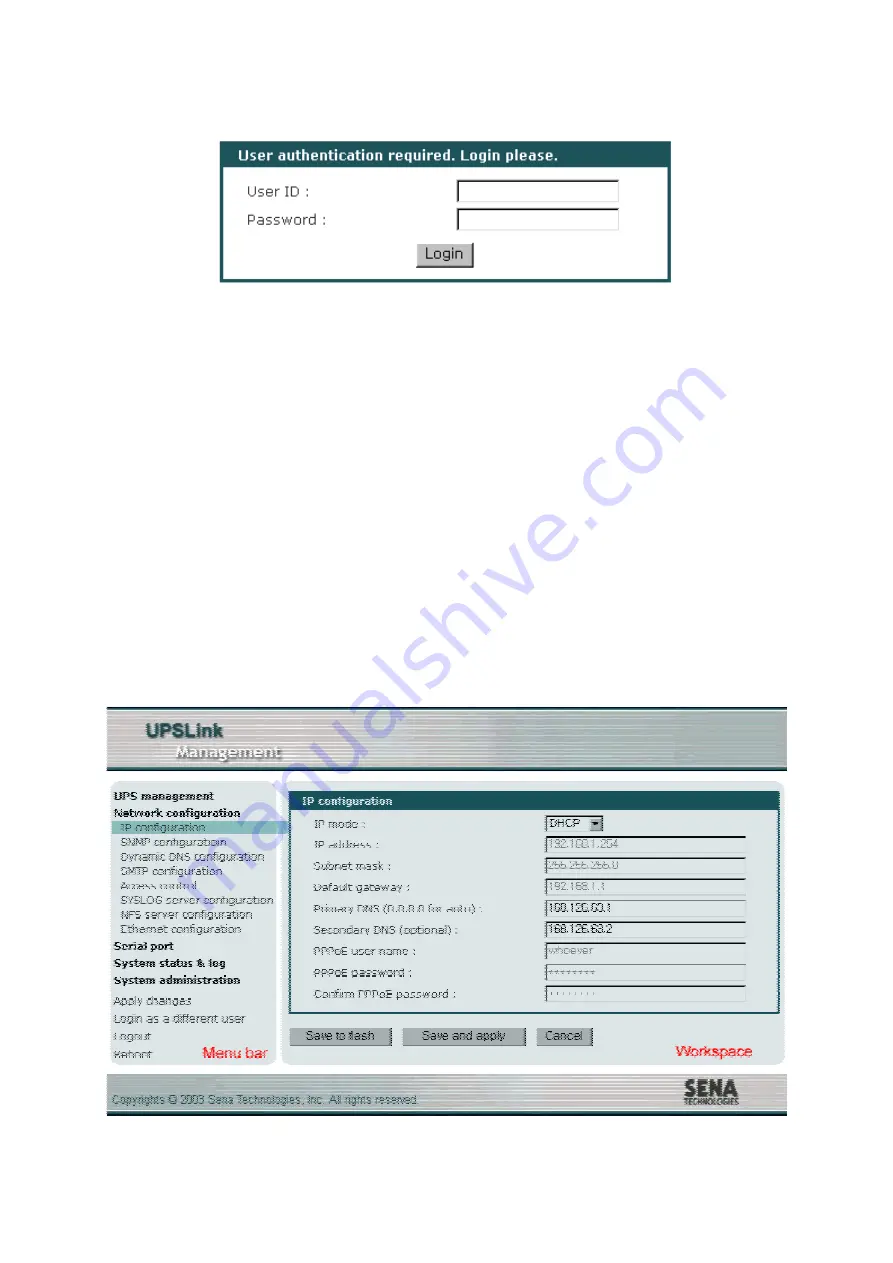
Figure 2-8
shows the user homepage of the UPSLink Web management interface. A menu bar is
provided on the left side of the screen. The menu bar includes the uppermost configuration menu
groups. Selecting an item on the menu bar opens a tree view of all the submenus available under
each grouping. Selecting a submenu item will allow the user to modify parameter settings for that
item. Every page will allow users to [Save to flash], [Save and apply] or [Cancel] their actions. After
changing the configuration parameter values, the users must select [Save to flash] or [Save and apply]
to save the changed parameter values to the non-volatile memory. To apply all changes immediately,
select [Save and apply] option. This option is available on the bottom of the menu bar. Only after a
user clicks on the [Apply changes] option on the bottom of the menu bar, the new parameter values
that were saved but not applied yet will be applied to the UPSLink configuration.
If a user does not want to save the new parameter values, the user must opt for [Cancel]. All
changes will be lost and the previous values restored.
Figure 2-8 The UPSLink Web Management screen


