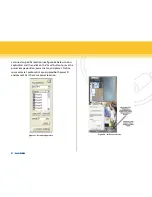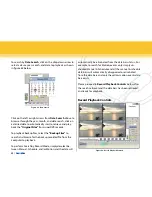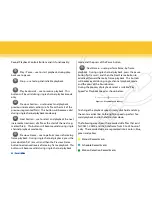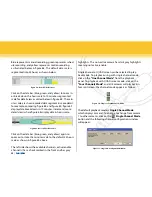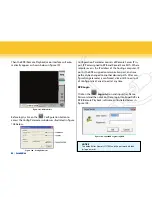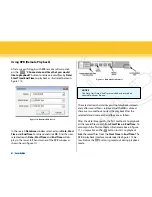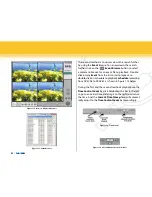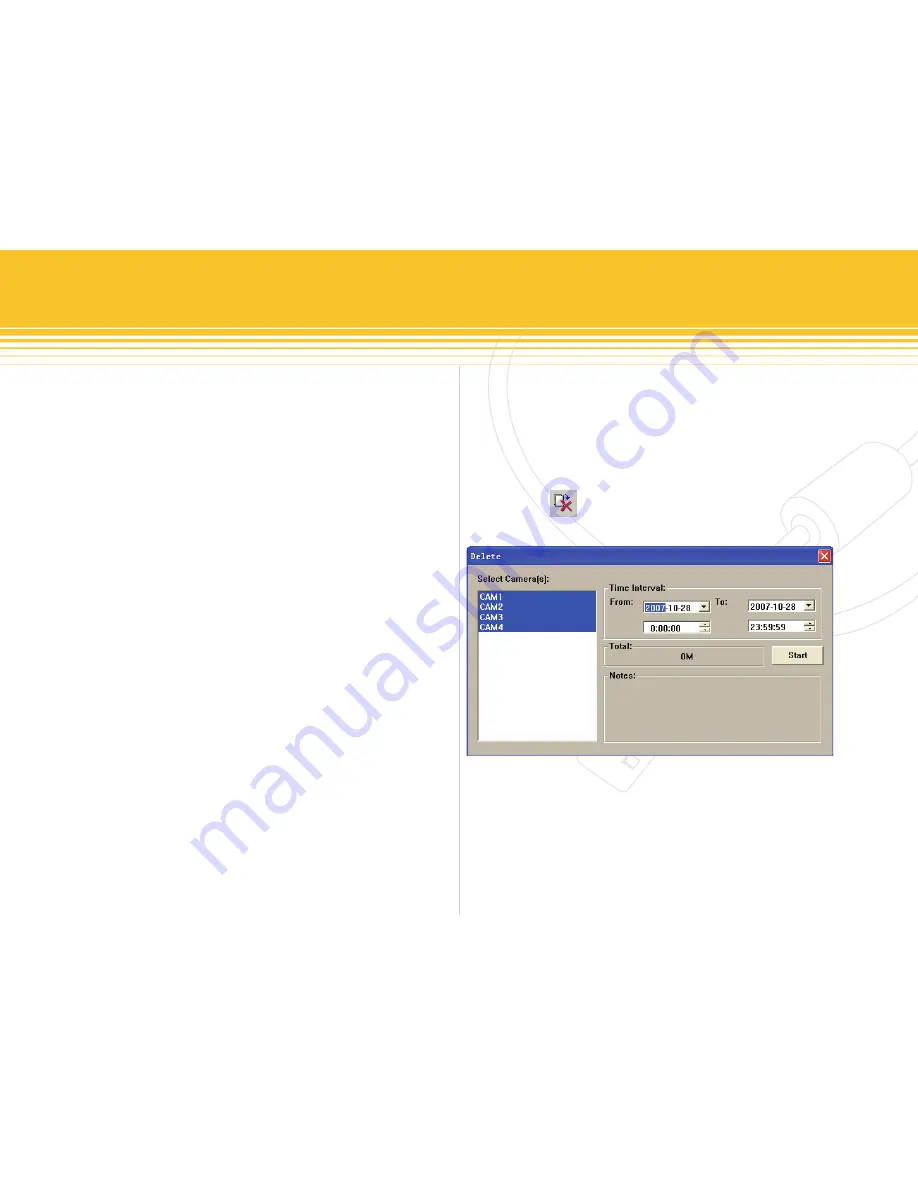
Figure 74 - Delete recorded files
47 | SecurityMan
varies depending on the number of camera(s) and time
interval selection (automatically calculated). Define
the save to path and/or select option to attach the
playback software as needed and
“Start”
to start the
backup process.
D:
•
Information – A message/note pad providing back-
up status information, i.e.
“operation finished suc-
cessfully.” “oK.”
Etc.
Start by selecting the corresponding cameras on the left
side. To select single camera to backup click on that cam-
era, select alternative cameras hold down the
“Ctrl”
key on
the keyboard and click to select/deselect any
Camera1~4
combination, select all 4 cameras by holding down the
“Shift”
key on the keyboard and click on
“Camera1”
and
then click on
“Camera4”.
And the
“Total”
number of
megabyte will automatically altered accordingly to the
number of cameras selected.
Adjust and change the
“Time Interval”
to a desired
“From”
and
“To”
date/time. Select the
“Copy To”
where
to backup the files to, i.e. local hard drives, local partitions,
CDROM, or Network drives. Click on the
“browse”
button
to browse for another location path to backup other than
the default path. Place a check mark on the
“attach ap-
plication”
to include the playback software/application
with the file backup for convenient playback. Finally, click
on the “
Start”
button to start the backup procedure, this
may vary depending on the total size of megabyte select-
ed.
“operation Finished Successfully”
will appear in red
when backup is complete.
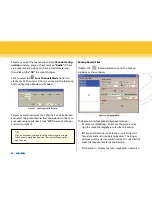
Delete Record Files
Click on the Delete button to enter the delete win-
dow as illustrated in the window below:
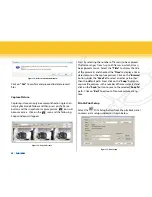
To
“Delete”
record files, select the channel on the left side,
select start time/date and end time/date of the record files,
and then click on the
“Start”
button to process delete
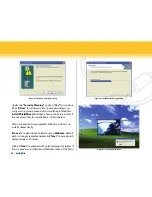
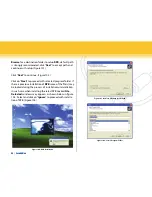
record files (automatically calculates the number of items
and megabytes to be deleted), the following confirmation
windows will appear:


