326
2
Search
type
Here you can select to search the picture or the recorded file.
You can select to play from the read-write HDD, from peripheral device or from
redundancy HDD.
Before you select to play from the peripheral device, please connect the
corresponding peripheral device. You can view all record files of the root directory
of the peripheral device. Click the Browse button; you can select the file you want to
play.
Check the box here; you can enable splice playback function. Please refer to
chapter 4.7.1.4 for detailed information.
Important
Redundancy HDD does not support picture backup function, but it
supports picture playback function. You can select to play from redundancy
HDD if there are pictures on the redundancy HDD.
3
Calendar
The blue highlighted date means there is picture or file. Otherwise, there is no
picture or file.
In any play mode, click the date you want to see, you can see the
corresponding record file trace in the time bar.
4
Playback
mode
and
channel
selection
pane.
Playback mode:1/4/9/16/customized. (It may vary due to different series.)
In 1-window playback mode: you can select 1-16 channels.
In 4-window playback mode: you can select 4 channels according to your
requirement.
In 9-window playback mode, you can switch between 1-8 and 9-16 channels.
In 16-window playback mode, you can switch between1-16 and 17-32
channels.
In customized mode, you can select one or more channel(s) you want to
playback at the same time. See chapter 4.7.1.4.
The time bar will change once you modify the playback mode or the channel
option.
5
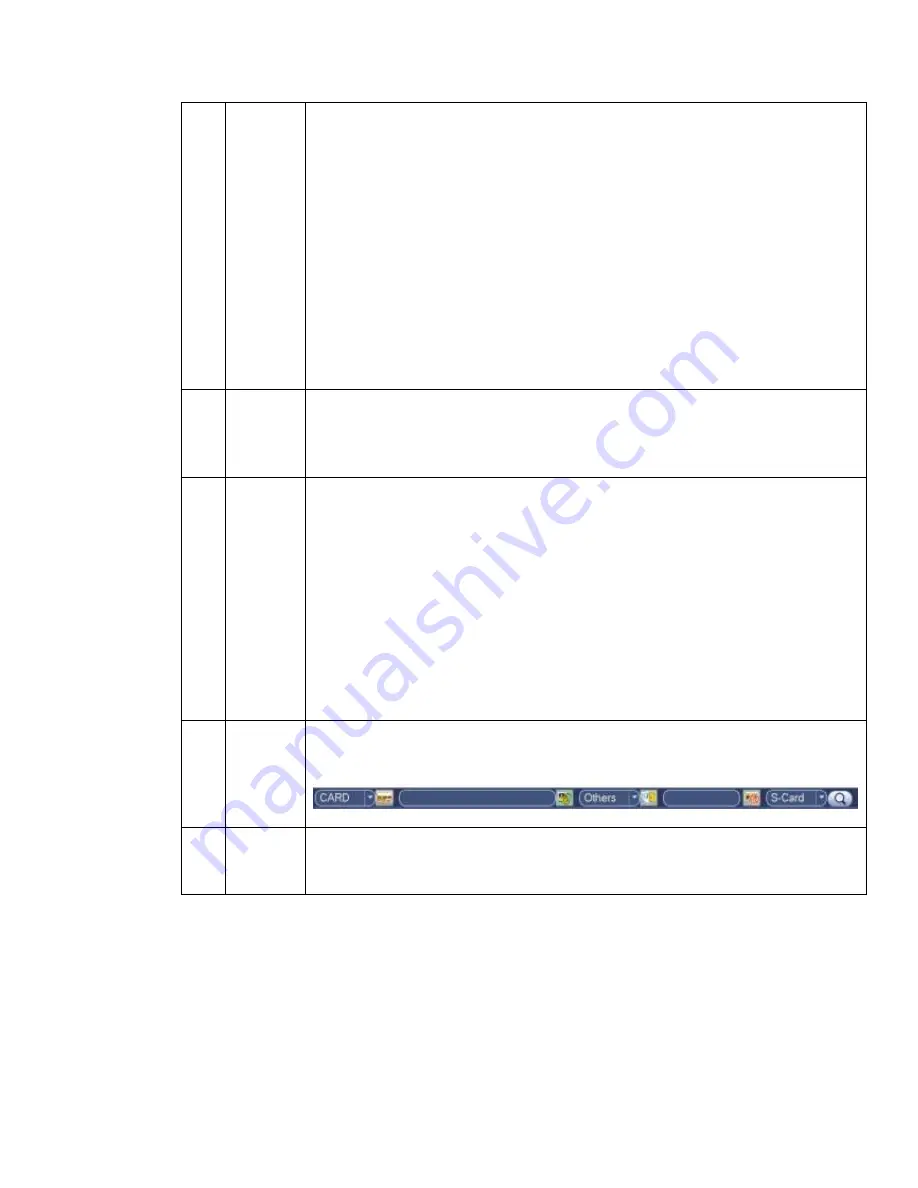
Card
number
search
The card number search interface is shown as below. Here you can view card
number/field setup bar. You can implement advanced search.
6
Mark file
list button
Click it to go to mark file list interface. You can view all mark information of current
channel by time. Please refer to chapter 4.7.1.3 for detailed information.
Please note only the product of this icon supports mark function.
Summary of Contents for PENDVR-EL8M4K
Page 1: ...PENDVR EL8M4K ELITE SERIES...
Page 19: ...247 2 3 Connection Sample...
Page 127: ...363 restore original status Figure 4 115 Figure 4 116 4 9 1 3 1Upgrade Camera...
Page 150: ...386 Figure 4 137 Figure 4 138...
Page 165: ...401 Figure 4 153 Step 2 Draw the zone 1 Click Draw button to draw a zone See Figure 4 154...
Page 171: ...407 Figure 4 157 Figure 4 158...
Page 172: ...408 Figure 4 159 Figure 4 160...
Page 173: ...409 Figure 4 161 Figure 4 162...
Page 176: ...412 Figure 4 165 Figure 4 166...
Page 177: ...413 Figure 4 167 Figure 4 168...
Page 183: ...419 Figure 4 177 Figure 4 178 4 9 4 1 2 2 Trigger Snapshot...
Page 185: ...421 Figure 4 180 Figure 4 181 4 9 4 1 2 3 Priority...
Page 191: ...427 Figure 4 186 Figure 4 187...
Page 196: ...432 Figure 4 193 Figure 4 194...
Page 282: ...518 Figure 5 69 Figure 5 70...
Page 298: ...534 device Figure 5 86 Figure 5 87...
Page 304: ...540 Figure 5 94 Figure 5 95...
Page 305: ...541 Figure 5 96 Figure 5 97 Please refer to the following sheet for detailed information...
Page 332: ...568 Figure 5 136 Note For admin you can change the email information See Figure 5 137...


