6
Please refer to chapter 1.3 Live, chapter 2 Playback
,
Chapter 3 Setup, chapter 4 Alarm, chapter 5 Log
out for detailed information.
Figure 1-8
1.7
Video Window Function Option
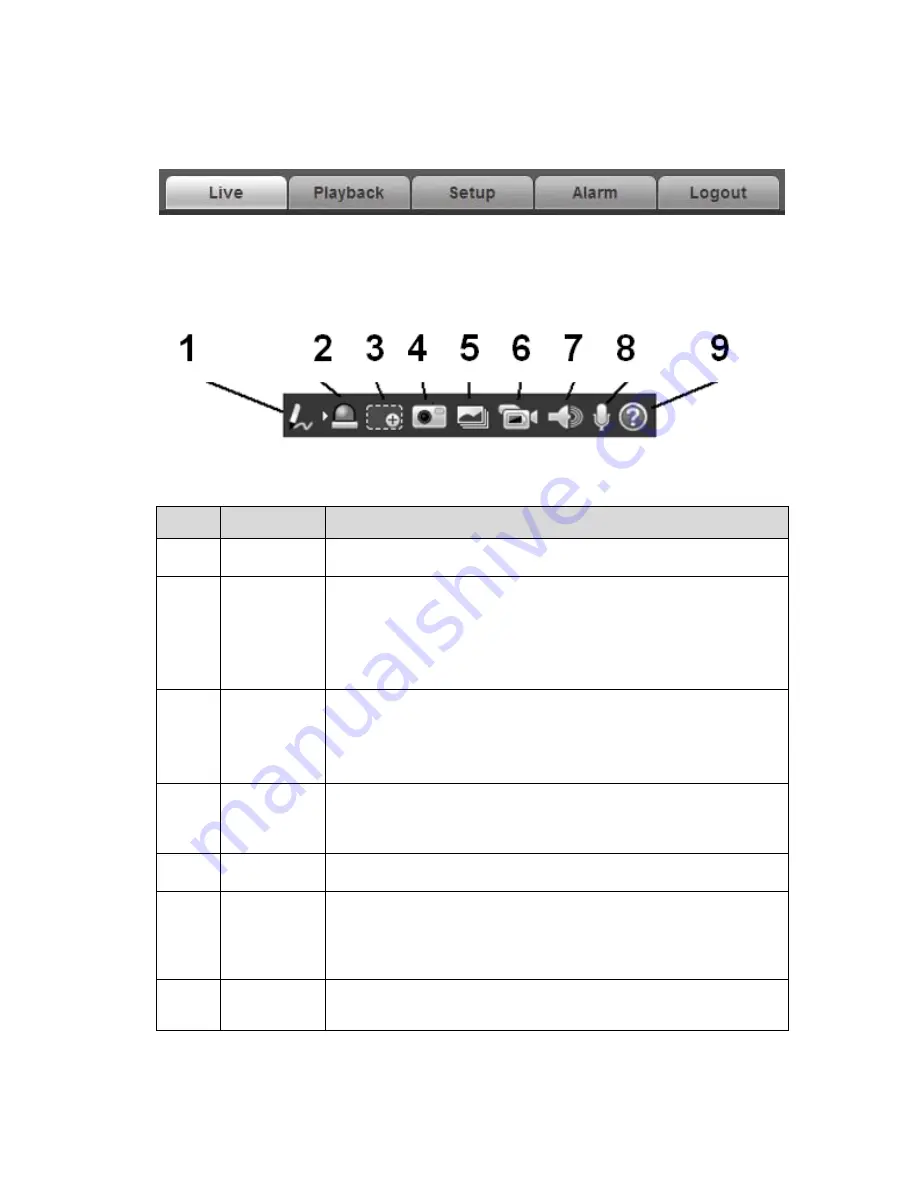
The interface is shown as below. See Figure 1-9.
Figure 1-9
Please refer to the following sheet for detailed information.
SN
Parameter
Function
1
Remark
Click it and then select pen color, you can write down the
mark information on the preview interface.
2
Alarm
output
Click it to generate an alarm output and the button becomes
red. Click it again to stop alarm output.
There is only one alarm output icon since this series product
supports one relay output.
Please note the alarm output interface may vary due to
different series products.
3
Digital
zoom
When video is in original status, click this button you can
select any zone to zoom in. After zoom in ,you can drag the
zoom in area in the specified area. Right click mouse system
restores original status. You can use the wheel to zoom out
the video.
4
Snapshot
You can snapshoot important video.
You can go to Setup->Camera->Video->Path to modify the
local record save path.
5
Triple snap
Click it, system can snap at 1f/s for three times. All images
are memorized in system storage folder.
6
Record
When you click local record button, the system begins
recording.
You can go to
Setup->Camera->Video->Path
to modify the
local record save path.
7
Audio
output
Turn on or off audio when you are monitoring.
You can go to Setup->Camera->Audio to set.


