www.seagullmodels.com
9
3) Peel off the backing from the self adhe-
sive covering strip. Apply the strip to the centre
section of the wing starting from the bottom
trailing edge. Wrap the strip all the way around
the wing until it meets the trailing edge again.
Trim off any excess strip.
Carefully slide the two wing halves together
and firmly press them together, allowing the
excess epoxy to run out. There should not be
any gap in the wing halves. Use rubbing
alcohol and a paper tower to clean up any
excess epoxy.
Apply masking tape at the wing join to hold
the wing halves together securely.
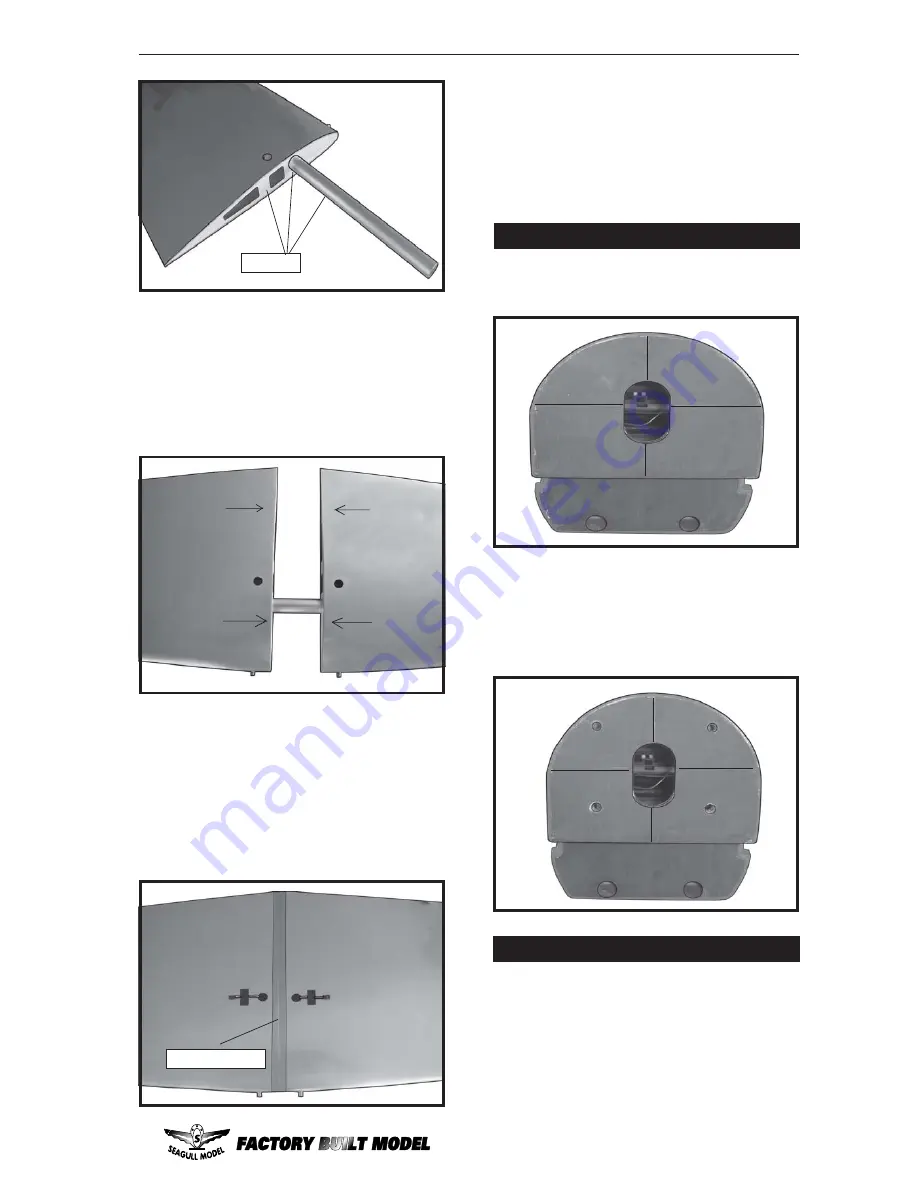
2) Remove the brace when satisfied with
its fit ineach wing half. Coat the dihedral brace
with 30 minute epoxy. Next, pour some epoxy
into the dihedral box in one wing panel. Make
sure you cover the top and bottom as well as
the sides of the dihedral brace.Use enough
epoxy to fill any gaps.
Masking tape.
1) Install the pushrod housing through the
predrilled hole in the firewall and into the servo
compartment. The pushrod housing should
protrude 1/4" out past the front of the firewall.
Make a Z-Bend 1/4" from one end of the plain
wire pushrod.
MOUNTING THE ENGINE.
Epoxy.
see pictures below.Make yourself the
template of your engine on paper.
ENGINE INSTALLATION.
1) Line up the template with the firewall
thrust line.
2) Engine mouting holes after marking with
the template.Insert the blind nuts (not inclued).


