USB2200a Technical Manual
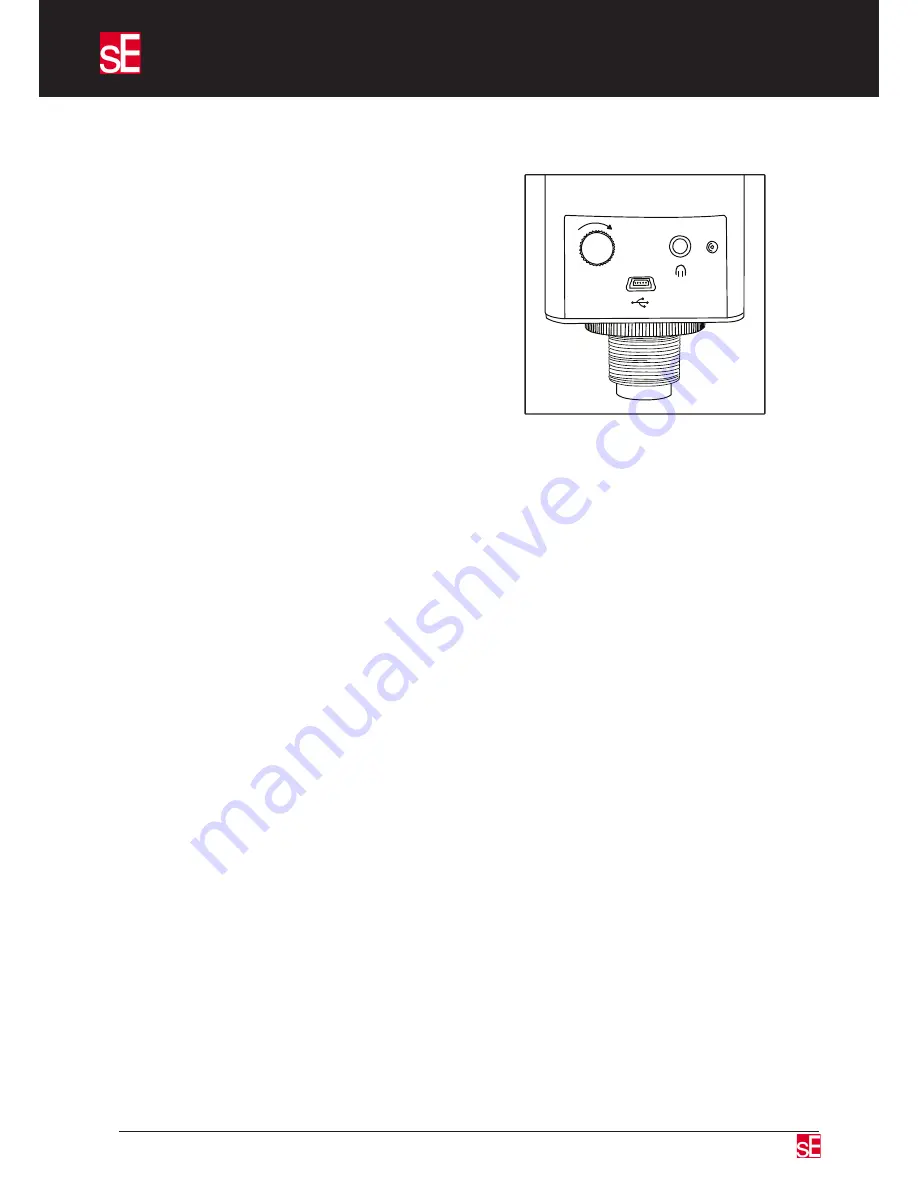
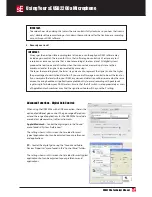
Balance Control:
This control sets the headphone volume of the microphone
capsule. The playback volume of the DAW software is
adjusted in your audio software’s main stereo mix output
control. Once your playback volume is set you can then vary
the direct output from the mic capsule until the desired
balance is achieved. As the microphone signal is monitored
at source, there is no audible delay as may be the case
when monitoring via audio software. To avoid hearing an
echo (due to both the direct microphone sound and DAW
monitored version being audible at the same time), mute or
turn down the monitor level for the track being recorded
within your DAW software or switch off software monitoring
in your DAW software.
Where your DAW has adequately low latency and you wish to hear some plug-in effects while
recording, use your DAWs software monitoring facility and set the microphone balance control to fully
DAW only. You can then adjust the mix of what you hear within your DAW in the usual way.
USB Port:
Use the supplied USB cable to connect the sE USB2200a to the USB port of your computer. We
recommend where possible that you connect your sE USB2200a directly to the computer rather than
via a hub as the data bandwidth may be inadequate if other devices are operating at the same time.
For applications requiring a longer USB cable, a USB extension cable can be used and found at most
computer supply stores.
Headphone Jack:
accepts a standard 3.5mm stereo jack for feeding personal headphones or earphones. Using a suitable
adaptor cable, it may also be connected to the line (aux) input of a stereo sound system for playback
over loudspeakers.
XLR Socket:
Accepts a standard balanced microphone cable and standard 48 Volt phantom power must be
supplied when using the microphone in analogue mode. Never use unbalanced cables as they cannot
supply the Phantom power required by the mic. Note: If phantom power is not provided, there will be
no output.
Analogue Use
1.
Connect to your mixer or microphone preamplifier via a balanced XLR cable and switch on the
phantom power after connecting the microphone.
2.
Position the microphone using the integral swivel stand mount and set up a pop screen if
recording vocals.
3.
While speaking or performing into the microphone, adjust the input gain of your mixer or
microphone preamplifier until the signal meter in your DAW software shows peak level of around
-10dB. This is high enough to maintain optimal audio quality while leaving adequate safety margin
(headroom) in case of unexpected level increases. Once the gain is set, you are ready to record as
you would with any conventional studio microphone.
Using Your sE USB2200a Microphone


