26
3.6.1 Calibration procedure
(cont.)
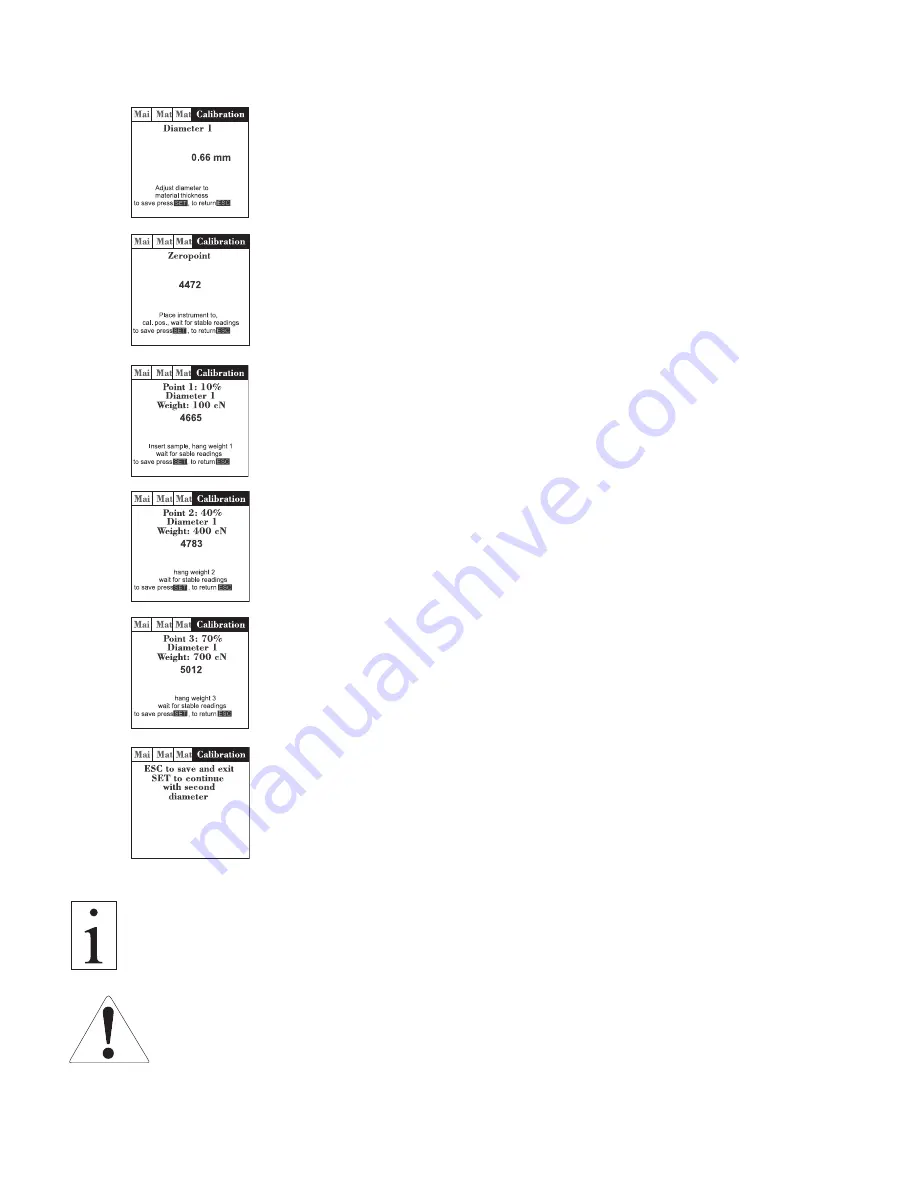
Step 2:
Set the diameter
This step is only required for tension meters with a material thickness
compensator
Step 3:
Perform a zero adjustment with the tension meter in its measuring
position
Step 4:
Calibrate calibration point 1
Insert material to be measured
Step 5:
Calibrate calibration point 2
Step 6:
Calibrate calibration point 3
Step 7:
Exit the calibration process or calibrate a second diameter. In this
case, continue with step 2.
By calibrating a second diameter, you can define a material thickness range to be
used for the material, e.g. 0.1 - 0.3 mm.
Therefor the tension meter can be used for a diameter range instead of a specific
diameter only
Once you have completed the calibration, make sure to verify it as described
in chapter 3.6.2. In case of a large deviation, repeat the calibration or select
different calibration points.


