MVPHD-24 Operations Manual Version 0.9.0 page 33 of 74
October 26, 2020
Menu:
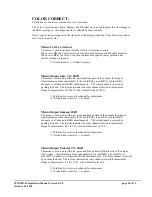
Load Buffer #1 from SD Card:
This menu is used to load a still image into BUFFER #1 from the SD/MMC memory card.
The image currently contained in the buffer is displayed in bold.
Use the Knob (rotate) or +/- buttons to select desired still image.
Once selected, push on the knob to load the still image.
Note: any image can be effectively erased from a buffer by loading a “<blank>” image
to that buffer. “<blank>” may be selected by rotating the knob counter-clockwise until
it appears. Blanking may be performed without a SD/MMC Memory Card present.
Menu:
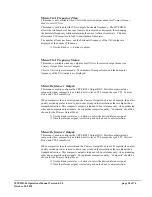
Load Buffer #2 from SD Card:
This menu is used to load a still image into BUFFER #2 from the SD/MMC memory card.
The image currently contained in the buffer is displayed in bold.
Use the Knob (rotate) or +/- buttons to select desired still image.
Once selected, push on the knob to load the still image.
Note: any image can be effectively erased from a buffer by loading a “<blank>” image
to that buffer. “<blank>” may be selected by rotating the knob counter-clockwise until
it appears. Blanking may be performed without a SD/MMC Memory Card present.
Menu:
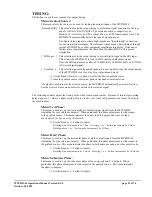
Load Buffer #3 from SD Card:
This menu is used to load a still image into BUFFER #3 from the SD/MMC memory card.
The image currently contained in the buffer is displayed in bold.
Use the Knob (rotate) or +/- buttons to select desired still image.
Once selected, push on the knob to load the still image.
Note: any image can be effectively erased from a buffer by loading a “<blank>” image
to that buffer. “<blank>” may be selected by rotating the knob counter-clockwise until
it appears. Blanking may be performed without a SD/MMC Memory Card present.
Menu:
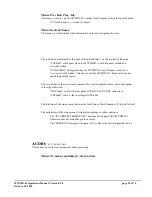
Load Buffer #4 from SD Card:
This menu is used to load a still image into BUFFER #4 from the SD/MMC memory card.
The image currently contained in the buffer is displayed in bold.
Use the Knob (rotate) or +/- buttons to select desired still image.
Once selected, push on the knob to load the still image.
Note: any image can be effectively erased from a buffer by loading a “<blank>” image
to that buffer. “<blank>” may be selected by rotating the knob counter-clockwise until
it appears. Blanking may be performed without a SD/MMC Memory Card present.
Menu:
Save Output Image to SD Card:
This menu is used to capture an image from the MVPHD-24’s output, and save it to the SD/MMC
Card. A suggested name for the image is provided, which can be edited.
Use the + or – buttons to move the cursor within the image name.
Use the Knob (rotate) to change the character where the cursor is located.
Hint: pushing on the knob will jump the selected character to either ‘A’, ‘a’, ’_’, or ‘0’.
Press both + and – together to capture the output image and save it to the SD/MMC
Card with the suggested or edited name.


