SBC SBC-420 User Manual Download Page 19

34

35

ADDITIONAL

ADDITIONAL

ADDITIONAL FEATURES

DIRECTORY

PROGRAMMING THE FEATURE KEYS

Ten FEATURE keys can store twenty names and phone numbers or commonly used CENTREX or
other telephone company features. These one touch dial locations can be programmed and
dialed by pressing the desired FEATURE key and/or SHIFT key.

Maximum capacities: name - 16 characters; number - 32 digits.

Write the information you want to store on the FEATURE key index card before your perform the
programming steps below.

(empty)

*:edit

NOTE:

If the FEATURE  key is not empty, press ERASE
twice to delete the existing name and number.

2 .

Press the “

” key to begin entering the

name.

(Enter name)

SPD#: save?

3 .

Press the appropriate keypad key to
toggle through the letters and numbers
associated with that key (For example-
press the number “5” key to toggle
among the letters “J”, “K” and “L”, and
the number “5”).

GARY BIXBY
(Enter Number)

SPD#: save?

GARY BIXBY
5551212

Saved!

1 .

Press the desired FEATURE key.  If you are
programming the “second” memory
locations, press SHIFT followed by the
FEATURE key.

4 .

When the desired letter appears, press the

 button to manually move to the next

character. Pressing the   button twice will
insert a space.

5 .

Press SAVE when the name is complete.

DIALING USING THE FEATURE KEYS

1 .

Go off hook.

2 .

Press the desired FEATURE key. To dial the “second” memory, press SHIFT followed by the
FEATURE key.

6 .

Enter the telephone number using the
numeric keypad.

7 .

Press the FEATURE key again when done.
If you are programming the “second”
memory, press SHIFT followed by the
FEATURE key to finish.

8 .

A confirmation ring will sound.

NOTE:

If you make a mistake while entering a name or
number, use the   button to backspace and
erase.

DELETING AN INDIVIDUAL DIRECTORY RECORD

1 .

Press DIRECTORY.

2 .

Locate the desired record using the 

▲▼

 buttons or by jumping.

3 .

Press ERASE.

4 .

The screen will prompt 

ERASE: erase?

5 .

Press ERASE to confirm or END to abort.

DELETING ALL DIRECTORY RECORDS

1 .

Press DIRECTORY.

2 .

Immediately press ERASE without scrolling through the individual records.

3 .

The screen will prompt 

ERASE: all?

4 .

Press ERASE to confirm or END to abort.

DELETING DIRECTORY RECORDS

The 420 allows the number stored in the Last Number Redial memory to be transferred to the
Directory.

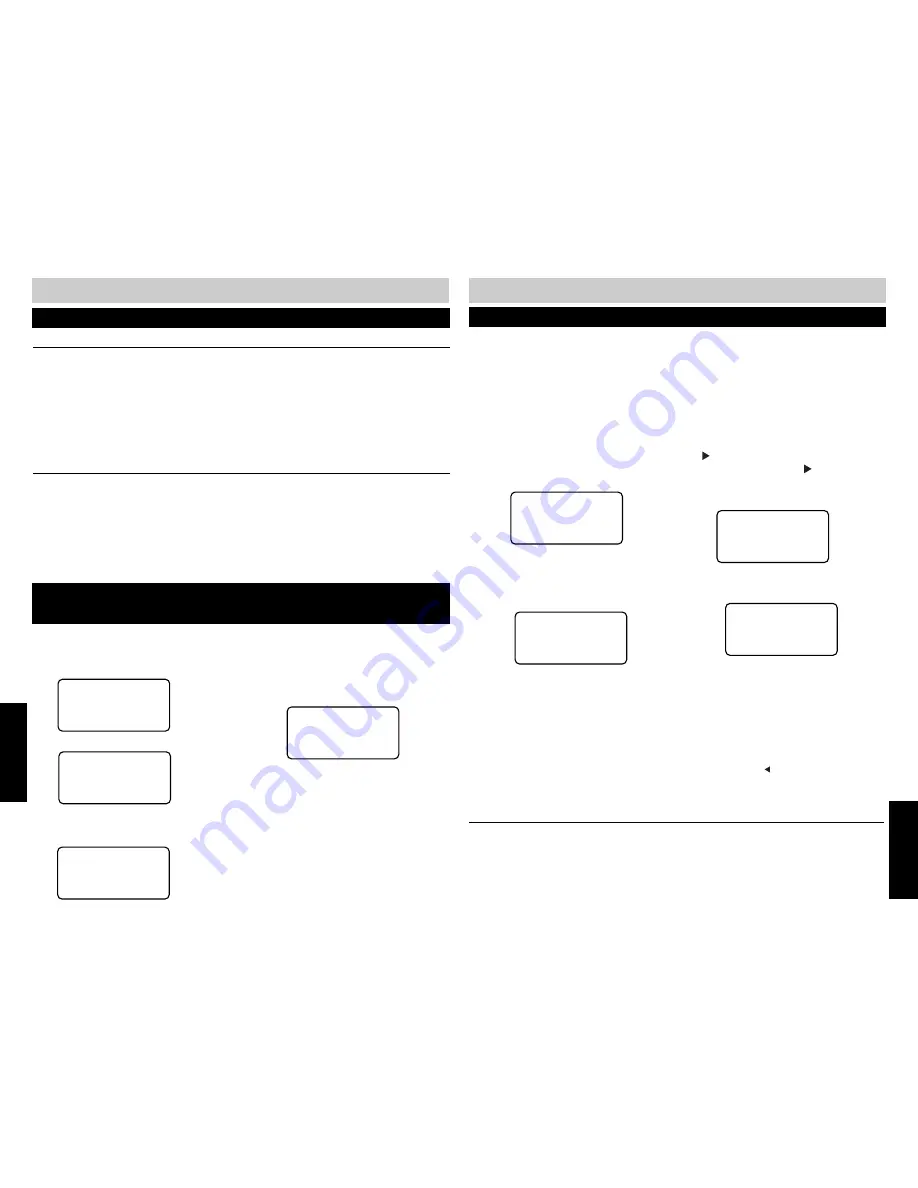
TRANSFERRING A NUMBER FROM LNR

(LAST NUMBER REDIAL) TO THE DIRECTORY

1 .

Press DIRECTORY.

DIRECTORY

2 .

Press SAVE to enter the Program mode.

(Enter Name)

SAVE:save?

3 .

Enter the name, then press SAVE to
proceed.

GARY BIXBY
(Enter number)

SAVE:save?

4 .

Press REDIAL to copy the phone number
from the LNR. A confirmation tone will
sound.

GARY BIXBY
5551212

SAVE:save?

5 .

Edit the phone number if you wish, then
press SAVE to finish.

DIRECTORY

ADDITIONAL

Summary of Contents for SBC-420

Page 1: ...5156 2006 Grace DigitalInc All rights Reserved SBC is a trademark of AT T Knowledge Ventures L P Licensed to Grace DigitalInc In case of difficulities visit our service center at www sbctelephones co...

Page 2: ...Reminder 19 Programming Area Codes 19 Resetting the 420 20 TELEPHONE OPERATION New Call Message Waiting Indicator 21 Voice Mail 21 Turning the Message Waiting Indicator Off 21 Line Status Indicators...

Page 3: ...s 32 Deleting an Individual Caller ID Record 32 Deleting All Caller ID Records 32 DIRECTORY Directory 32 Creating a New Directory Entry 32 Transferring a Caller ID Record to the Directory 33 Locating...

Page 4: ...tures page 25 HEADSET Answer or make calls without lifting the handset page 36 HOLD Places or releases a call on hold page 24 INTERCOM Call other 420 stations without using an outside line LCD BACKLIT...

Page 5: ...7...

Page 6: ...his process will take about 8 seconds 5 The initial display will appear The default extension ID is 22 CONNECTING THE TELEPHONE cont 01 01 01 01A EXT 22 CID 000 000 NOTE If you are using a single cabl...

Page 7: ...d advance to AM PM 11 Use the buttons to select AM or PM 12 Press SAVE to accept your settings and advance to DAY OF WEEK 13 Use the buttons to select the correct day 14 Press SAVE to accept your sett...

Page 8: ...o enter 5 Use the buttons to select the ringer type As you scroll through the types a sample of the actual ringer will be heard L1 RINGER TYPE Type 2 Programmed L1 RINGER TYPE Type 2 select SAVE 6 Pre...

Page 9: ...e button to enter 5 Use the buttons to turn the line on or off L4 USAGE Off select SAVE 6 Press SAVE to accept the setting 7 The LINE IN USE INDICATOR for the line will stop flashing and will not reli...

Page 10: ...in the PROGRAM mode press the button until the following screen appears LINE GROUP select enter LINE GROUP L04 select SAVE 2 Press the button to enter 3 Use the buttons to change the LINE GROUP LINE G...

Page 11: ...6 sec select SAVE 2 Press the button to enter FLASH TIME 0 8 sec select SAVE FLASH TIME 0 8 sec Programmed 3 Use the buttons to change the setting 4 Press SAVE to accept the setting CHANGING HOLD REMI...

Page 12: ...oice Mail PROGRAMMING TELEPHONE TURNING THE MESSAGE WAITING INDICATOR OFF The light and display indication can be turned OFF manually in the PROGRAM MODE MSGW LIGHT select enter L1 MSGW LIGHT select e...

Page 13: ...the line is in use the line will not be seized RECEIVING TELEPHONE CALLS If you subscribe to Call Waiting and a call is received on a line in use for another call you will hear a beep to indicate the...

Page 14: ...A CALL ON HOLD 1 Press HOLD 2 The LINE INDICATOR will flash regular to indicate that the call is on Hold TO RELEASE A CALL ON HOLD 1 Press the flashing LINE button or pick up another phone on the sam...

Page 15: ...you to bridge a call between any two lines to establish a 3 way conference call 1 Initiate the first call 2 Place the first call on HOLD 3 Initiate the second call 4 Press CONFERENCE You will now be t...

Page 16: ...ion 1 Press PAGE to answer You can use the speakerphone headset or handset to converse 2 To end simply hang up NOTE Only one extension can answer a system wide page at a time PAGING A SINGLE EXTENSION...

Page 17: ...420 between the first and second ring NOTE If you answer a call before the second ring the Caller ID information might not be displayed Call Waiting Caller ID records will not be displayed or logged d...

Page 18: ...RD 1 Press CALLER ID 2 Locate the desired Caller ID record using the buttons 3 Press ERASE 4 The screen will prompt ERASE erase 5 Press ERASE to confirm or END to abort DIRECTORY The 420 will store up...

Page 19: ...USING THE FEATURE KEYS 1 Go off hook 2 Press the desired FEATURE key To dial the second memory press SHIFT followed by the FEATURE key 6 Enter the telephone number using the numeric keypad 7 Press the...

Page 20: ...ure the coiled handset cord is plugged into the HANDSET jack not the HEADSET jack See pg 7 Intercom Paging Signal Not Received Make sure you have programmed your extension number correctly Line 1 must...

Page 21: ...ur phone These devices can interfere with the system s data links Operation During a Power Failure A 9 volt battery must be installed for power failure operation See pg 36 No Call Waiting Caller ID In...

Page 22: ...Off select SAVE DELAY RING Off Programmed DELAY RING 02 sec select SAVE DELAY RING 02 sec Programmed Maximum Delay Ring 30 sec PROGRAMMING TREE L3 L4 L3 L4 MSGW LIGHT select enter L1 MSGW LIGHT select...

Page 23: ...r LINE GROUP L04 select SAVE LINE GROUP L04 Programmed LINE GROUP L15 select SAVE LINE GROUP L15 Programmed LINE GROUP PRV select SAVE LINE GROUP PRV Programmed AUTO MUTE select enter AUTO MUTE On sel...

Page 24: ...problem with this unit the telephone company may ask you to disconnect this equipment from the network until the problem has been corrected or you are sure that the equipment is not malfunctioning 6 R...

Page 25: ...t Amplification 0dB to 12dB 4 levels The unit is hearing aid compatible Design and specifications are subject to change without notice Feature Specifications UZ635AT Caller ID with Call Waiting Type 2...

Page 26: ...roduct damage 6 Slots and openings in the cabinet and the back or bottom are provided for ventilation To protect it from overheating these openings must not be blocked or covered by placing the produc...

Reviews: