Page:12
3
.
6
—
Command 1
0
: Enable Daylight Savings Time
In order to implement Daylight Savings Time (DST) features, you must enable the DST feature. Once the DST
features have been enabled, the lock will automatically update the time to match the settings that were entered with
the 03
–
05 commands. All DST options must be setup before the DST feature can be enabled. DST can be configured
before the initialization process or after bank mode has been enabled. LMS will use Standard Time for code generation.
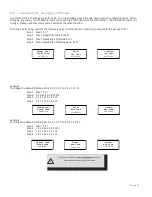
To enable the DST features, perform the following steps:
Step 1
Enter: 1 0 *
Step 2
Enter: 8-digit Programmer PIN Code (00)#
♪♪♪♪♪
Step 3
Enter: 1 # (to enable) or 0 # (to disable)
♪♪♪
Step 4
Enter: 1 # (to enable) or 0 # (to disable)
♪♪♪
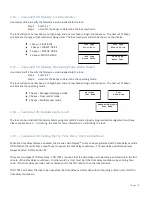
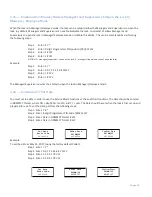
DST ON / Off
Enter Code
********
ENABLE DST
1-ON 0-OFF
CONFIRM DST
1-ON 0-OFF
Example
To enable the DST features (using the factory default Codes):
Step 1 Enter: 1 0 *
Step 2 Enter: 0 0 1 2 3 4 5 6 #
♪♪♪♪♪
Step 3 Enter: 1 #
♪♪♪
Step 4 Enter: 1 #
♪♪♪
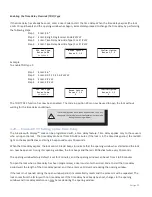
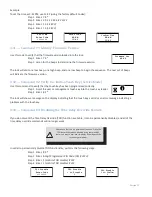
DST ON / Off
Enter Code
********
ENABLE DST
1-ON 0-OFF
1
CONFIRM DST
1-ON 0-OFF
1
3
.
7
—
Command 11: Set Date
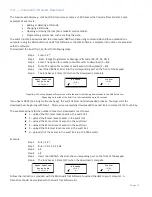
You must set the date to use Service Mode or audit trail functions. The date should be entered in DDMMYY format, where
DD = day, MM = month, and YY = year. The Date should be set before initializing the lock. To set the date, perform
the following steps:
Step 1
Enter: 1 1 *
Step 2
Enter: 8-digit Programmer PIN Code (00)#
♪♪♪♪♪
Step 3
Enter: Date in DDMMYY format #
♪♪♪
Step 4
Enter: Date in DDMMYY format #
♪♪♪
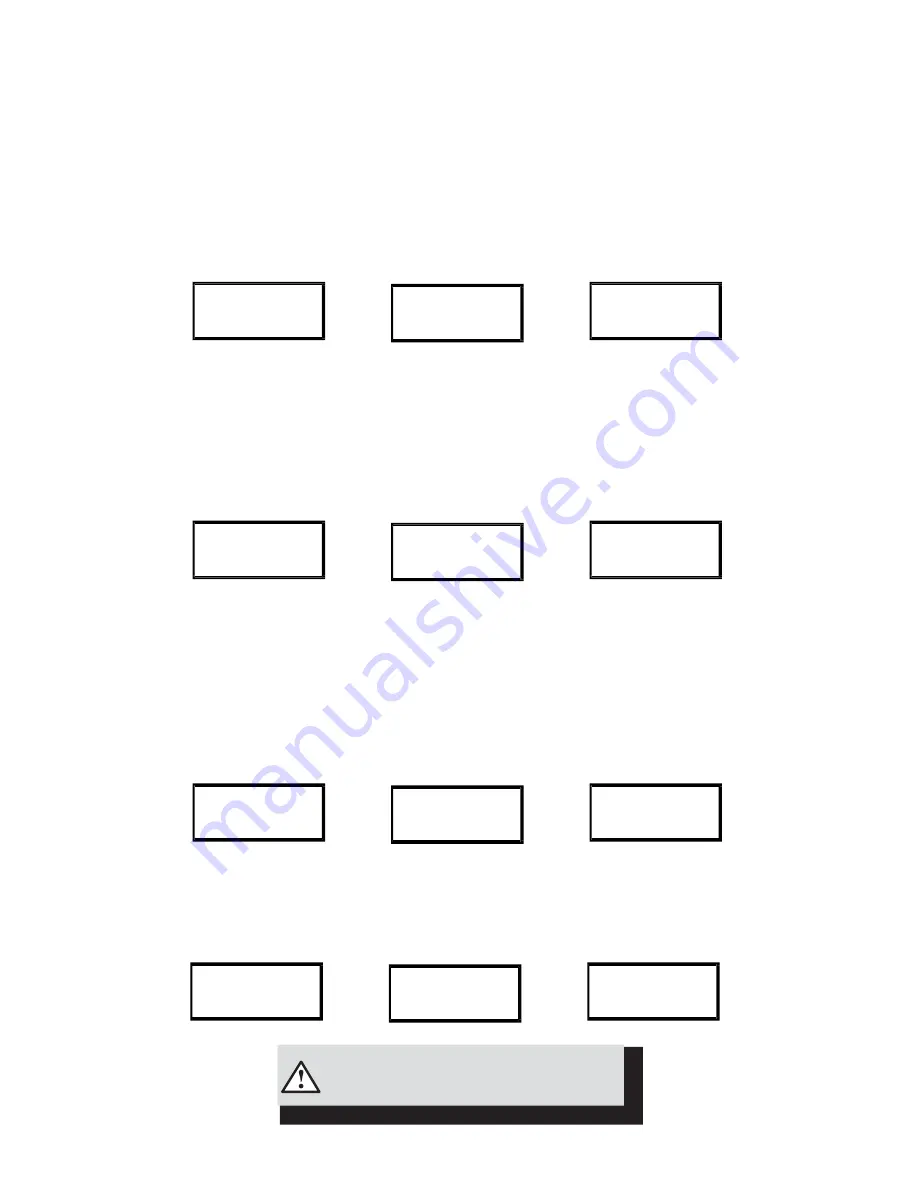
Example
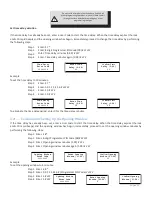
Set Date
Enter Code
********
Enter Date
DD/MM/YY
**/**/**
Confirm Date
DD/MM/YY
**/**/**
To set the date as May 25, 2017 (using the factory default Codes):
Step 1 Enter: 1 1 *
Step 2 Enter: 0 0 1 2 3 4 5 6 #
♪♪♪♪♪
Step 3 Enter: 2 5 0 5 1 7 #
♪♪♪
Step 4 Enter: 2 5 0 5 1 7 #
♪♪♪
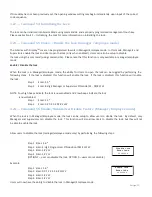
Set Date
Enter Code
********
Enter Date
DD/MM/YY
25/05/17
Confirm Date
DD/MM/YY
25/05/17
The time & date must be set and the clock started (13*)
before the settings are saved by the lock.


