Index print
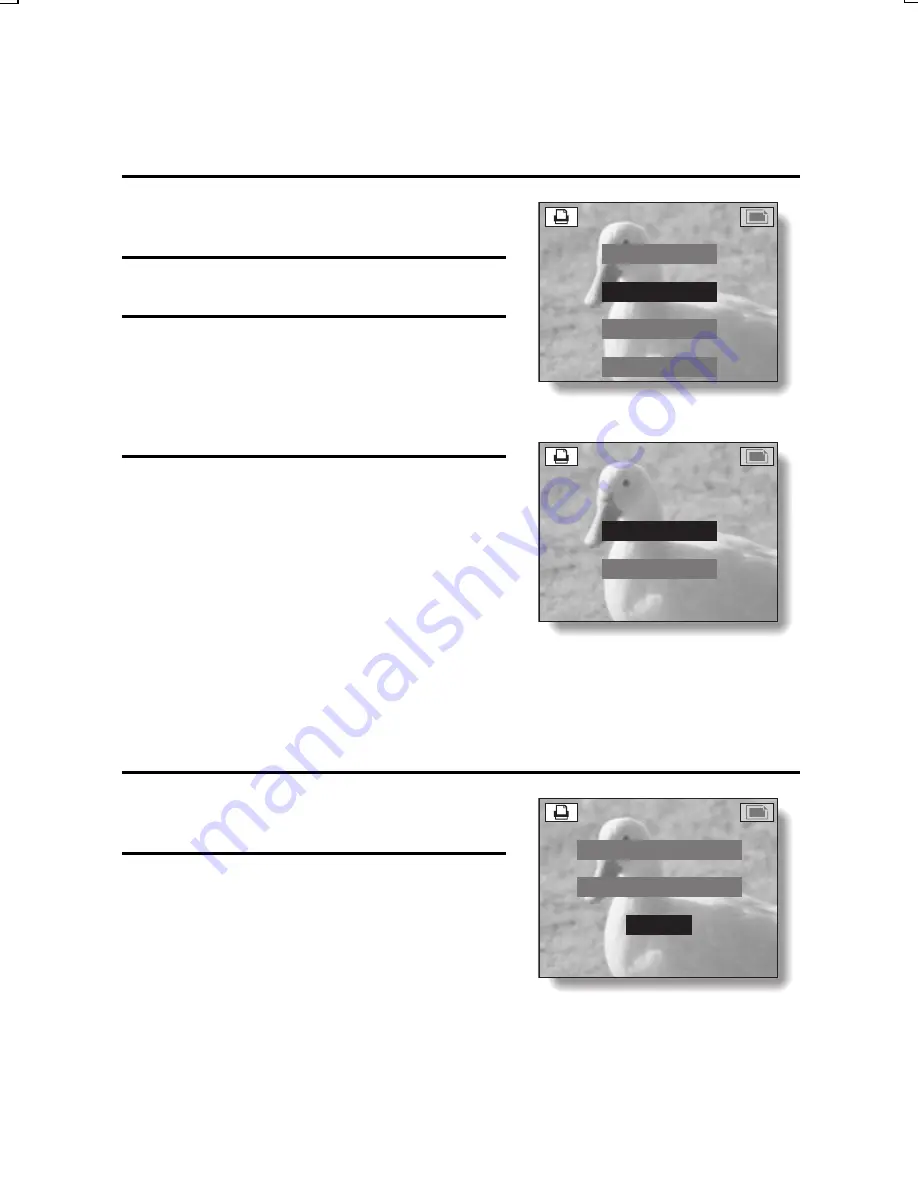
Printing out many small images on one sheet is called an “index print.” This is
convenient for use as a list of the images you have captured.
1
Display the Print Setting Screen
(see page 151).
2
Select “INDEX”.
3
Press the SET button.
œ
The Index Print Screen appears.
YES: To specify an index print copy.
NO: To specify no index print copy.
4
Select “YES”, and press the SET
button.
œ
This completes the setting for the
index print. You are returned to the
Print Setting Screen.
Changing the print settings
1
Follow steps 1 to 4 on pages 153
and 154.
2
Select “SETTING”, and press the
SET button.
œ
The Number/Date Print Screen
appears.
œ
Following the procedures in step 6
on page 155, use the arrow button
to select the setting(s) you wish to
change, and change the setting.
The rest of the procedure is the
same as step 7 on page 155.
PRINT SETTING
STANDARD
INDEX
ALL CLEAR
EXIT
INDEX PRINT
YES
NO
p
p
o p@
ALL IMAGES
DATE YES
NUMBER 1
SETTING
CANCEL
EXIT
SX612/EX, GX, U (VPC-MZ3 GB2) Thu. Sept., 05/2002
English
156


