SETUP
21
20
Initial Installation
6
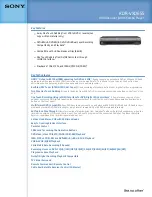
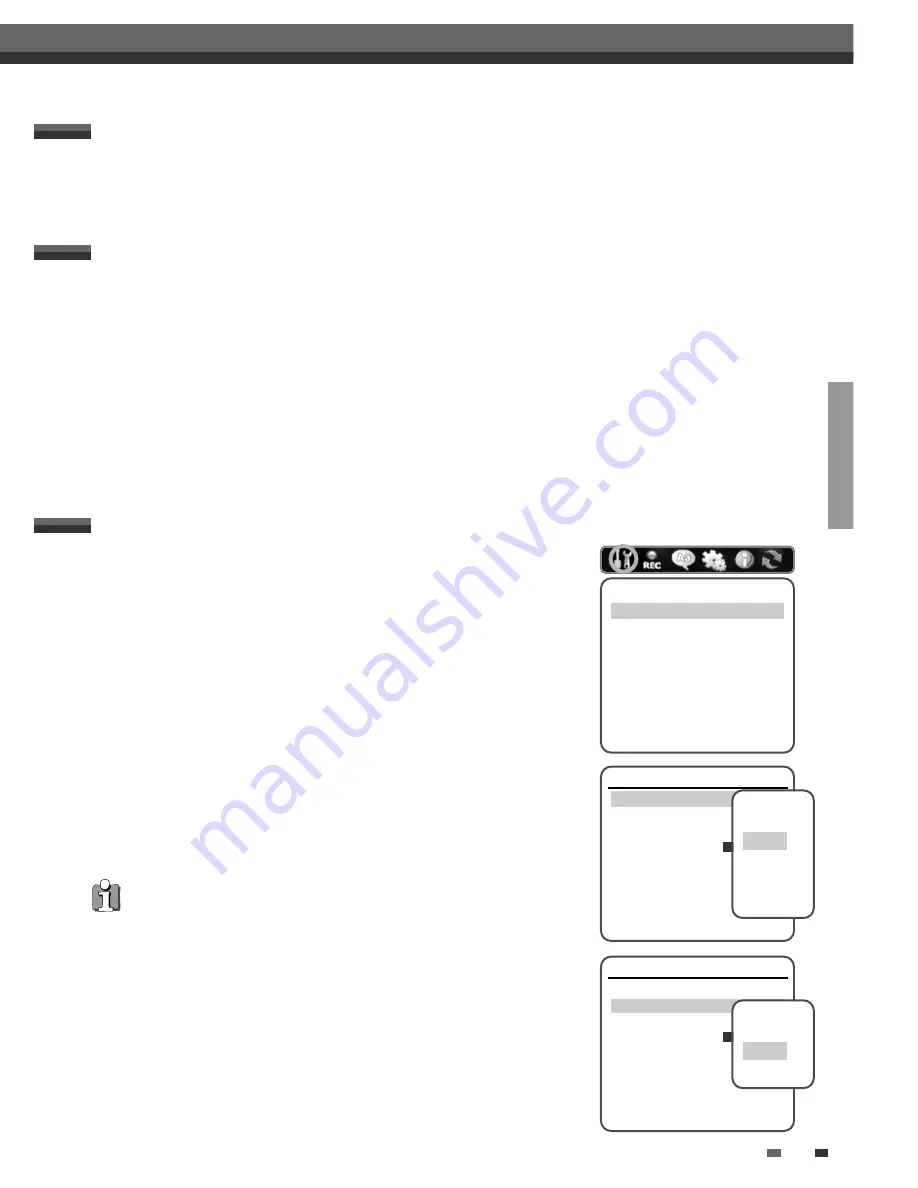
Select the desired disc playback subtitle language using [
…
/
†
]. Press
[ENTER] to confirm.
7
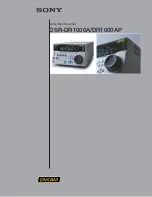
The DVD RVCR detects channels automatically and stores them
in memory.
8
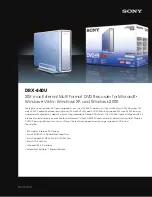
After finishing Auto Channel Search, set the clock.
9
Use [
œ
/
√
] to move left/right and use [
…
/
†
] to change the settings.
10
After setting the clock, press [ENTER] to confirm. If you cancel the process
during Initial Installation, you should repeat this procedure.
Installation
Please select disc subtitle language:
Default
English
Spanish
French
Czech
Danish
German
Instructions
Enter-Confirm Setup-Exit Move
…†
Installation
Searching for available TV stations:
2 channels found
Please wait...
Instructions
Setup-Exit
Set Clock
Please set the clock:
Time : 13 : 00
Date : 02 / Jan / 2010 (Sat)
Instructions
Enter-Confirm Setup-Exit Move
…†
…
†
Installation
Manual Set
Auto Set
Set Clock
Adjust Channels
Instructions
Enter-Confirm Setup-Exit
Move
…†
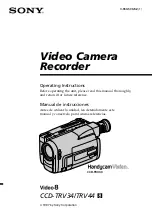
Manual Setup
Standard
PAL-BG
Reception
Aerial
Auto Search
CH-02
Fine Tune
Decoder
N/A
Store Channel
PR-01
Program Name
P-01
Instructions
Enter-Confirm Setup-Exit Move
…†
Select The
standard.
PAL-BG
PAL-II
PAL-DK
SECAM-L
Manual Setup
Standard
PAL-BG
Reception
Aerial
Auto Search
CH-02
Fine Tune
Decoder
N/A
Store Channel
PR-01
Program Name
P-01
Instructions
Enter-Confirm Setup-Exit Move
…†
Select The
Reception.
Aerial
Cable
The DVD RVCR Setup menu includes six categories, including: Installation, Recording Options,
Languages, Preferences, System Info, and Restore Defaults. Press [SETUP] and [
œ
/
√
] on the remote control to
view the first and second levels of the Setup menu.
Setup Menu Overview
1
Press [SETUP]. The Setup menu appears.
2
Use [
œ
/
√
] to select the desired category.
3
While the desired category is selected, press [
…
/
†
] to move to the second level.
4
Press [ENTER] to move to the third level.
5
Use [
…
/
†
] to select the desired setting, then press [ENTER] to confirm your selection.
Some items require additional steps. Press [SETUP] at any time to return to the previous menu.
6
Press [SETUP] to exit the Setup menu.
Menu Navigation
Initial Setup
Initial Setup
Manual Set
To complete the set-up of your DVD RVCR when the auto set has
not stored all of the channels or when you wish to store a new channel.
1
Press [SETUP]. The Setup menu appears.
2
Use [
œ
/
√
] to select ‘Installation‘.
3
While ‘Installation‘ is selected, press [
†
] to select ‘Manual Set‘.
4
Press [ENTER]. The ‘Manual Setup’ menu appears.
5
Use [
…
/
†
] to select ‘Standard‘. Press [ENTER] to move to the second
level.
6
Use [
…
/
†
] to select the desired ‘Standard’ (PAL-BG, PAL-II, PAL-DK, or
SECAM-L), then press [ENTER].
7
Use [
…
/
†
] to select ‘Reception‘. Press [ENTER] to move to the second
level.
8
Use [
…
/
†
] to select the desired broadcast system (Aerial or Cable),
then press [ENTER].
Aerial:
If you are using a standard antenna to receive channels.
Cable:
If you are using basic cable to receive channels.
INSTALLATION Settings
Re-Installation
This set is equipped with the multi-tuner for receiving many countries' broadcasting. In order to receive broadcasting of
different countries, follow as below.
1
Press [SETUP] and select the 'Restore Defaults' using [
œ
/
√
]. Then, RESET the set. (see page 32)
2
Power On, then you see the 'Initial Installation'.
3
Select the country which you want to (see step 3 on page 19), then repeat the steps 4~10 on page 19~20.
This set is equipped with the Multi-Tuner. You can search broadcastings of
other countries. If the set can not search the channels, please Re-Install. (see
page 20.)
Summary of Contents for HVR-DX610
Page 1: ......
Page 2: ......
Page 3: ......
Page 4: ......
Page 6: ......
Page 8: ......
Page 10: ......
Page 12: ......
Page 14: ......
Page 16: ......
Page 18: ......
Page 20: ......
Page 22: ......
Page 24: ......
Page 26: ......
Page 28: ......
Page 30: ......
Page 32: ......
Page 34: ......
Page 36: ......
Page 38: ......
Page 40: ......
Page 42: ......
Page 44: ......
Page 46: ......
Page 48: ......
Page 50: ......
Page 52: ......
Page 54: ......
Page 56: ......
Page 58: ......
Page 60: ......
Page 62: ......
Page 63: ......
Page 64: ......
Page 65: ......
Page 66: ......