


24
S&C Instruction Sheet 695-510
Maintenance
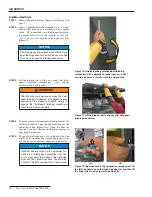
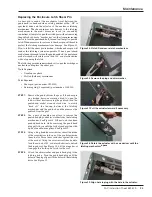
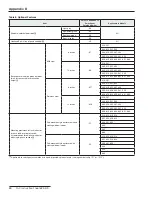
Figure 40. Install the new shear pin.
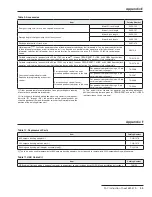
Figure 41. Install a retaining ring on the opposite side of the
shear pin.
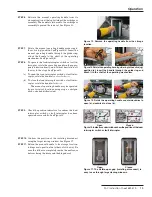
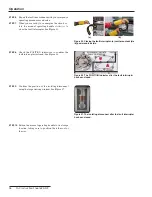
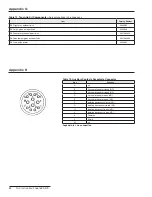
Figure 42. Rotate the actuator with a screwdriver until the
latching mechanism closes.
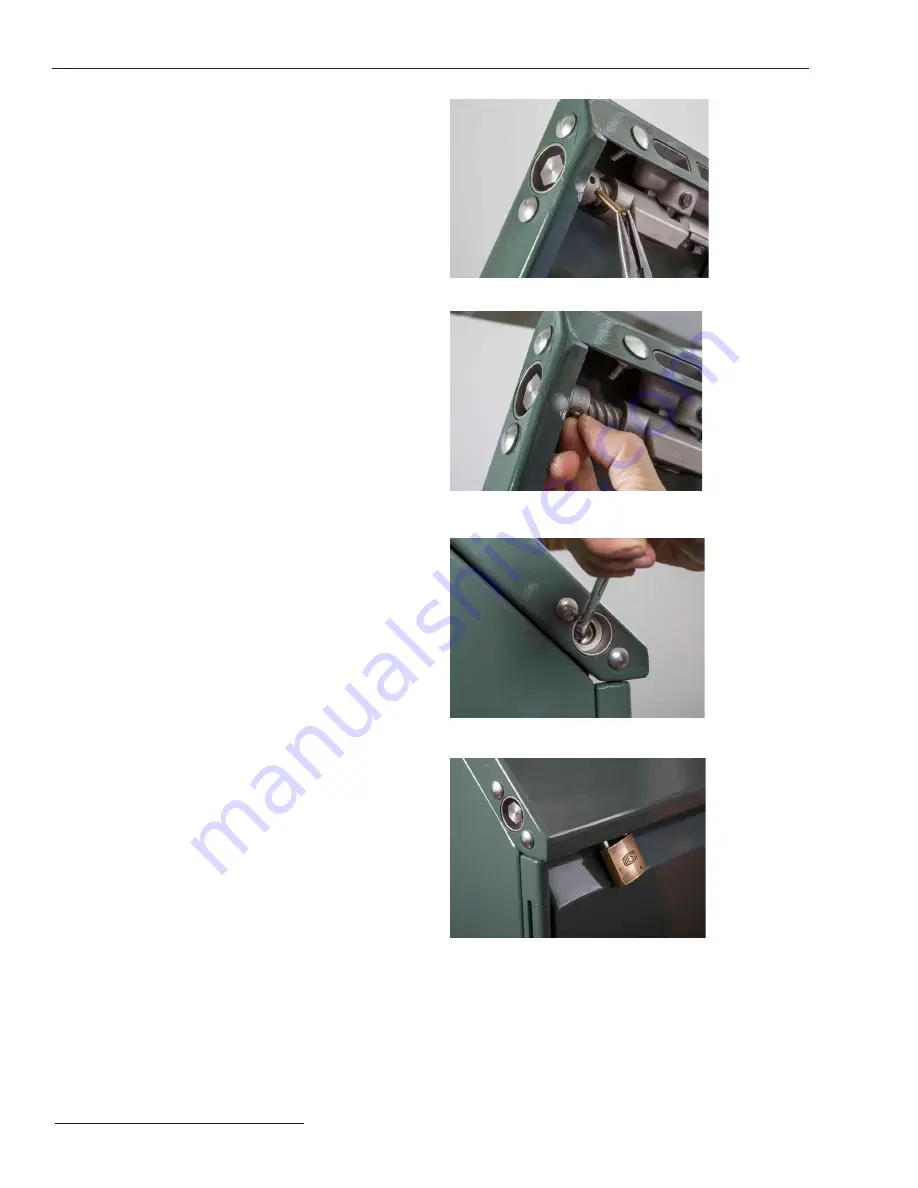
Figure 43. Secure the enclosure with a padlock.
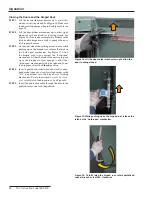
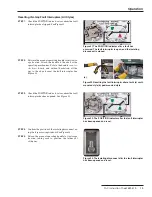
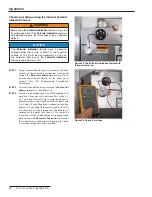
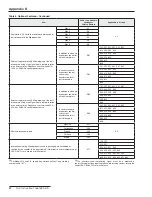
STEP 6.
Install one of the retaining rings on one end of the
new shear pin. Insert the shear pin into the hole on
the side of the latch drive. The pin should go com-
pletely through the latch drive and pentahead plug.
See Figure 40.
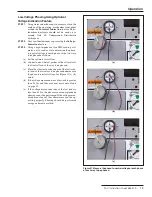
STEP 7.
Rotate the latch drive 180° and install the retaining
ring on the opposite end of the shear pin.
See Figure 41.
STEP 8.
Insert a pentahead socket wrench or tool into the
pentahead socket, and rotate it 360° counterclock-
wise. The mechanism should operate the latch
smoothly through its full rotation and stop on
reaching 360°.
STEP 9.
Close and secure the hinged roof per the instruc-
tions in “Closing the Doors and the Hinged Roof” on
Page 14.
Closing and Securing the Enclosure if
Replacement Shear Pin is Unavailable
If the shear pin is broken and the enclosure needs to be opened
for switching, and a replacement shear pin is unavailable, the
enclosure can be easily closed and secured by following these
steps:
STEP 1.
Open the enclosure using the instructions de-
scribed in “Replacing the Enclosure Latch Shear
Pin” on page 23. Retain the pentahead plug and
shim washer in a secure area. Perform any neces-
sary switching.
STEP 2.
Close the hinged roof of the switchgear.
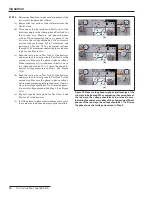
STEP 3.
Using a long-handled screwdriver, insert the blade
of the screwdriver into one of the pin holes inside
the actuator. Brace the screwdriver against the rim
of the socket. Using the screwdriver like a handle,
turn the screwdriver 360° clockwise to close and
latch the hinged roof. See Figure 42.
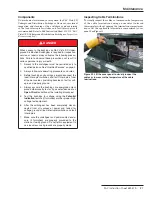
STEP 4.
Insert a padlock shackle through the hole in the
padlock recess and lock the padlock. See Figure 43.