ENGLISH
38
38
Basic Recording
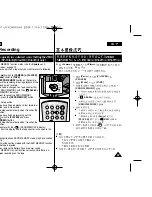
Self Record using the Remote Control (Setting the
Self Timer) (VP-D363(i)/D364W(i)/D365W(i) only)
(
) (
VP-
D363(i)/D364W(i)/D365W(i) )
✤
The SELF TIMER function works only in
<Camera>
mode.
➥
page 19
✤
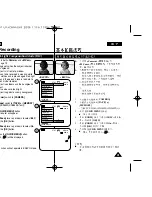
When you use the SELF TIMER function on the remote control, the
recording begins automatically in 10 seconds.
1. Set the
[Power]
switch to
[CAMERA]
.
2. Set the
[Mode]
switch to
[TAPE]
.
3. Press the
[SELF TIMER]
button until the appropriate
indicator is displayed.
4. Press the
[Start/Stop]
button to start the timer.
■
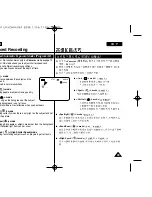
SELF TIMER starts counting down from 10 with a
beep sound.
■
In the last one second of the countdown the
beep sound gets faster, then recording starts
automatically.
■
If you want to cancel the SELF TIMER function
before recording, press the
[SELF TIMER]
button.
5. Press the
[Start/Stop]
button again when you wish
to stop recording.
[ Notes ]
■
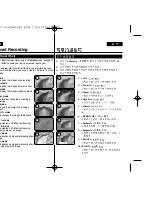
Do not obstruct the remote control sensor by putting
obstacles between the remote control and
Camcorder.
■
The remote control range is 4 ~5m (13 ~17 ft).
■
The effective remote control angle is up to 30
degrees left /right from the centre line.
■
Using a tripod is recommended for delayed
recording.
✤
<Camera> (
)
➥
19
✤
,
10
1.
[Power]
[CAMERA]
(
)
2.
[Mode]
[TAPE]
3.
[SELF TIMER]
,
4.
[Start/Stop]
■
,
10
■
1
,
,
■
,
[SELF TIMER]
5.
,
[Start/Stop]
[
]
■
,
■
4 ~5m
■
30
■
œ
PLAYE
R
CA
M
ER
A
C A M
E
R
A
PLA
YE
R
1
3
QUIC
K
MEN
U
PLAYE
R
CA
M
ER
A
4
5
œ
Summary of Contents for VP-D36 Series
Page 106: ...H AMCORDER IS MANUFACTURED BY ...


