


ENG-31
ENG-30
Choosing a Connection
The following show examples of connections commonly
used to connect the DVD -VCR player with a TV and
other components. It is only available for DVD. The
VCR out can not watch by this connection.
OPTICAL
COAXIAL
COAXIAL
OPTICAL
or
Television
Connection to
an Audio System
Connection to
a Television
Dolby Digital Decoder
Digital Audio Input Jack
Digital Audio out Jack
S-Video Jack
★
SV-DVD540
/SV-DVD545
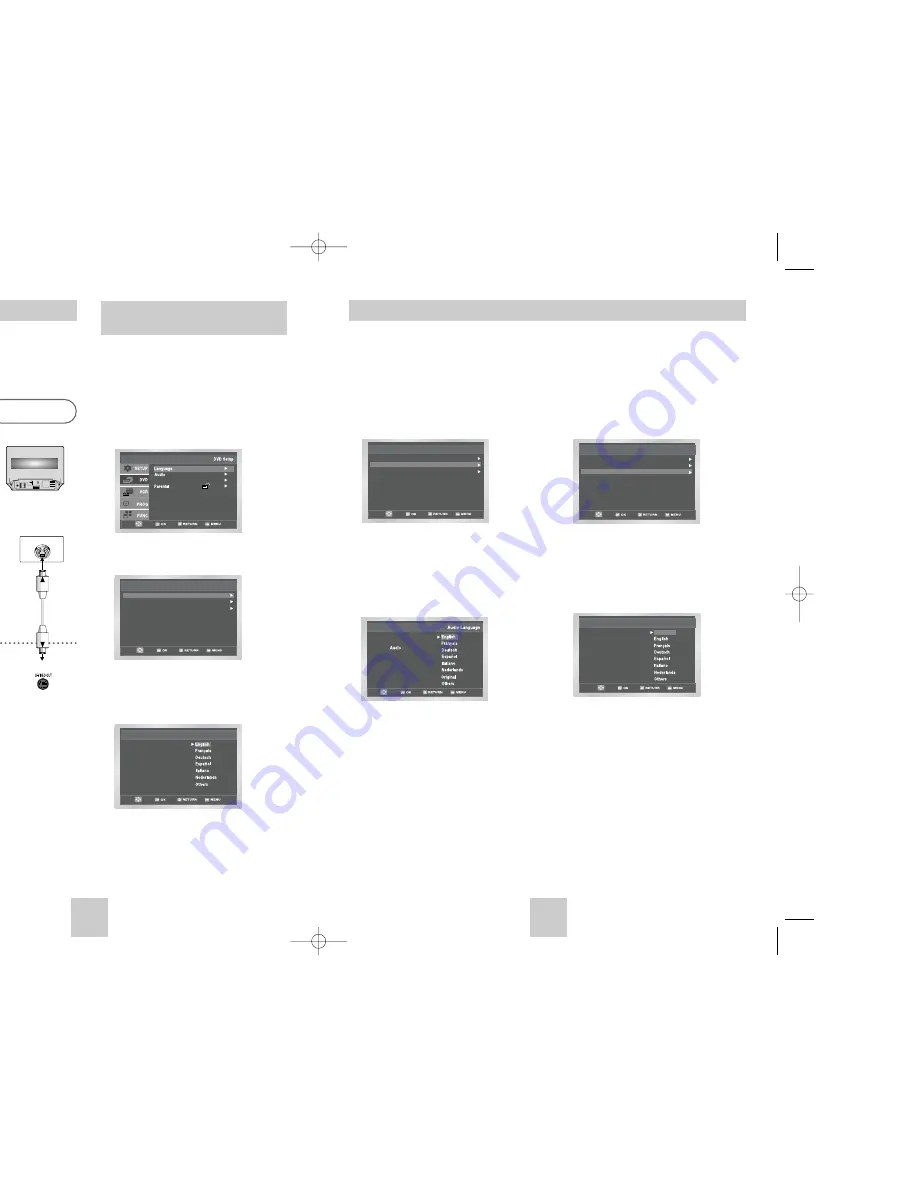
Setting Up the Language
Features
If you set the player menu, disc menu, audio and
subtitle language in advance, they will come up
automatically every time you watch a movie.
Using the Disc Menu Language
1
With the unit in Stop mode, press the MENU button.
2
Select
DVD
using ,
❷
buttons, then OK or
❿
button
3
Select
Language Setup
using ,
❷
buttons, then
press the OK or
❿
button.
4
Select
Disc Menu
using ,
❷
buttons, then press
the OK or
❿
button.
5
Use the ,
❷
buttons to select
English
.
- Select “Others” if the language you want is not listed.
6
Press the OK button.
- English is selected and the screen returns to
DVD
menu.
Language Setup
Disc Menu : English
Audio : English
Subtitle : Automatic
Disc Menu Language
Disc Menu
Setup
Setup
Setup :
Display Setup
1
With the unit in Stop mode, press the MENU button.
2
Select
DVD
using ,
❷
buttons, then OK or
❿
button.
3
Select
Language Setup
using ,
❷
buttons, then
press the OK or
❿
button.
4
Select
Audio
using ,
❷
buttons, then press the
OK or
❿
button.
5
Press the ,
❷
buttons to select
English
.
- Select “Original” if you want the default soundtrack
language to be the original language the disc is
recorded in.
- Select “Others” if the language you want is not listed.
6
Press the OK button.
- English is selected and the screen returns to
DVD
menu.
Using the Audio Language
Language Setup
Disc Menu : English
Audio : English
Subtitle : Automatic
1
With the unit in Stop mode, press the MENU button.
2
Select
DVD
using ,
❷
buttons, then OK or
❿
button.
3
Select
Language Setup
using ,
❷
buttons, then
press the OK or
❿
button.
4
Select
Subtitle
using ,
❷
buttons, then press the
OK or
❿
button.
5
Use the ,
❷
buttons to select
English
.
- Select “Automatic” if you want the subtitle
language to be the same as the language selected
as the audio preference.
- Select “Others” if the language you want is not
listed. Some discs may not contain the language
you select as your initial language; in that case the
disc will use its original language setting.
6
Press the OK button.
- English is selected and the screen returns to
DVD
menu.
Using the Subtitle Language
Language Setup
Disc Menu : English
Audio : English
Subtitle : Automatic
Subtitle
Subtitle Language
Automatic
Setting Up the Language Features
00374C SV-DVD440/XEU 1/30/04 5:07 PM Page 30