90
PC Software
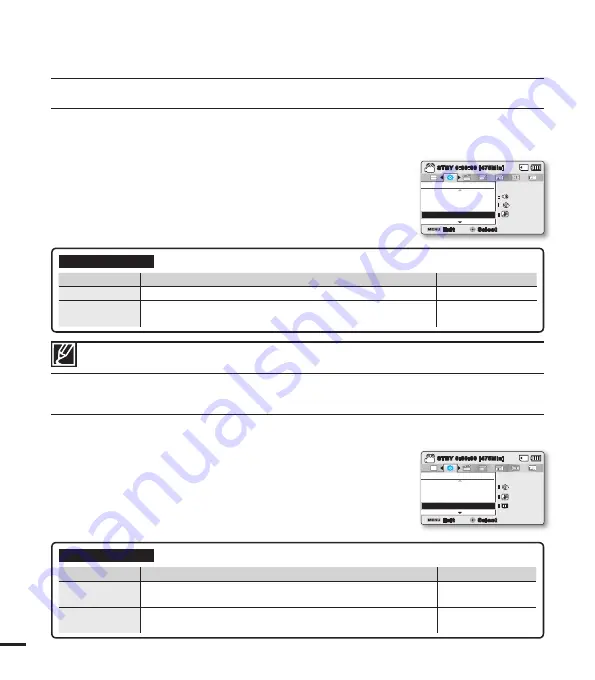
If you set PC Software to On, you can simply use the PC software by connecting the USB cable between the
camcorder and your PC. You can download the stored video and photo images on the camcorder to your
PC’s hard disk. Editing video/photo fi les is also available using the PC software.
1.
Press the
MENU
button
Control
joystick (
/
)
“Settings”
Control
joystick (
/
/
OK
)
“PC Software.”
2.
Select the desired submenu item with the
Control
joystick (
/
),
and then press the
OK
button.
3.
Press the
MENU
button to exit the menu.
Submenu Items
items
contents
on-screen display
“Off”
Disables the function.
-
“On”
The built-in editing software launches when the camcorder is
connected to the PC.
-
The PC Software is compatible with the Windows OS only.
TV Display
You can enable or disable the On Screen Display (OSD) that appears on the TV screen when connecting your
camcorder to a TV.
1.
Press the
MENU
button
Control
joystick (
/
)
“Settings”
Control
joystick (
/
/
OK
)
“TV Display.”
2.
Select the desired submenu item with the
Control
joystick (
/
),
and then press the
OK
button.
3.
Press the
MENU
button to exit the menu.
Submenu Items
items
contents
on-screen display
“Off”
The OSD (On Screen Display) menus are only shown on the LCD
screen.
-
“On”
The OSD menus are shown on the LCD screen and the TV
screen as well. (Connecting to a TV
page 93)
-
system setting
Settings
PC Software
Shutter Sound
Auto Power Off
Exit
STBY
0:00:00 [475Min]
Select
SCENE
:
:
:
Settings
TV Display
Auto Power Off
PC Software
Exit
STBY
0:00:00 [475Min]
Select
SCENE
:
:
:


