


Troubleshooting
_ 63
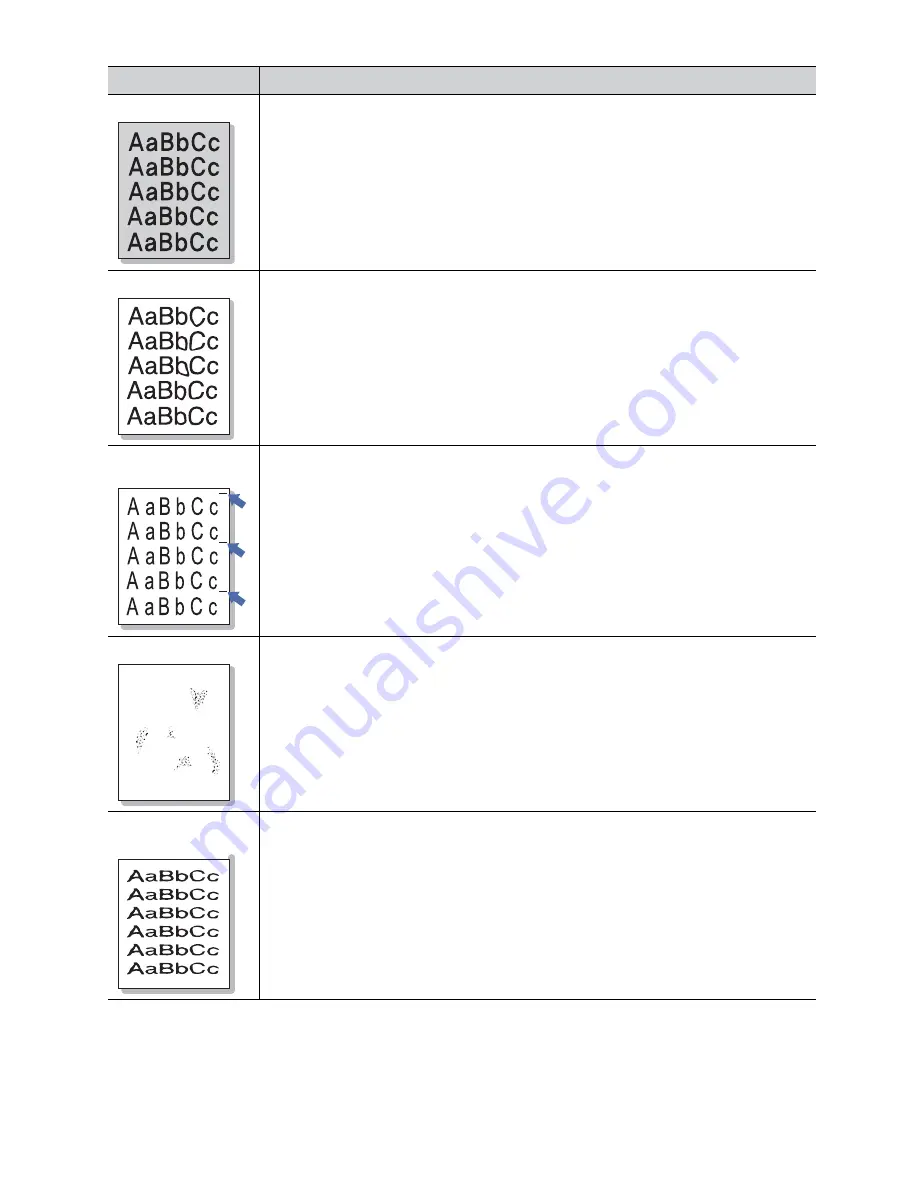
Black background
If the amount of background shading becomes unacceptable:
•
Change to a lighter weight paper (See "Print media specifications" on page 71).
•
Check the environmental conditions: very dry conditions or a high level of humidity (higher
than 80% RH) can increase the amount of background shading.
•
Remove the old toner cartridge and, install a new one (See "Replacing the toner cartridge"
on page 68).
Toner smear
If toner smears on the page:
•
Clean the inside of the machine (See "Cleaning the inside" on page 48).
•
Check the paper type and quality (See "Print media specifications" on page 71).
•
Remove the toner cartridge and then, install a new one (See "Replacing the toner
cartridge" on page 68).
Vertical repetitive
defects
If marks repeatedly appear on the printed side of the page at even intervals:
•
The toner cartridge may be damaged. If you still have the same problem, remove the
toner cartridge and, install a new one (See "Replacing the toner cartridge" on page 68).
•
Parts of the machine may have toner on them. If the defects occur on the back of the
page, the problem will likely correct itself after a few more pages.
•
The fusing assembly may be damaged. Contact a service representative.
Background scatter
Background scatter results from bits of toner randomly distributed on the printed page.
•
The paper may be too damp. Try printing with a different batch of paper. Do not open
packages of paper until necessary so that the paper does not absorb too much moisture.
Misformed
characters
•
If characters are improperly formed and producing hollow images, the paper stock may be
too slick. Try different paper (See "Print media specifications" on page 71).
CONDITION
SUGGESTED SOLUTIONS
A


