


66
66
ENGLISH
ESPAÑOL
Advanced Recording
Grabación avanzada
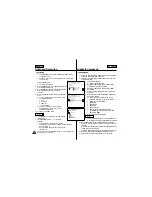
Audio dubbing
✤
The AUDIO DUBBING function only works in PLAYER Mode.
✤
You can add sound to the original sound on a pre-recorded tape,
recorded in SP mode with 12bit sound.
✤
Use the internal and external microphones or other audio equipment.
✤
The original sound will not be erased.
Dubbing Sound
1. Set the camcorder to PLAYER mode.
■
If you want to use an external microphone,
connect the microphone to the external MIC
input jack on the camcorder.
■
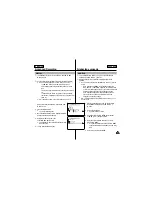
When you wish to dub using the External A/V
input, connect the AUDIO/VIDEO cable to the
camcorder by inserting the cable jack into the
Multi AV in/out terminal at the front side of
the camcorder.
2. Press the
(PLAY/STILL) button and find
the time frame of the scene to be dubbed.
3. Press the
(PLAY/STILL) button to
pause the scene.
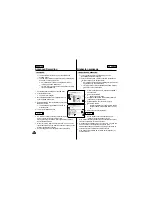
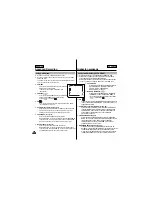
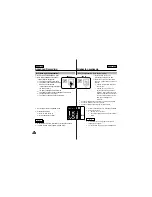
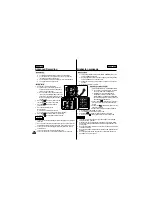
4. Press the A.DUB button on the
Remote Control.
■
A.DUB will be displayed on the LCD.
■
The camcorder is in a ready-to-dub state for dubbing.
5. Press the
(PLAY/STILL) button to start dubbing.
■
Press the
(STOP) button to stop the dubbing.
Notes
■
You can not use the audio dubbing function while playing a write protected
video tape.
■
When you wish to dub using the External A/V input, you must connect the
AUDIO/VIDEO cable to the audio system from which you wish to record.
■
You can not use the audio dubbing function while the Multi AV cable is
connected to TV.
■
You can not use the DV terminal while adding sound.
■
You can not dub sound on a pre-recorded in LP mode or 16 bit mode.
Mezcla de audio
✤
La función de MEZCLA DE AUDIO (AUDIO DUBBING) sólo opera
en la modalidad de PLAYER.
✤
Se puede añadir un sonido al sonido original de una cinta grabada
en la modalidad SP, de 12 bits de sonido.
✤
Puede usar el micrófono incorporado o uno externo, u otro equipo
de audio.
✤
El sonido original no se borrará.
Grabación de sonido adicional
1. Ajuste la videocámara en la modalidad PLAYER.
■
Si va a usar un micrófono externo, conéctelo
en el conector MIC de la videocámara.
■
Si desea hacer la mezcla empleando la
entrada de A/V externo, conecte el cable
AUDIO/VÍDEO a la videocámara insertándolo
en el terminal múltiple A/V in/out que está en la
parte frontal de la videocámara.
2. Pulse el botón
(PLAY/STILL) y busque el
principio de la escena en que desea hacer la
mezcla.
3. Pulse botón
(PLAY/STILL) para hacer una
pausa en la escena.
4. Pulse el botón A.DUB del mando a distancia.
■
Aparecerá la señal A.DUB en la LCD.
■
La videocámara estará lista para la mezcla.
5. Pulse botón
(PLAY/STILL) para empezar con la mezcla.
■
Pulse el botón
(STOP) para detener el proceso de mezcla.
Notas
■
La función de mezcla de audio no se puede emplear si la cinta está
protegida contra la grabación.
■
Si desea hacer una mezcla usando la entrada de A/V externo, tendrá
que conectar el cable AUDIO/VÍDEO al sistema de audio desde el que
quiera grabar.
■
No es posible emplear la función de mezcla si el cable múltiple A/V está
conectado al televisor.
■
No es posible emplear el terminal DV mientras se está grabando sonido
adicional.
■
No es posible grabar sonido adicional en un casete pregrabado en la
modalidad LP o en la de 16 bits.
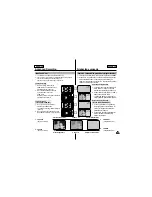
F
ADE
S
.SHO
W
DELETE
BLC
MENU
CRM-D3E


