English - 4
Resetting the Picture Settings to the Factory Defaults
You can set detailed picture settings.
1
Press the
MENU
button to display the menu.
Press the
ENTER
button to select
Picture
.
Press the ▲ or ▼ button to select
Reset
, then press the
ENTER
button.
4
Press the ▲ or ▼ button to select
OK
or
Cancel
then press
the
ENTER
button.
➢
Each mode can be reset.
Changing the Format
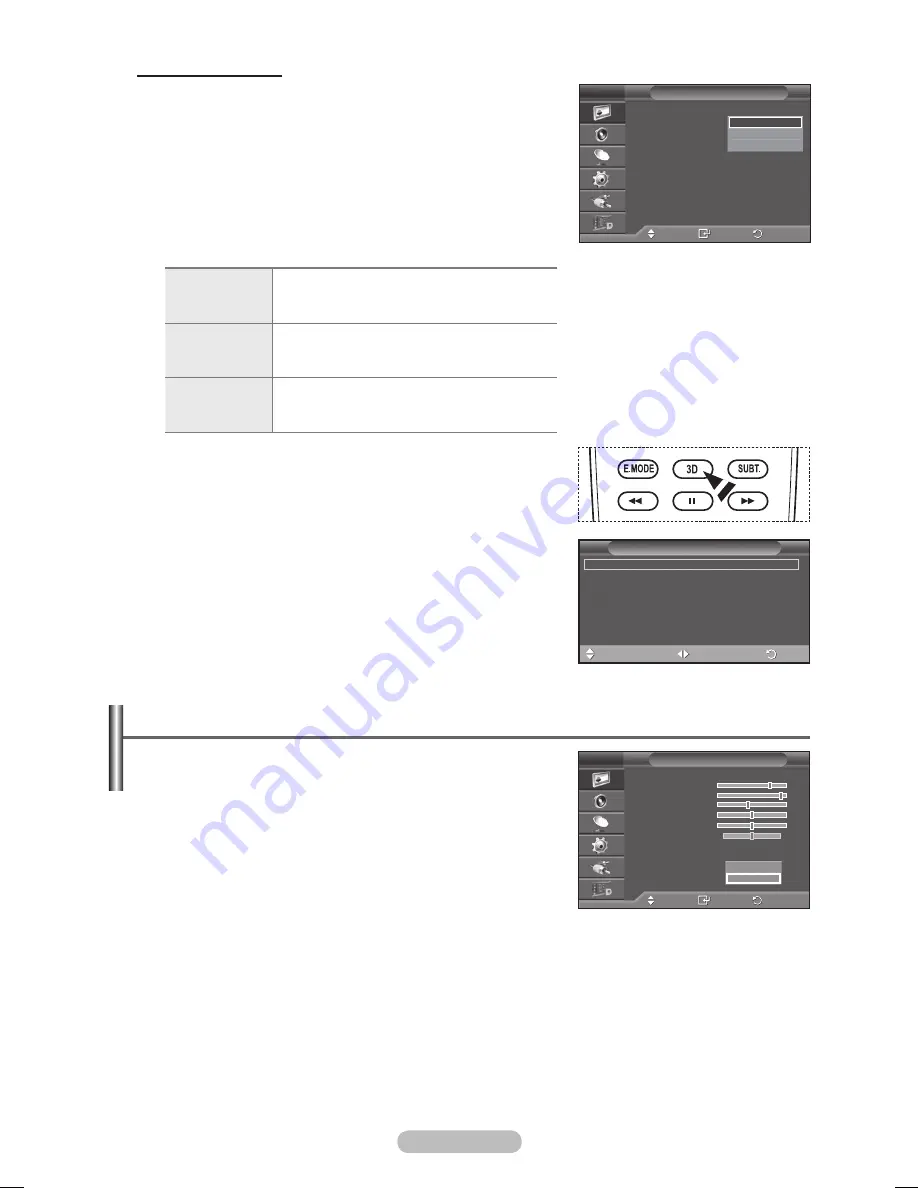
Select the optimal input format to match your graphic cards or 3D
software.
See the descriptions for Steps 1 to 4 above.
5
Press the ▲ or ▼ button to select
Format
, then press the
ENTER
button.
6
Press the ▲ or ▼ button to select
Checker Board
,
Horizontal
or
Vertical
then press the
ENTER
button.
Checker Board
If the output format of your graphic card or 3D
software is Checkerboard, select this input
format.
Horizontal
If the output format of your graphic card or 3D
software is Horizontal interleaved, select this input
format.
Vertical
If the output format of your graphic card or 3D
software is Vertical interleaved, select this input
format.
➢
You can press the
D
button on the remote control
repeatedly to change the 3D mode.
Easy Setting
1 Press the
TOOLS
button on the remote control.
2 Press the ▲ or ▼ button to select
D Mode
.
3 Press the
ENTER
button to start the 3D Effect.
Move
Enter
Return
Mode
:
Format
:
D Effect
T V
Tools
3D Mode
◄ Off
►
(HDMI-CEC)
Picture Mode : Dynamic
Sound Mode : Standard
Sleep Timer : Off
SRS TS XT : Off
Energy Saving : Off
Adjust
Exit
Move
Mode 1
Checker Board
Horizontal
Vertical
Move
Enter
Return
Mode
: Standard
Cell Light
Contrast
0
Brightness
45
Sharpness
50
Colour
50
Tint
G50 R50
Detailed Settings
Picture Options
Reset
: OK
Picture
T V
OK
Cancel
BN68-01422D-Eng.indb 24
2008-04-18 오후 1:27:13


