42
advanced recording
Slow Motion
You can record videos in slow motion. “Slow Motion” is great for analyzing the contents of your
recordings such as a golf swing, viewing a bird in flight, etc.
PRECHECK!
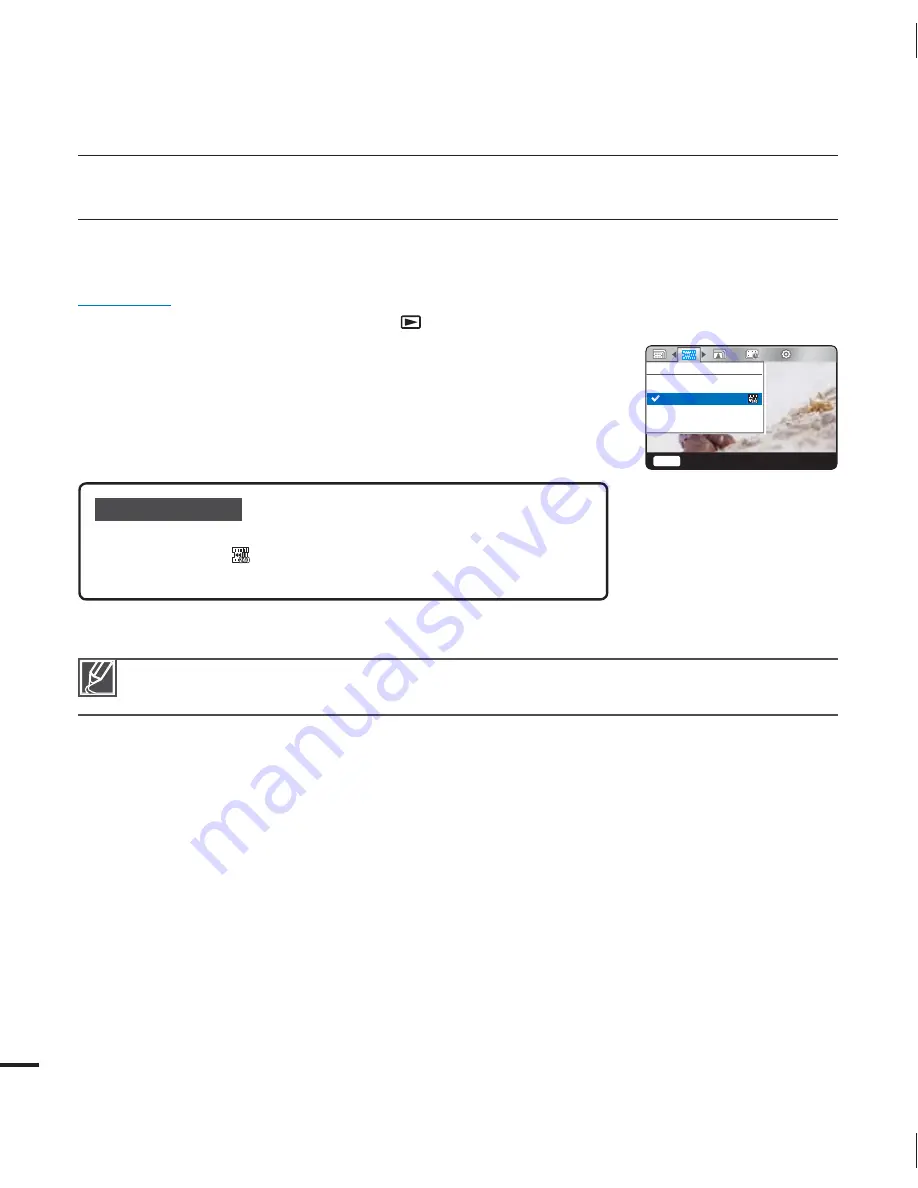
Select the record mode by pressing the
Play
(
) button.
page 20
1.
Press the
MENU
button
/
button
“
Slow Motion
.”
2.
Select the desired submenu item with the
/
button.
OK
button.
3.
Press the
MENU
button to exit the menu.
Submenu items
Off:
Disables the function.
240Frame/sec (
):
Records 240 frames per second in 320x240
resolution.
•
•
The camcorder does not record audio while recording in slow motion.
Slow motion image quality is not as good as that of normal recording.
•
•
Slow Motion
Off
240Frame/sec
Menu
Exit