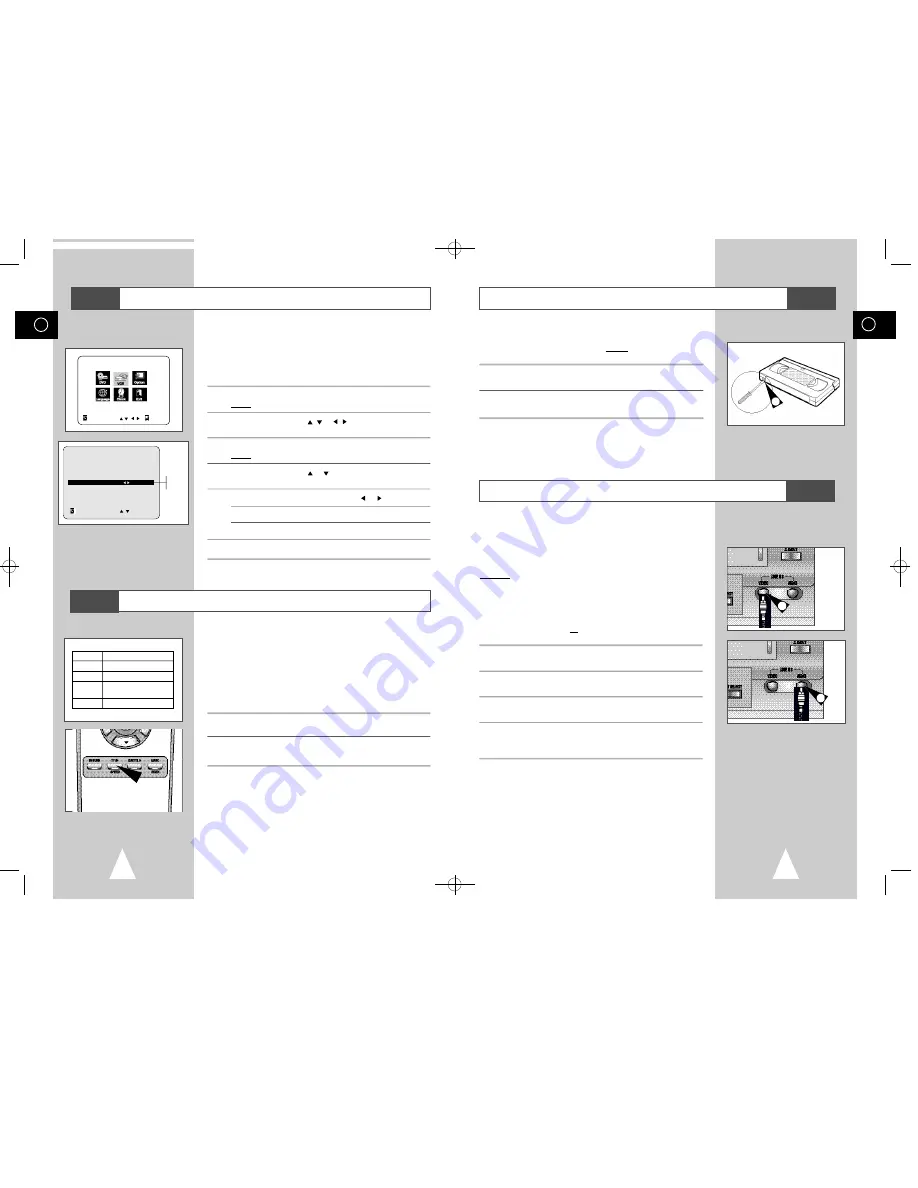
GB
19
GB
18
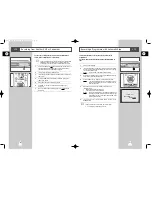
Displaying/Hiding On-Screen Information
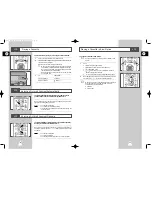
Selecting the Recording Speed
Your DVD-VCR displays most information both on the DVD-VCR
and the television.
You can choose to display or hide this information on the television
screen (except for the Index, MAIN MENU, which cannot be
hidden).
1
Press SETUP on the remote control.
Result:
The MAIN MENU is displayed.
2
Press the corresponding
,
or , buttons to select the
V C R
option.
3
Press the ENTER button to select this option.
Result:
The
VCR FUNCTION SETUP
menu is displayed.
4
Press the corresponding
or
buttons, until the cursor is placed
on the
O S D
option.
5
To...
Press
or , until...
Display on-screen information
O N
is displayed.
Hide on-screen information
O F F
is displayed.
6
On completion, press RETURN twice to exit the menu.
Type
Recording Time (in SP)
E-180
180 mins. or 3 hours
E-240
240 mins. or 4 hours
E-260
260 mins. or
4 hours and 20 mins.
E-300
300 mins. or 5 hours
VCR FUNCTION SETUP
Tape Select
E 3 0 0
Repeat Play
O f f
OSD
O n
RETURN
On
Off
You can record a cassette at two different speeds:
◆
SP (Standard Play)
◆
LP (Long Play)
In Long Play modes:
◆
Each cassette lasts twice as long
◆
The recording is of a slightly lower quality
To record a cassette...
Press the SPEED button on the
remote control, until...
In standard play mode
S P
is displayed.
In long play mode
L P
is displayed.
VCR
VCR
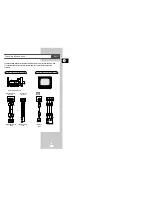
Connecting an RCA Audio/Video Input Cable
VCR
You can connect other audio/video equipment to your DVD-VCR
using audio/video cables if the appropriate outputs are available on
the equipment chosen.
Examples:
◆
You wish to copy a video cassette with the help of a
second VCR (see page 20).
◆
You wish to play back and/or copy pictures taken
with a camcorder (see page 20).
☛
◆
Make sure that both the television and the DVD-VCR
are switched off before connecting the cables.
1
Connect one end of the RCA audio/video cable into the VIDEO
socket on the Front of the DVD-VCR.
2
Plug the other end of the audio/video cable into the appropriate
output connector on the other system (VCR or camcorder).
3
Connect one end of the RCA audio cable into the AUDIO sockets
on the Front of the DVD-VCR.
4
Plug the other end of the audio cable into the appropriate output
connectors on the other system (VCR, camcorder or sound
system).
3
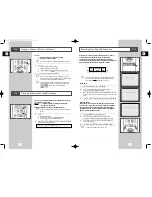
Protecting a Recorded Cassette
Video cassettes have a safety tab to prevent accidental erasure.
When this tab has been removed, you cannot record on the tape.
1
If you wish to protect a cassette, break off the tab using a small
screwdriver.
2
To re-record over a protected cassette (safety tab broken), cover
the hole with adhesive tape.
1
VCR
MAIN MENU
VCR FUNCTION SETUP
RETURN
ENTER
1
00046E DVD-V52/XST-GB2 11/9/02 11:12 AM Page 18


