6
· Getting Started
Functional Description
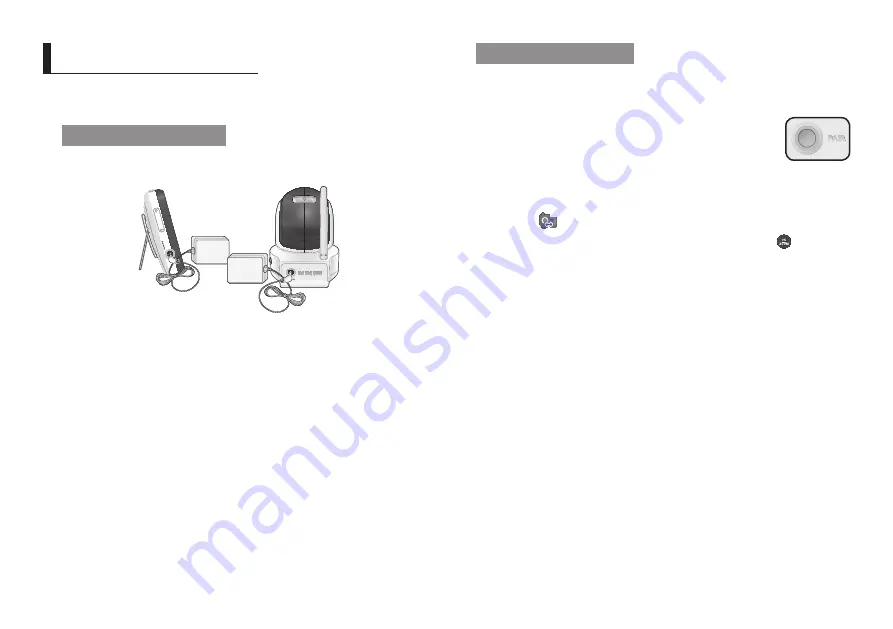
Powering your monitor
After opening the box, fully charge the monitor before use. After initial charge, recharge
as needed.
Wireless Monitor
You can use the device while charging with connected adapter, and the device is
portable if charged.
Wireless Camera
The Wireless Camera must be plugged in at all times in order to view.
n
`
Check if the Power LEDs of wireless monitor is turned on.
G
ettInG
s
tarted
operating the System
The basic operation is as follows:
Pairing
The units already come paired for your convenience. This button is
used to add an additional camera. User can select camera number
to assign. Up to 4 Cameras may be paired.
1.
Power on and turn the switch ON.
The power LED for the monitor should be ON.
2.
Press the [
MeNu
] button on the monitor.
3.
Select [
] by pressing [
_
] or [
+
] button.
4.
Select camera number by pressing the [
$
] or [
%
] button. Press [
] button to
confirm.
A pairing icon comes out and search a camera which sets to pairing mode.
A count down clock appears at the middle of top icon bar which starts counting
from 30 to 0.
5.
Press the [
PAIr
] button on the camera.
6.
Within 30 seconds, if the monitor successfully pairs with the camera, the monitor
will automatically switch to the camera's current view.
n
`
After 30 seconds, if no camera registered, it will show “
Out of Range
” icon and user
needs to switch back to previous camera number through menu operation.


