59 / 80
10.3
Exporting data – save data example
Examples of using exported data:
‒ To back up sounds, images, cookbooks and the user configuration.
‒ To import into other appliances in order to standardise user interfaces within a company.
1
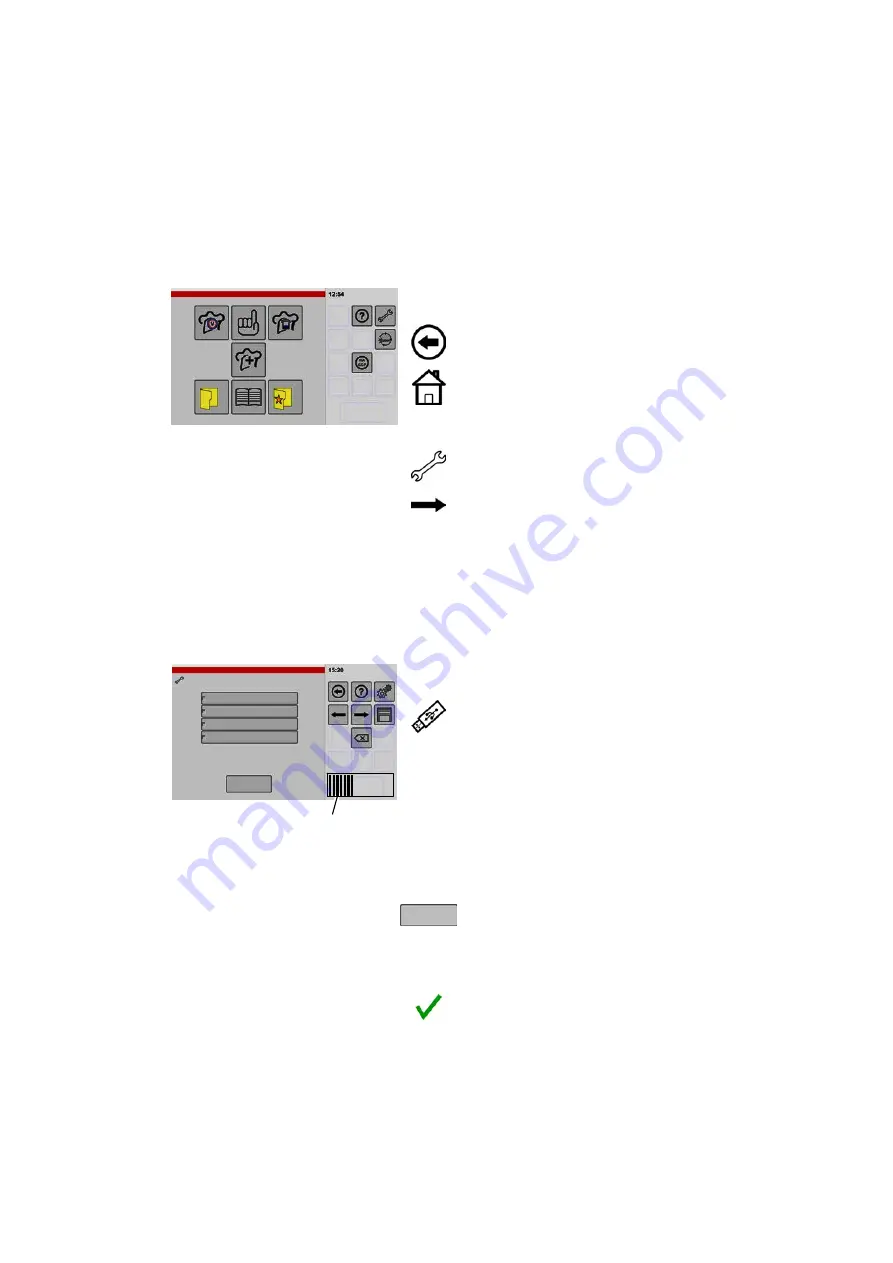
Starting screen settings/setup
.
If the "Setup" icon is not shown, tap and hold the
"Back" key briefly.
● The key display changes from "Back key" to
"Home".
● The start screen is shown when you release the
key.
.
Tap the "Settings/Setup" key.
● The "Appliance data" window is shown.
.
Continue to the next window – tap the arrow key.
● If a PIN (Personal Identification Number) has
been enabled, you cannot move to the next win
dow. Instead, the PIN entry window appears.
For information about entering or deleting the PIN,
see from page 50 , figure 9 and 10.
.
Keep tapping the arrow key until the "Export"
window appears.
2
Area
Export
Sounds
Export
Images
Cookbooks
User configuration
Progress bar
Data export: control system -> USB drive
Export
.
Insert the USB drive into the USB port.
For instructions about inserting the USB drive, see
page 55 , figure 17
● Wait approx. 5 seconds until the control system
has connected to the USB drive.
.
Tap the selection you want to use for data export.
● The selected data type is highlighted in colour
and shown with a border.
.
Tap the "Export" key.
● The copying process is executed (takes approx. 5
to 30 seconds depending on the amount of data).
● A message appears after completion.
.
Tap the "Confirm" key.
● The message disappears.
.
Remove the USB drive.
.
To back up the exported data, copy the data from
the USB drive to a PC or laptop.
● Creating a copy in this way ensures you have a
data backup. You can use this data again if re
quired.
Summary of Contents for VitalityEVO-Pro
Page 79: ...79 80...


