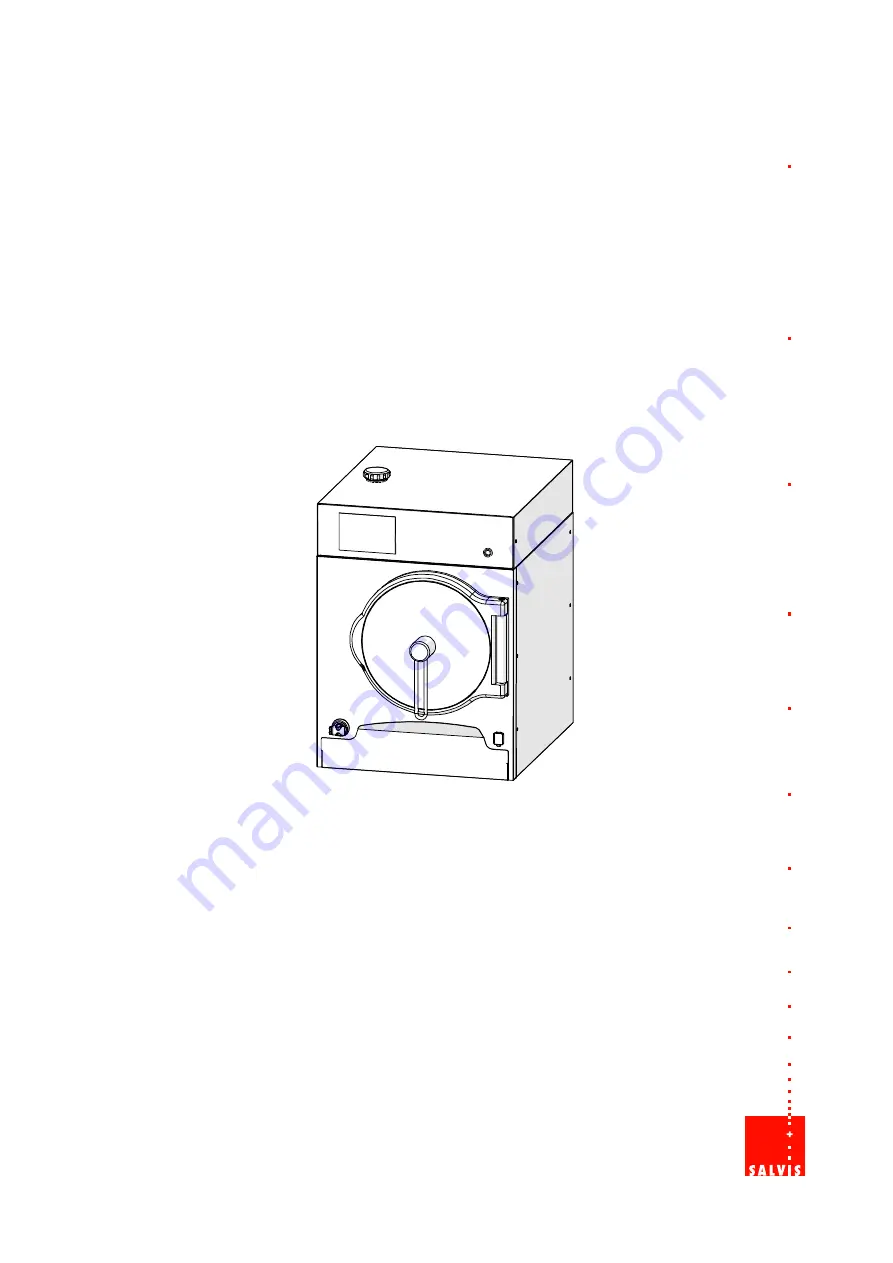
SALVIS VitalityEVO-Easy Pressure Steamer
SALVIS VitalityEVO-Pro Pressure Steamer
Operating instructions
en-GB
Translation of the original operating instructions
Read the operating instructions before installing and commissioning the appliance!
Page 1: ...sy Pressure Steamer SALVIS VitalityEVO Pro Pressure Steamer Operating instructions en GB Translation of the original operating instructions Read the operating instructions before installing and commis...
Page 2: ...cooking process 15 4 5 2 Ending the cooking process 16 4 5 3 Removing the containers 16 4 6 Using the pull out shower head with automatic retraction optional 17 5 Finishing up Switch off the appliance...
Page 3: ...ng and care of the seal on the cooking chamber door 63 11 4 Cleaning the cooking chamber and the drip tray 63 11 5 Rinsing and cleaning the drain and valves 64 12 Regenerating the water softener 65 12...
Page 4: ...s supplied with the appliance within easy reach and pass these on to a new owner of the appliance As the operating company ensure that personnel who work with on the appliance have access to the opera...
Page 5: ...ications to this appliance 1 6 Misuse Do not use the appliance as a storage unit or work surface The appliance must not be used for heating drying and storing objects or for heating and melting proces...
Page 6: ...sk of injury During operation there is a risk of burns from the following Hot surfaces Hot Gastronorm containers Hot cooked products Hot removable racks Hot drip trays Hot steam escaping when the cook...
Page 7: ...the appliance safely in the event of fire or damage IMPORTANT Risk of damage Do not heat permanently sealed containers such as cans of food The sealed containers or cans could explode To avoid corrosi...
Page 8: ...use a pressurised cooking chamber The cooking chamber door cannot be opened until the chamber is no longer pressu rised Settings are made via the touch screen The control system is used to automate t...
Page 9: ...can configure the Input and dis play area to suit operational circumstances For information about changing Input and dis play area views see page 45 section 9 fig 11 and 12 Control system operating f...
Page 10: ...to return to the previous menu If you tap and hold the back key the dis play switches to the Home symbol The start screen is shown when you release the key The help function provides you with additio...
Page 11: ...er are filled with water automatically duration approx 2 min The steam generator heating up process then starts Total duration approx 8 min Please note The safety temperature limiter cuts off at tempe...
Page 12: ...e cooking chamber door WARNING Crush hazard Do not re ach between the cooking chamber door and cooking chamber when closing the cooking chamber door Do not reach into the locking mechanism when lockin...
Page 13: ...on again For instructions on product selection changing settings see from page 18 section 6 4 3 Filling the cooking chamber Always use heat resistant Gastronorm containers Always season your dishes wi...
Page 14: ...ore temperature from one cooking phase to the next otherwise the cooking process will be ended prematurely Core temperature adjustment range 0 C to 99 C Benefits of the core temperature function Cooki...
Page 15: ...d cooking process starts automatically The timer runs down The remaining time is dis played The progress bar provides a graphical display of the elapsed time You can change settings during the cooking...
Page 16: ...only be started after the cooking chamber door has been opened and closed 4 5 3 Removing the containers WARNING Risk of scalding Open the cooking chamber door carefully Allow steam and hot air to esc...
Page 17: ...ull out shower head is comple tely retracted into the appliance after use Otherwise the shower head could be damaged by the cooking chamber door 5 Finishing up Switch off the appliance Clean the appli...
Page 18: ...information about the cooking process window see page 15 section 4 5 1 or change the values with the slider or the numeric keypad Using the slider Tap the slider control and move to the left or right...
Page 19: ...C Tap the Core temperature key The key is shaded dark grey and has a border The display switches from time to temperature Key legend Symbol next to display Time is activated Symbol next to display Co...
Page 20: ...in the win dow Legend for additional functions Output signal and message window after cooking step is complete e g for basting seasoning or turning the food to be cooked Affects the acoustic signal a...
Page 21: ...time of day when the cooking process should start Set by using the slider or the numeric keypad Sample figure Control system time 13 08 Start time 14 00 Tap the Start Stop key The progress bar provid...
Page 22: ...s If you require additional cooking steps repeat these steps until all of the cooking steps you need have been created Key legend Move up or down in the cooking steps only if se veral cooking steps ha...
Page 23: ...ing step settings are stored for the cur rent cooking process only The settings are not preserved if the appliance is switched off and on again Cookbook option If the settings are not stored in the co...
Page 24: ...starting the cooking process the sum of the cooking times of all cooking steps set is dis played The remaining time is displayed The progress bar provides a graphical display of the elapsed time You...
Page 25: ...dy to serve dishes specifically for la carte or ban quet catering business 1 Starting revitalisation Tap the Revitalisation key The Revitalisation window is shown 2 Select For example tap the Soup key...
Page 26: ...The cooking method window is shown with the default values Use the slider or numeric keypad to change the values For instructions on using the numeric keypad see page 18 figure 3 To start the cooking...
Page 27: ...Delta T cooking key The Settings window is shown Legend for special programs Delta T cooking Suitable for all larger meat joints or roasts Uniform temperature differential between the cooking chamber...
Page 28: ...screen Tap the screen and use your finger to scroll the products displayed up or down 3 Cookbook Entering search terms Cookbook sch Searching for product names The search function can be used in the p...
Page 29: ...order is added to the product Tap the Cooking steps overview key The Cooking steps overview window is shown Key legend Display cooking steps overview Each value displayed can be changed by tapping the...
Page 30: ...Stop key For the End of cooking process description see from page 16 from section 4 5 2 6 7 Working with categories menu groups This function is a part of the cookbook For instructions about creating...
Page 31: ...efore the cooking time starts After AQA completes the remaining time is shown The progress bar provides a graphical display of the elapsed time The cooking process can be interrupted by tap ping the S...
Page 32: ...ed 4 Changing settings during an ac tive cooking process tap the screen the Settings window is shown for approx 5 seconds Cooking process window Automatic quantity cooking time adjustment AQA display...
Page 33: ...cooking steps can be combined 1 Starting manual settings Tap the Manual key The Operating Modes window is shown 2 Configuring settings Configure the settings e g temperature time core temperature add...
Page 34: ...e selected cooking step Tap and hold the Arrow key briefly The New cooking step key symbol is shown The Operating Modes window is shown 1 sec Inserting a new cooking step after the selected coo king s...
Page 35: ...the Categories key Tap the category you want e g vegetables or Favourites A border is shown around the category or Favourites Tap the Arrow key The selected category or Favourites is moved from the le...
Page 36: ...key The image is shown above the add key Tap the Enter key The image is now assigned and the Product en try window is shown Key legend Add the selected image Confirm 8 No Name No Name Removing an ima...
Page 37: ...n the cookbook can be adjusted or changed e g temperatures times favourite assignments category assignments cooking steps etc 1 Opening the cookbook Tap the Cookbook key The Cookbook window is shown 2...
Page 38: ...dow for confirming the save process is shown 5 Please note Cookbook has been saved Please note Program with same number is present Please confirm with OK to overwrite Confirming the save process Tap t...
Page 39: ...on dialog is shown Tap the Confirm key The window for confirming the save process is shown Tap the Confirm key The save process is completed The product has been deleted 7 4 Creating and deleting cate...
Page 40: ...image A border is shown around the selected image Tap the Add key The image is shown above the add key Tap the Enter key The window for confirming the save process is shown 5 Please note Cookbook has...
Page 41: ...Settings window is shown 4 Name No Opening the categories favourites window Tap the Category Favourites key The assignment window is shown 5 Name Category is removed No Selecting and removing a catego...
Page 42: ...ck key To repeat the process see from figure 3 page 41 7 Deleting a category The Delete key is active once all category as signments have been deleted Tap the category to be deleted A border is added...
Page 43: ...CCP logs 1 Displaying HACCP logs Tap the HACCP key The HACCP window is shown 2 Overview Scrolling the display If more logs are available than can be shown on the display screen Tap the screen and use...
Page 44: ...CCP logs Tap the HACCP key The HACCP window is shown 2 Appliance number 999004 Appliance type E101SCRNFBUW Operating hours Printout date 06 02 12 10 05 48 KT every 180s Date 2012 02 05 Time 22 02 Date...
Page 45: ...Hardware version nomi nal power 1 Software version nominal power 1 Hardware version motor 1 Note on progress bar shown while saving exporting importing for example Area Import Sounds Import options R...
Page 46: ...ap the order you want to use Alphabetic Numeric Tap the Save key A message about the save process is displayed Tap the Confirm key The message disappears Continue to the next window tap the arrow key...
Page 47: ...nly after rest arting the appliance USB activation is optional Tap the Touch calibration key A window with crosshairs in the centre is shown IMPORTANT only tap the crosshairs Do not tap anywhere else...
Page 48: ...e file you want is visible Tap your chosen selection An acoustic signal sounds Tap the Save key A message about the save process is displayed Tap the Confirm key The message disappears Continue to the...
Page 49: ...ge region and program security Tap the arrow key e g language or cookbook The available files are displayed A scrollbar will be shown if there are a large num ber of files available Tap the arrow or t...
Page 50: ...Tap the Enter key Tap the Save key A message about the save process is displayed Tap the Confirm key The message disappears You can now continue to the next window 10 User Delete PIN PIN Start screen...
Page 51: ...rocess is displayed The selected display is saved and will be shown the next time the appliance is restarted Tap the Confirm key The message disappears Tap the key to continue to the next window Legen...
Page 52: ...x or arrow key The available display options are shown Tap the arrows or the scrollbar and scroll until the selection you want is visible Tap your chosen selection The selection is shown in the box Ta...
Page 53: ...set As a precaution save the user settings to a USB drive first For instructions about data export see page 55 figure 18 USB activation optio nal Tap the Factory settings key A warning message is show...
Page 54: ...chnician popup window is displayed The current appliance status is displayed Refreshing the display Tap the Refresh key Appliance statuses are updated in the Techni cian popup For real time updates ta...
Page 55: ...key A message about the save process is displayed Tap the Confirm key The message disappears Tap the key to continue to the next window Information about additional selection options Log content Targ...
Page 56: ...nance Use a static IP address IP address Subnet mask Gateway Input screen for remote maintenance optional This function is to be used by authorised customer service personnel only By entering the rele...
Page 57: ...rine png 0500_blumenkohl png 0500_karotten png etc Image file formats JPEG or PNG Image size for import maximum 2 MB The device software converts the imported image files as follows size 480 270 pixel...
Page 58: ...ant to add data with a new filename Sounds 1 Important All existing sounds in the sounds folder will be deleted 2 The sounds on the USB drive are co pied to the sounds folder Sounds with different fil...
Page 59: ...see from page 50 figure 9 and 10 Keep tapping the arrow key until the Export window appears 2 Area Export Sounds Export Images Cookbooks User configuration Progress bar Data export control system USB...
Page 60: ...etup icon is not shown tap and hold the Back key briefly The key display changes from Back key to Home The start screen is shown when you release the key Tap the Settings Setup key The Appliance data...
Page 61: ...uctions in section 10 2 Tap the data you want to import e g a cookbook The selected data type is highlighted in colour and shown with a border Tap the Replace key The Replace key is highlighted in col...
Page 62: ...mportant information about stainless steel risk of corrosion Please note Even high quality stainless steel can corrode if handled improperly Salt acids chlo rine iodine and food residues destroy the p...
Page 63: ...f a food grade emulsion kitchen oil or coo king oil onto the seal The seal must be replaced if is worn 11 4 Cleaning the cooking chamber and the drip tray Core temperature sensor Removable rack Drip t...
Page 64: ...astronorm containers with approx 2 5 kg of ice cubes and place in the cooking chamber Close the cooking chamber door 1 Starting the cleaning process Tap the Cleaning key The Cleaning window is shown 2...
Page 65: ...lease start the regen eration process Usage at 90 If water softener usage is at 90 you are shown a prompt stating that the water softener regeneration now needs to be started To avoid interrupting nor...
Page 66: ...regeneration is shown 5 Regeneration The appliance cannot be used during the regeneration process Message about use during the regeneration process The regeneration process can still be cancelled at t...
Page 67: ...ar provides a graphical display of the elapsed time The control system determines the conductivity of the water If the regeneration salt has not been fully dissolved a prompt is shown informing you th...
Page 68: ...the control panel touch screen still can not be used after recalibration and resetting the sensitivity Only possible with activated USB port optional connect a PC mouse to the USB port Operate the co...
Page 69: ...iance is not respon ding Open the cooking chamber door allow the appliance to cool Turn the appliance off and on If the fault occurs again contact the autho rised Customer Service The appliance was mo...
Page 70: ...heat up Check building fuses to see if one or more has tripped Have an electrician check whether the app liance is being properly supplied with all three phases If the fault occurs again contact the...
Page 71: ...p to 30 l h approx External dimensions incl cooking chamber door and lid L W H 624 845 866 mm Weight 95 kg approx Appliance noise emissions Less than 70 dB A Technical specifications subject to change...
Page 72: ...Use a pallet truck or forklift to move the appliance to the installation site on the cargo pallet Wear protective gloves Remember the appliance is very heavy Always work with proper back posture Risk...
Page 73: ...feet When the in transit protection is removed the appliance is set down on the seal In transit protection Front panel Underlay at front In transit protection Underlay at front 1 1 2 1 Underlay at fro...
Page 74: ...stall a separate water inlet or pressure booster pump if required Maximum 350 kPa 3 5 bar static at pressures above 350 kPa 3 5 bar install a pressure regulator upstream of the appliance The appliance...
Page 75: ...ed at least 50 cm underneath the cooking chamber drain 15 7 Connecting to the electrical power supply DANGER Hazardous electric voltage Risk of electric shock that could result in serious injury or de...
Page 76: ...ly accessible 15 8 Connecting to an energy optimisation unit optional Wiring diagram example Control assembly PCB If the Energy optimisation connection option is purchased the appliance is fitted with...
Page 77: ...s We recommend taking out a maintenance contract with the Customer Service 17 Disposing of old appliances Before dismantling switch off the appliance at the mains and lock it out so it cannot be switc...
Page 78: ...f Directive 2014 35 EU concerning electrical equipment and 2014 30 EU concerning electromagnetic compati bility Machine types Pressure Steamer D311S Harmonised EN standards applied DIN EN 60335 2 42 D...
Page 79: ...79 80...
Page 80: ...Artikel Nr 889860 7 19 SALVIS AG Nordstrasse 15 4665 Oftringen Switzerland Phone 41 62 788 18 18 Fax 41 62 788 18 98 Internet www salvis ch Email info salvis ch smart cooking...