18
all the equipment. Follow the procedure for this described later
in this user manual.
6.2 - HOW TO BREW: USING THE
FALSE BOTTOM
EQUIPMENT SETUP
On the day of brewing, start out with preparing all equipment
and ingredients.
Calculate the water required for brewing. You can read about
this later in this user manual.
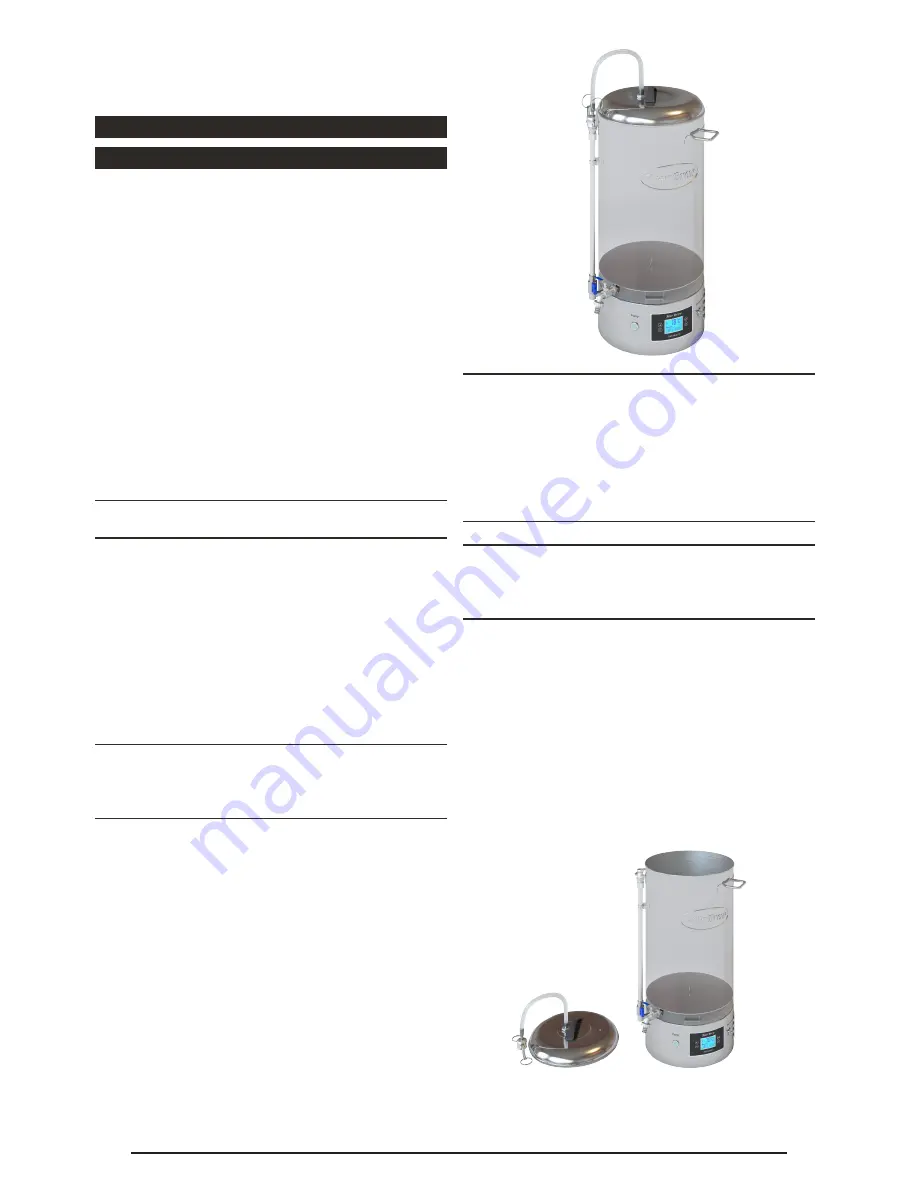
Place your brew kettle on a stable surface. Close both the riser
pipe valve and the tap valve, and fill the brew kettle with the
water for mashing. Insert the malt basket into the brew kettle.
Place the lid on to the brew kettle and connect the lid CamLock
connector to the riser pipe.
Turn the brew program selector to “
• •
” and press the “ON”
button to initiate the brew program. The display light will
illuminate, and the brew kettle will start heating up and continue
until the target strike temperature has been reached.
Tip: You can now adjust the target strike temperature, if required.
Note: The target strike temperature is affected by several
variables: your target mash temperature, the amount of water,
the initial temperature of the dry grain and the weight and
material of your brew equipment. When the malt is at room
temperature, approximately 20°C, and you brew using 7 kg
malt with 19 litres of water (or 14 kg with 42 litres) expect
a drop of about 6°C in temperature, from the strike water
temperature of 71°C to 65°C in the mash, when adding the
malt to the water.
Tip: Search the internet using the phrase “mash infusion tool” or
“mash infusion calculator” if you want to find the target strike
temperature for your specific brew and mash temperature.
Phase
I
: Mashing:
When the target strike temperature has been reached there will
be an audible signal, the mash target temperature will change to
the default value of 65°C and the clock will start to count down.
Note: You can now adjust the setting for the mashing phase,
i.e. the power heating level, the target temperature and the
time.
Remove the lid and add the malt to the brew kettle while gently
stirring to avoid leaving any dry lumps of malt and at the same time
make an even distribution of heat in the mash. Place the lid back on
finished stirring. You may now do a reading of the mash temperature.
Tip: If the temperature reading is lower than your target mashing
temperature, you can use the pump to circulate the water and even
out the temperature. Set the riser pipe valve in the halfway open
position and press the pump switch to turn on the pump. Check the
water level in the malt basket, and adjust the riser pipe valve so that
the water does not flow over the rim of the malt basket as this can
result in grain or grain particles entering the pump and shower head.
Tip: If the temperature reading in the mash is too high: Add
some cold water to the mash. The temperature will even out when
circulating using the pump, as described above.
When you are satisfied with the temperature in the mash, the
pump should be switched off as it is not required to circulate as
part of the mashing phase. However, the pump can be used to
circulate if you experience a drop in temperature in the mash
during the mashing phase or if you are performing a multi-step
mashing and want to increase the temperature to the next
temperature level.


