16
during the mashing phase or if you are performing a multi-step
mashing and want to increase the temperature to the next
temperature level.
TIP: If the flow of wort through the malt basket is slow you need to
reduce the flow through the pump by using the riser pipe valve. The
mash can be “stuck”, i.e. the mash is compressed near the bottom. It
can then sometimes help to gently stir the mash.
When the mashing phase is completed an audible signal will be
heard, and the next phase will start.
Phase
II
: Lautering:
After the mashing phase the brew controller will automatically
start heating the wort in the bottom of the brew kettle to 78°C.
This phase consist of two parts; circulation and sparging.
Tip: If you haven’t already adjusted the settings for this phase you
can do this now.
Circulation:
Now, while the lid is still on and the riser pipe valve is open:
start the pump and circulate during this phase. You will find that
the temperature in the mash will rise to the target lautering
temperature (mashout).
When the temperature is reached there will be a new audible
signal, and the countdown of the lautering phase will start.
Continue to circulate for the rest of the lautering time, normally
60 minutes. When finished (after the audible signal), the next
phase will start.
Sparging:
Now, while the brew kettle is heating up to 100°C, you need
to perform the sparging, i.e. pour the sparge water over the
grain. First, switch off the pump and close the riser pipe valve.
Disconnect the lid CamLock from the riser pipe and remove the
lid.
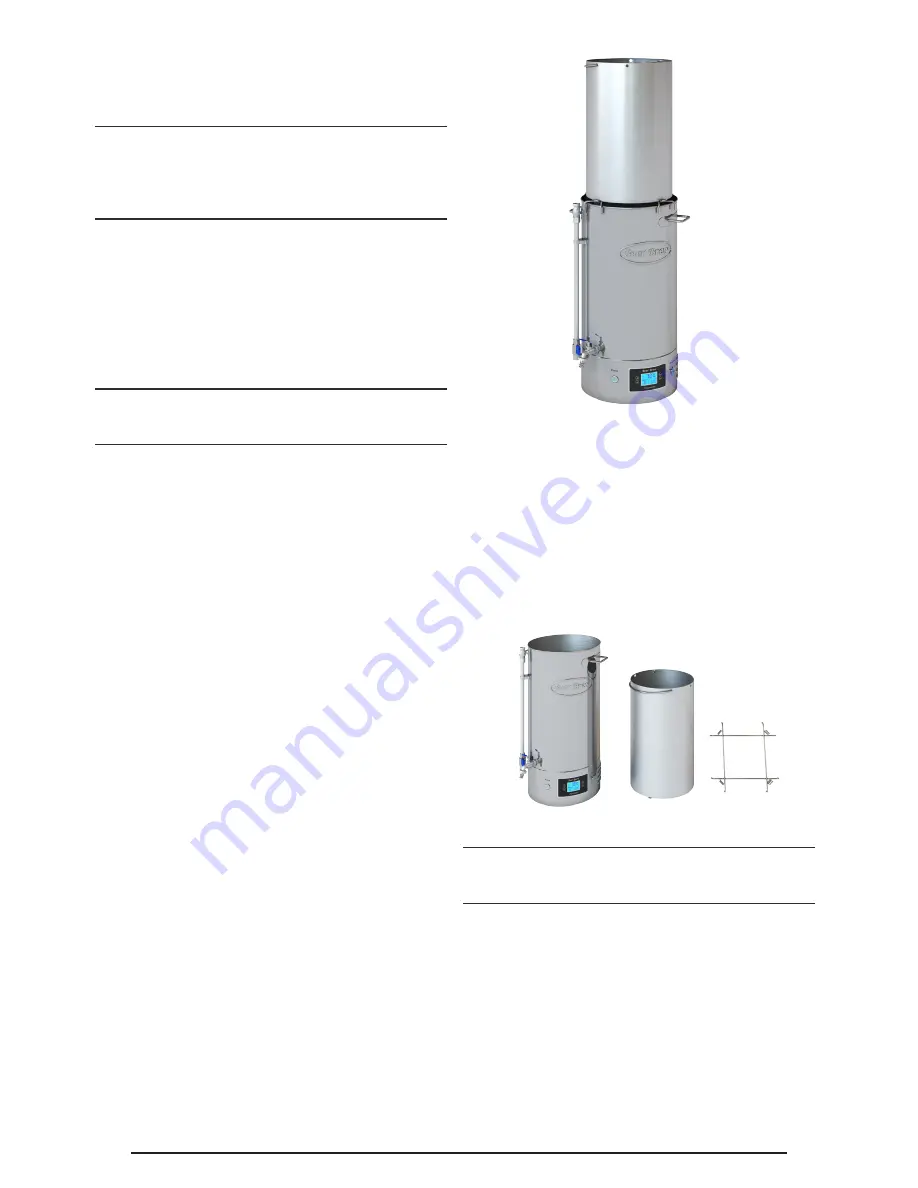
Lift the malt basket and place it on the malt basket bracket.
Align the malt basket handle with one of the bracket corners
preventing the bracket from obstructing the feet underneath
the malt basket. The runoff of wort from the malt basket and
into the brew kettle will start.
Now pour the sparge water (pre-heated to about 78°C) slowly
over the mash in the grain basket. Wait until the runoff has
almost stopped and you have collected the desired amount of
wort. You should keep a clearance from the brew kettle rim of
about 5cm. Lift the malt basket off the bracket.
Remove the bracket. Place the malt basket somewhere where
the remaining wort can run off. Throw away the remaining wort
and malt later.
Note: the heating to the boil phase now has started, and the
brew kettle surface and wort will get hot. The volume of the
wort will increase slightly when getting hotter. Normally about
3% when heating from 20°C to 100°C.
Phase III:
As mentioned earlier in this user manual, the brew controller will
start heating up the wort to a boil, trigger the audible signal, and
then boil for 60 minutes.
Tip: If you haven’t already adjusted the settings for this phase you
can do this now.
Note: The brew controller must reach 100°C before the
countdown of the boiling period will start. You may experience
that the controller temperature reading is 99°C for a long time.
It can sometime help to place the lid back on the brew kettle.
Be VERY careful if doing this, as the wort can boil over very
quickly. You can remove any foam (caused by proteins) that
is forming, to reduce the likelihood of the wort boiling over.
When the controller display indicates 100°C it will trigger an
audible signal, and start counting down the clock.


