


For more help and resources, call 1-800-544-1108 or visit www.safety1st.com
7
6
Getting Started
Quick App Guide
Camera Set-up:
•
Choose a Camera location that will provide the best view of your
baby in the crib. Camera should be placed on a flat surface, such
as a dresser, bureau or shelf.
NEVER
place Camera on cords
within
3 feet
of the crib.
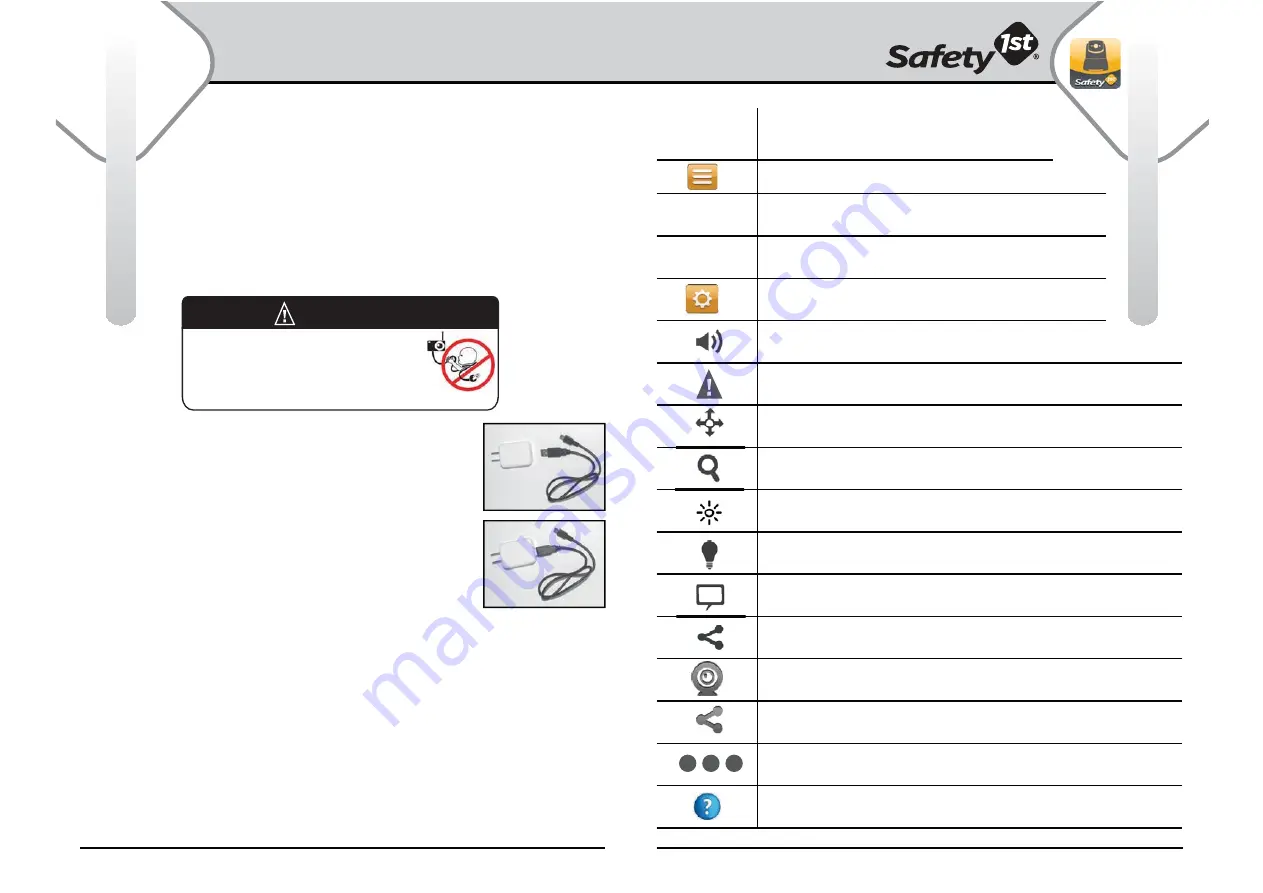
• Insert large end of AC Adapter Connector
cord into USB port on AC Adapter.
• Insert the small end of the AC Adapter cord
into the AC Adapter Jack on the back of the
Camera and plug the AC Adapter into
wall
outlet.
• Press the Power On/Off Button on he front
of the Camera. The green Power LED, on the
back of the Camera, will light up.
Note:
Press
the Power On/Off Button again to turn
device off. The green Power LED will turn off.
IMPORTANT NOTES:
• The Camera must be in range of the
Wi-Fi router with which you want to link.
• If you move your Camera from one router to another
(i.e. from home to office), then the Camera must be reset.
Reset again, if you change for other smart devices
(Android
or
iOS).
Please refer to “Resetting the Camera” s
ection (page 8).
Strangulation Hazard - Children have STRANGLED
in cords. Keep cords out of reach of children more
than 3 feet (0.9 m) away. Do not use with an extension
cord. Only use the AC adapters provided.
WARNING!
App Icons
Icon Description/Features
Home
Temperature
Humidity
Settings
Volume
Alert
Pan/Tilt
Zoom
Brightness
Nightlight
Talk
Share
My
Cams
Shared
Cams
More
Options
Help
- Displays room temperature from
current linked camera.
- Displays humidity level from current
linked camera.
- Change app account password settings
and camera settings.
- Press the up and down arrows to tilt
and the left and right arrows to pan.
- Tap to view email notifications for sound and
temperature alerts
- Turn the Nightlight On/Off.
- Slide the zoom from - to + to enlarge the view
and vice versa.
- Slide the brightness from - to + to brighten
the view and vice versa.
- Turn the Talk feature On/Off. When the Talk feature
is activated, the Talk Icon appears in the top status bar.
- Tap to invite, add and change status of friends
sharing camera views.
- Tap to add and change status of
additional cameras
- Tap to manage Account Settings
and App updates from Safety1
st
.
- Tap to add and change cameras on/off.
- Tap for help with connection problems.
See Troubleshooting Section (pages 18 & 19).
- Slide the volume from - to + to increase
volume level and vice versa.
- Exit out of app.
70˚
F
68%


