14
Recording with the Built-in microphone
Set recording sensitivity, file, VOR function and speed (HQ, SP, LP) before you start recording
(see Page 15 and 16).
You can use the function when the product is on the desk or table.
1 Direct the product's built-in microphone towards the source of the sound.
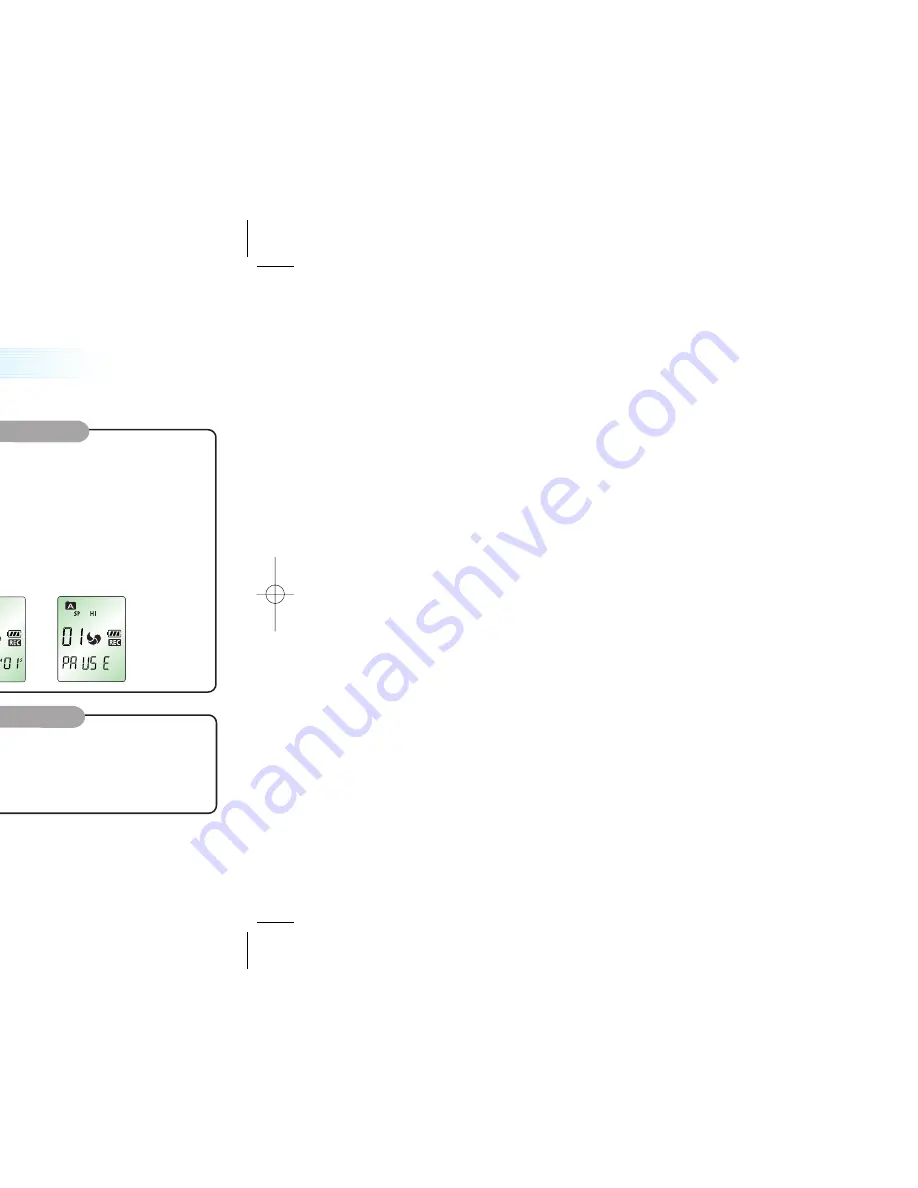
2. Press the REC/PAUSE button to start recording. REC will be displayed on LCD
(Figure 4-1 and 4-2).
3. Press REC/PAUSE button to pause the recording for a short moment. (Figure 4-3)
4. Press REC/PAUSE button again to continue the recording.
5. Press the STOP/DEL button or PLAY/PAUSE button during recording or during standby mode to
stop recording.
1
Recording with the external microphone
You can use the function when the product is in the pocket or bag.
1. Connect the external microphone supplied with your Sound MAP to the LINE Connector.
2. Follow the same procedure as with the built-in microphone.
Voice Recording
(Figure 4-1)
(Figure 4-2)
(Figure 4-3)
2
13
Recording
Please note the followings before you start recording
Check that the product is in standby mode.
Press the FOLD button to select the FOLD you want. The FOLD type will be scrolled (A, B, C, and
D) every time you press the button. If you do not select a FOLD, you will record in the current
FOLD. (Figure 3-1)
If the index of the current FOLD reaches 99, the recording will continue from the at the end last i
ndex of the next FOLD.
Press the PLAY/PAUSE button to display the remaining recording capacity.
Slide the M(MENU) button toward NEXT to increase the size of the
index while you are recording (Index separation function).
The maximum index number for each FOLD is 99 (Up to 396 FOLDs: 99 X 4 ).
If the recording time is longer than the available capacity or when the
index reaches 396, 'FULL' is displayed and you cannot continue recording.
(Figure 3-2)
When this happens, delete some recordings or move them to an external appliance (audio or PC)
to continue recording.
Do not remove the batteries during recording. This may cause the product to malfunction. If you intend to
record for a prolonged period of time, first replace the batteries while the unit is in standby mode or power off mode.
Do not touch or move the product while you are recording via the built-in Microphone.
This may cause unnecessary noise on your recording.
The recording will automatically be paused when the level of sound resource
decreases while VOR is on. (Figure 3-3)
- The sound may be discontinued for a short period while VOR mode is activated.
- When you use the VOR function in Low-sensitivity mode, only loud sounds will be ecorded.
- Deactivate the VOR function when recording important conversations.
(Figure 3-2)
(Figure 3-3)
(Figure 3-1)
FOLD type
Select one of A, B, C or D.


