background image

44

English

8.3.3 

Description of messages in 
the maintenance menu

MAINTENANCE

This function enables the 
display and cancellation 
of any errors that may be 
present. It is also possible to 

carry out maintenance on the vending machine.

To reset the errors, use the menu under the maintenance 
item.

Error reset

This describes the current error 
(check the cause in section 
11.2 - Error messages). If no 
error is present, this message 

is not displayed.
After checking the error cause, press the ENTER key to reset 
the vending machine (see section 11.2 for the complete list 
of errors).

Error log

VM’s EEPROM records the 
important events that occur in 
the VMC (for example errors 

that occurred, warning messages, etc.).
Recording takes place when the error condition is detected 
and consists of saving the following information:
1-  error code (or warning code) occurred;
2-  location of signal source (e.g., which spiral motor, if the 

error is due to a spiral motor, or which coffee or instant 
product);

3- day, month, hour and minute of error detection (this 

information is available only if the VM is equipped with 
a timekeeper).


The recordings are included in a list which may contain 
up to 50 elements; when this limit is exceeded the 
information is input again starting from position 1 
(previous information will be lost).

Note

All errors or faults are stored, except when blocks occur 
(coffee, instant product, beverage, water).

Display:

1.1
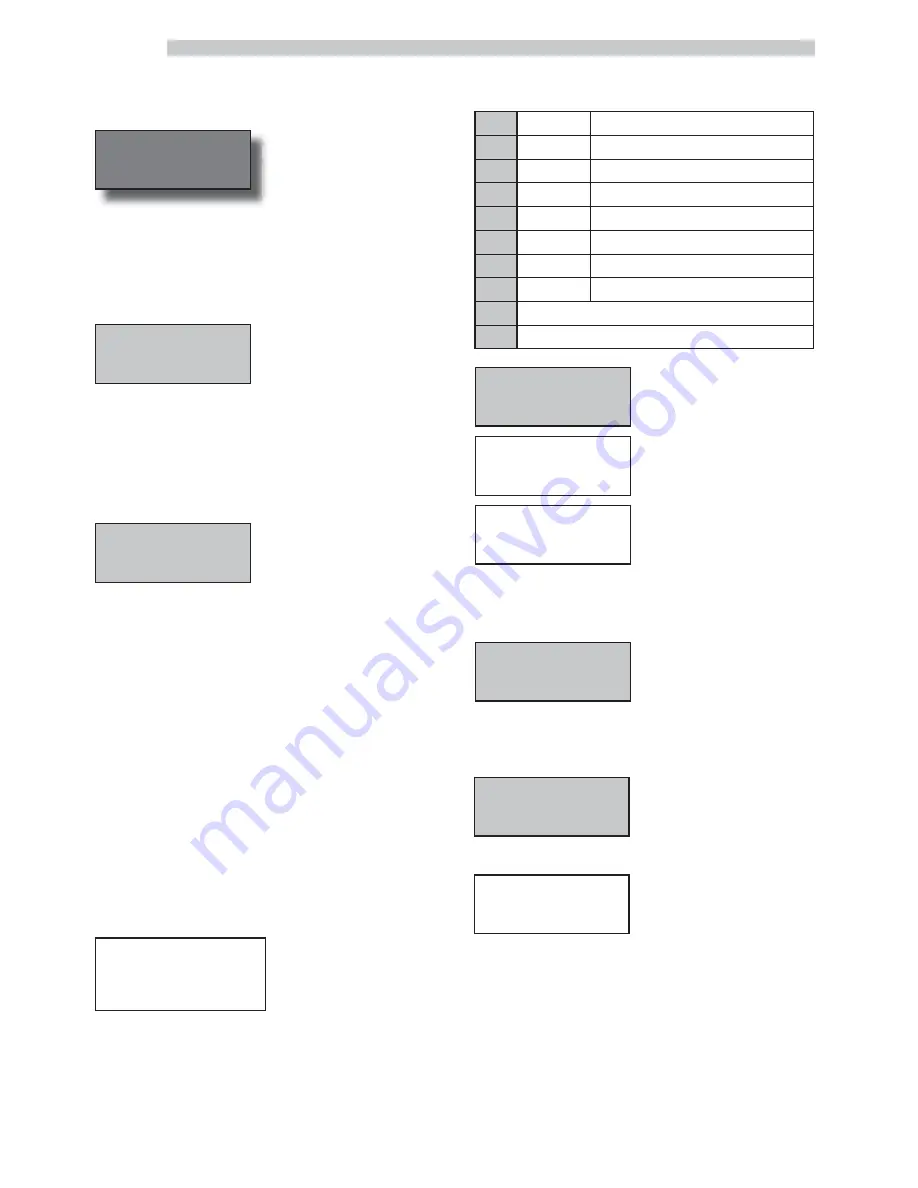
ERROR LOG ii/NN
dd MMM hh:mm
Exx - aabb

M

Th
d
of
pr

1.
Maintenance
             ...

1.1.
Actual error
          

Format of warning error description recorded in LOG:

Exx

WHAT ==> xx code error/warning alarm

aabb

WHERE ==> if Myy = spiral motor yy 

aabb

WHERE ==> if Syy = yy instant product dispensing 

aabb

WHERE ==> if Lyy = yy instant product rinsing 

aabb

WHERE ==> if C — = coffee brewing 

aabb

WHERE ==> if aabb = hexadecimal codes

ddmmm

WHEN ==> day in figures, month in string (3 letters)

hh:mm

WHEN ==> hour:minutes

ii

error index in LOG

NN

number of errors in LOG

Step down counters

RESINS REGENERATION
Allows the use of the water 
filter to be checked.

RESET
Select YES to indicate a new 
filter has been installed. This 
operation returns “Remaining 
Qty” to the same value as 

“Filter Limit” and the date in the “Last Filter Change” is 
changed to today’s date.

Rinsing time


Enables rinsing of the instant 
product brewing circuits.


By pressing the ENTER key 
the automatic cycle starts, thus 

activating each instant product circuit in sequence.

Test Water/Solubles

Allows some calibration 
operations to set up the 
machine.

BATCHER1 CALIB.
Allows checking the quantity 
of powder dispensed by 
dosing unit 1.

To carry out the check, you must:
1-  remove the brew group
2- prepare a container (e.g. a cup) to collect the coffee 

powder

3-  Select “Yes” from the menu, the machine grinds a coffee 

dose and discharges it

4- check if the weight of the resulting dose corresponds 

to what expected, otherwise adjust the dosing unit as 
shown in section 7.4

1.2.
Error log
          

1.3.
Step down counters
          

1.3.1.
Resins regeneration
             

1.3.2.
Reset
             

1.4.
Rinsing time
          

1.5.
Test water/solubles
          

1.5.1.
Batcher1 calib.
             

Summary of Contents for ATLANTE

Page 1: ...USE AND MAINTENANCE Vending Machine WARNING This instruction manual is intended exclusively for specialized personnel D A ATLANTE Type D A SG 650...

Page 2: ...sh MAIN PARTS ATLANTE 2 3 5 6 7 8 4 Fig 1 1 1 Door lock 2 Display 3 Product keypad 4 Coin slot 5 Change return key 6 Instruction plate 7 Dispensing outlet door beverage cup dispensing 8 Change removal...

Page 3: ...oducts 13 Coffee grinder 14 Instants opening 15 Mixer 16 Spiral mixer 17 Safety switch 18 Dispensing arm 19 Drip Tray 20 Brew group 21 Descaler device 22 Coffee ground channel 23 Fluid discharge tank...

Page 4: ...35 39 36 37 38 34 40 33 Power Board 34 Air break device 35 Steam boiler 36 Coffee boiler 37 Pump 38 Triac board 39 Instant product boiler 40 Suction unit 41 Water connection coupling 42 Power cord so...

Page 5: ...it filling 26 7 10 1 Automatic filling of the instant product boiler 26 7 10 2 Filling the coffee boiler manually 27 7 11 Cleaning the parts in contact with foodstuffs 27 7 12 Use of the vending machi...

Page 6: ...horized to carry out any cleaning or maintenance operation Supply operator Indicates operations to be carried out only by personnel in charge of supplying and cleaning the vending machine Maintenance...

Page 7: ...ed use and or according to procedures which are not described in this publication any intervention on the vending machine which differs from the instructions given in this publication any alteration o...

Page 8: ...ins connection 3 4 Gas type Min water inlet pressure 0 15 MPA 1 5 bar Max water inlet pressure 0 8 MPA 8 bar see figure 4 A Weighted sound pressure level less than 70 dB 1830 8 6 5 750 Container capac...

Page 9: ...otection devices during installation testing and maintenance operations Precautions for preventing human errors make the operators aware of safety issues handle the vending machine either packaged or...

Page 10: ...ts 3 5 Residual risks The dispensing outlet is protected by the door interlocked by the safety switch If it is opened during the brewing cycle mechanical movement is blocked but if brewing has already...

Page 11: ...the vending machine overturning or laying the vending machine flat during transport and handling shaking the vending machine lifting the vending machine with ropes or cranes leaving the vending machi...

Page 12: ...he wall in order to keep the air outlet grille free Fig 12 5 2 Unpacking and positioning On receipt of the vending machine make sure that it has not been damaged during transportation and that package...

Page 13: ...let so that the four supporting B feet can be screwed on Fig 16 it is necessary to remove the skirting In order to perform this operation take the key from the dispensing outlet Fig 17 Insert the key...

Page 14: ...pin Fig 22 is inserted in the hole Fig 23 To substitute the 90 mm stirrers with those of 105 mm or 115 mm proceed as follows Unfasten the two screws fixing the stirrer guide Fig 24 and 25 Fig 22 Fig...

Page 15: ...unscrew the 4 knobs holding the keypad panel in place Fig 27 Remove the protection and disconnect the connectors shown in Fig 28 Withdraw the keypad panel Fig 29 Insert the product labels Fig 30 Chec...

Page 16: ...16 English Standard product configuration INSTANT Fig 31...

Page 17: ...17 English Standard product configuration 1 GRINDER Fig 32...

Page 18: ...18 English Fig 33 Standard product configuration 2 GRINDERS...

Page 19: ...ons by pressing on the internal retainers Fig 34 Place the plates on the transparent protections and fit them back on the keypad panel Fig 35 Fig 38 Place the bag on the channel Fig 38 5 6 Fitting the...

Page 20: ...ne Gas coupling Fig 40 5 8 Connection to the electric network Warning The Maintenance Technician who is responsible for the installation of the vending machine must ensure that the electric system com...

Page 21: ...rage Press the key before selecting the beverage The preselection remains active for 8 seconds Preselection Key Fig 43 The functions associated with the preselection key can be selected from the follo...

Page 22: ...ense the following products Fig 47 Instant product 1 Tea Instant product 2 Chocolate Instant product 3 Decaffeinated coffee Instant product 4 Milk Instant product 5 Barley Fig 47 Soluble 1 Soluble 2 S...

Page 23: ...r Fig 52 Replace the cover on the container For the double coffee grinder version the operation described above must be repeated for both the containers using different coffee blends Important If the...

Page 24: ...the dose required Fig 55 7 5 Coffee grinding calibration Turn the ring Fig 56 until the required results are obtained After any calibration three selections are necessary before the new setting becom...

Page 25: ...s carry out the adjustment by keeping the solenoid valve open for a fixed time of 10 To adjust a solenoid valve for instant products proceed as follows 1 Enter the WATER TEST menu see section 8 3 3 2...

Page 26: ...f the filling of the boiler is not successful the machine cannot be set into service The BOILER FILL ERR24 message will be shown on the display Should it be the case eliminate the trouble and repeat t...

Page 27: ...65 to access the RINSING entry press the button e Fig 65 to start the automatic filling cycle Important Once the boilers are full rinse the mixers to remove any residue in the water circuits until wa...

Page 28: ...y description of programming and maintenance phases To scroll through the vending machine menu the keys described below are used e Key ENTER 4 Fig 65 By pressing this key it is possible to enter the f...

Page 29: ...sts 1 26 3 1 LA1 Normal Prices 1 26 3 2 LA1 Diff Prices 1 1 26 3 3 LA1 Diff Prices 2 1 26 3 4 LA1 Card Prices 1 26 3 5 LA1 Free 1 26 3 6 LA1 Test 1 26 4 PA1 4 Products 1 26 5 VA1 3 Sales 1 26 6 BA1 CA...

Page 30: ...RESET Select YES to indicate a new filter has been installed This operation returns Remaining Qty to the same value as Filter Limit and the date in the Last Filter Change is changed to today s date FI...

Page 31: ...g Enables instant pre grinding of the coffee dose Preheat solubles Enables selection of the instant products for which the preheating function will be enabled By enabling this function the vending mac...

Page 32: ...ct based on two components beverage cup the operator will therefore have to set the price of both components The amount paid by the user for each product with cup is given by the sum of the beverage p...

Page 33: ...see the BEVERAGE BREWING menu B BEVERAGE by pressing this key the beverage recipe 16 will be brewed C DISABLED pressing the key has no effect Disp outlet micro It enables disables checking if the dis...

Page 34: ...lecting the category of data that will be transferred by the VM during an Audit Eva Dts session 1 26 EVA DTS 1 26 1 EA1 2 Events 1 26 2 EA3 5 Readouts 1 26 3 LA1 Prices Lists 1 27 Cup Sensor 1 26 3 1...

Page 35: ...nical coiner and the cancelling machine control are enabled By setting N a parallel coiner which may be connected to the vending machine is always disabled Th SY 2 Payment System 2 1 Protocol 2 2 Para...

Page 36: ...l M channel with the medium low coin value below the minimum level HL channel with the medium high coin value below the minimum level HH channel with the highest coin value below the minimum level 2 4...

Page 37: ...machine Overpay Time It establishes the maximum time expressed in seconds beyond which the vending machine collects the displayed residual credit The time is adjustable at intervals of 10 seconds By...

Page 38: ...everage 16 17 Beverage 17 18 Beverage 18 19 Beverage 19 20 Beverage 20 KEY 16 and 17 PRESELECTION KEY Press KEY Press PRESELECTION 16 KEY 1 Beverage 1 Beverage 21 2 Beverage 2 Beverage 22 3 Beverage 3...

Page 39: ...d order of use Each component is identified by a number or a digit Fig 68 3 3 Beverage Preparation Soluble 1 Soluble 2 Soluble 3 Soluble 4 Soluble 5 Fig 68 3 3 Beverage 1 3 3 Beverage 1 Sequence 0C00...

Page 40: ...ity of sugar to be dispensed with the beverage The following table shows the result of the various settings Settings Sugar in beverage without preselection Sugar in beverage with preselection 0 Withou...

Page 41: ...all beverages are given the same price level GLOBAL PRICE SETTING By pressing the UP and DOWN keys and confirming with ENTER it is possible to choose the price level to associate to all beverages SIN...

Page 42: ...e of charge uponpayment or free of charge within a time range Free On Off Allows the beginning and end of the free of charge beverage supply to be set Diff Prices 1 On Off Allows the beginning and end...

Page 43: ...ss ENTER remove the key from the safety switch in order to turn off the vending machine close the door and wait for the self configuration process to end 1 MAINTENANCE 1 1 Actual Errors 1 2 Error log...

Page 44: ...y 1 1 ERROR LOG ii NN dd MMM hh mm Exx aabb M Th d of pr 1 Maintenance 1 1 Actual error Format of warning error description recorded in LOG Exx WHAT xx code error warning alarm aabb WHERE if Myy spira...

Page 45: ...zle STATISTICS Total sales The total revenue from the sales of all selections and beverages is displayed By pressing ENTER it is possible to obtain detailed information of this revenue for 1 5 2 Batch...

Page 46: ...oading is complete If the door is opened accidentally it should be closed and the beverage brewing will continue automatically During the brewing of a beverage payment systems are disabled the first l...

Page 47: ...components must be rinsed with warm water only without using any detergent or solvent that could modify their form and operation Removable components cannot be rinsed in the dishwasher During the cle...

Page 48: ...the coffee ground bag Tighten the clip extract the full bag and replace it with a new one Fig 72 10 2 4 Emptying the fluid discharge tank Remove the tank from the vending machine Fig 73 Wash the tank...

Page 49: ...ng arm Fig 74 Fig 77 Upper filter Fig 75 Fig 74 Fig 76 Fig 78 Fig 79 Important When inserting the brewing group make sure that the reference arrows are aligned If this is not the case align them using...

Page 50: ...e Fig 81 and remove the mixer body Remove the fan by levering carefully with a flat screwdriver Fig 82 Wash all components with lukewarm water and pay particular attention not to damage the fan Assemb...

Page 51: ...he components in reverse order 10 2 8 Cleaning the containers To clean the coffee bean hopper the following operations are necessary push the moving panel inward Fig 86 dispense a few test coffee cups...

Page 52: ...reassembling it replace the container taking care to insert the nozzle into the coupling Fig 91 remove the container fig 88 by pushing it towards the inside of the vending machine in order to release...

Page 53: ...rled pin to remove the movable sugar chute from the support Fig 95 Fig 92 Fig 94 Fig 93 10 2 9 Cleaning the dispensing arm Remove the elastic which blocks the hoses Fig 92 Disconnect the hoses from th...

Page 54: ...54 English 10 2 12 Cleaning the stirrer channel Remove the stirrer channel Fig 97 Wash the stirrer channel in lukewarm water and assemble in reverse order Fig 97...

Page 55: ...p Turbine and De humidifier To access one of these components do not remove the instant products and coffee containers but simply pull the retainer downwards Fig 98 ref A and turn the surface clockwis...

Page 56: ...arch procedure and the following recording on the microcontroller is performed according to the following steps The CPU recognises the USB key and searches for the file with the software to be loaded...

Page 57: ...E The coffee beans hopper is empty Carry out the supply see section 7 NOT AVAILABLE A Type of product not available NO CHANGE AVAILABLE The level of coin stacking tubes is below the preset limit Add c...

Page 58: ...sheet YES YES VMC no brew group detected 20 E coffee blocked YES YES VMC abnormal flow detected in coffee brewing 22 E coffee blocked NO YES Loader pump timeout 23 w message only YES YES VMC no instan...

Page 59: ...tive for a long period it is necessary to carry out the same operations as described at 12 1 wrap the vending machine in a tarpaulin to protect it from dust and damp check that the vending machine is...

Page 60: ...Cod 15001683 Ed 03 03 09...

Reviews: