21
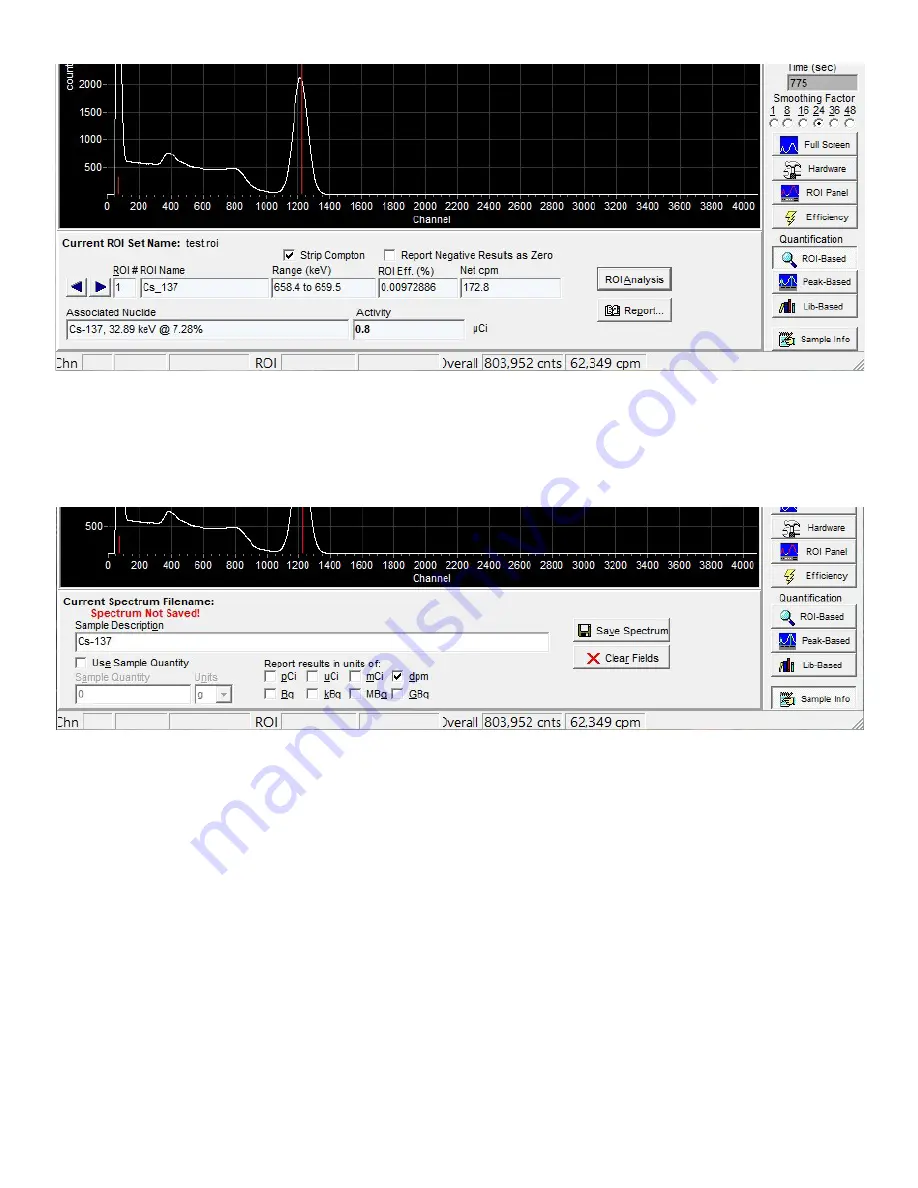
The “Sample Description” input box allows the entry of a brief description or note. This will be displayed in all
subsequent analyses and reports generated, and will be saved with the spectrum file.
If “Use Sample Quantity” is checked, two controls will be enabled that allow entry of a sample quantity
and associated units. These values will be saved with the spectrum, and used and displayed in subsequent
analyses.
Eight checkboxes with radiological units are displayed. Any combination of these may be checked, and activity
results in subsequent reports generated will be displayed in all of the units selected. If none of these are
checked, no quantitative analysis results will be displayed in subsequently displayed reports.
The “Save Spectrum” button repeats the function under the “File Menu.” It is also included here for
convenience. The “Clear Fields” button deletes the data entered in the Sample Description and Sample
Quantity.
The “Print Preview” or “Report” Screen
This screen is used to display, save, and print all reports generated by URSA-II MCA.
The “Print” button will send the report to any printer via the Windows operating system. The report should
print exactly as displayed.
The “Save” button allows the report to be saved as either a rich text file (rtf) or a plain text file (txt). Both
formats can be used with most word processors; saving as an rtf keeps the look of the file exactly the same as
displayed (i.e., changes in font sizes, bold, tabs).
The up and down arrows are the same as page up and page down keys, which can also be used.


