34
10:39
10:39
0% 4%
21,0°C
10:41
10:41
10:41
10:40
0% 4%
21,0°C
10:41
0% 4%
21,0°C
10:39
1 6:00 12:00
2 13:00 16:30
3 17:30 22:00
English
Tel. +49 7930 9211-0 Fax +49 7930 9211-150
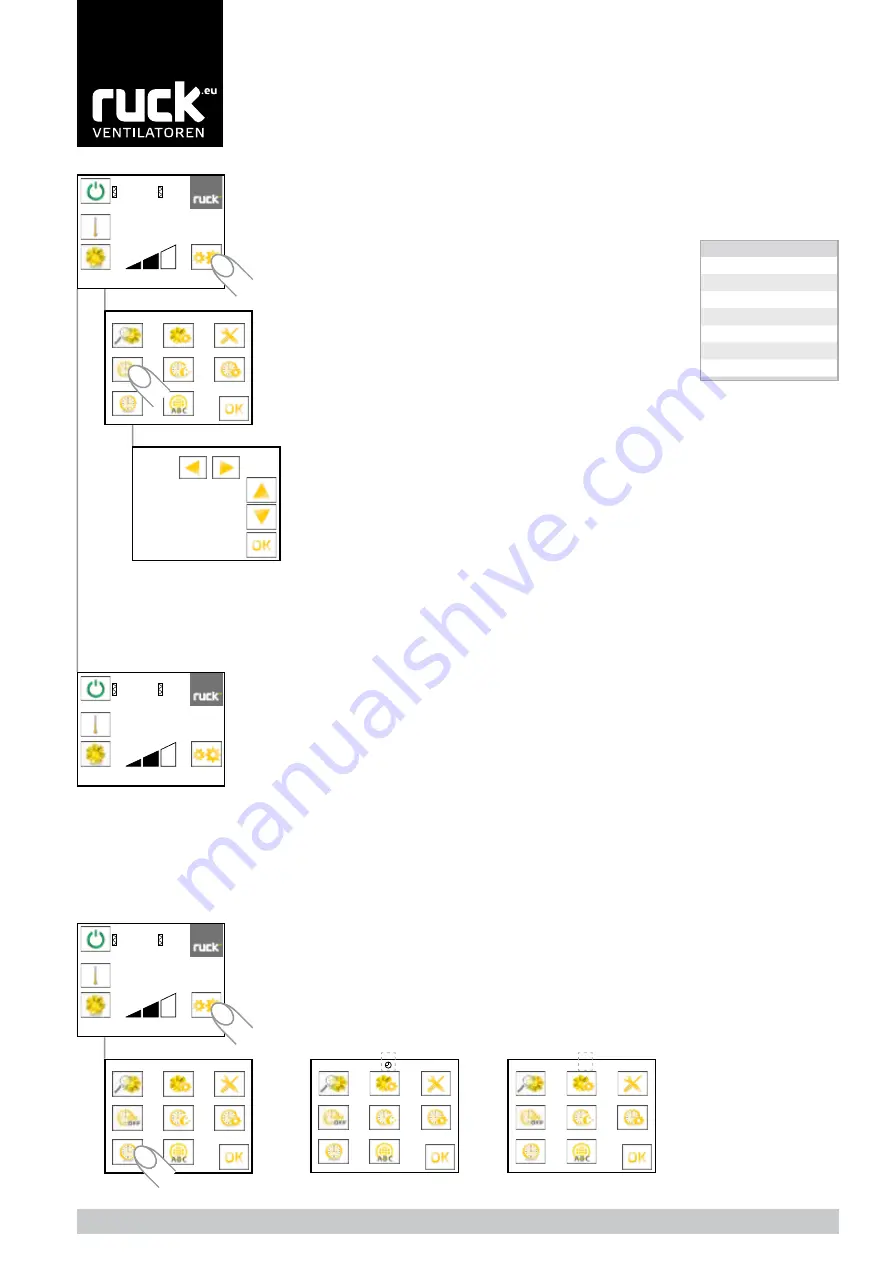
With the setting parameters for the timer, the times when the unit is to come on (ON) or off (OFF) can
be set individually for each day of the week.
You can switch from the Operating display to the Selection menu through the „Settings“ icon. You can
access them by selecting „Timer settings“ in the menu for setting the timer.
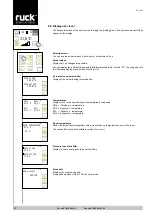
Row (1) flashes on the display, indicating the time when the unit should start on day 1 (Monday) (ON).
You can set the hours with „▲“ and „▼“ and then confirm with „►“. The display then switches to
setting the minutes which you can also set with „▲“ and „▼“ and then confirm with „►“.
(The minutes are set in 5-minute increments)
The display now shows flashing of the time when the unit should shut down on day 1 (Monday)
(OFF). The setting and confirming of the hours and minutes is done the same way with „▲“ and „▼“
and with „►“.
You may now set a second period of time for day 1 (Monday) in row (2). Proceed the same way as
you did for row (1). If you do not wish to set a second or third period of time, confirm the times 0:00
with „►“.
After the last item is confirmed for row (3), the display switched to day 2 (Tuesday), for which you can
also set the ON and OFF switching times of the unit. Days 3 to 7 then follow.
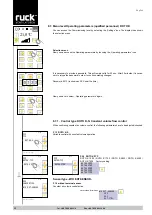
After you have set all the parameters / days, you go back to the Operating display by clicking „OK“.
However, you do not have to go through the whole timer menu to get back to the status display. You
can go back to the Operating display by touching „OK“.
Note:
If the parameters are set with the time 0:00 , the unit will not switch on, respectively will not switch off.
If, for example, you do not want the unit to switch on during the weekend, then you must set the
values 0:00 for day 6 (Saturday) and day 7 (Sunday).
The values set are saved even when there is a power failure or if the battery in the control unit runs
down. Only the current time and day of the week have to be reset.
Note: The instructions for changing the battery of the clock are under 7. Battery changing
Timer on
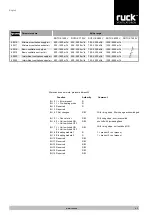
The timer can be switched on and off as required.
You can switch from the Operating display to the Selection menu through the „Settings“ icon. By
selecting the „Timer“ icon, the timer cand be switched on or off.
When the timer is on, a continuous clock symbol is shown on the display.
9.9.2. Setting the timer
DAY 1 ON OFF
9.9.2.1. Timer on and off switching
Set
Day
1
Monday
2
Tuesday
3
Wednesday
4
Thursday
5
Friday
6
Saturday
7
Sunday
Timer off


