226
Puncture Repair & Wheel Changing
5.
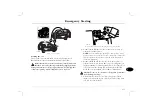
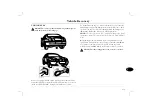
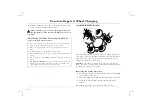
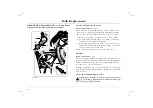
Hold the canister upright and flip up the protective cap.
6.
Press the button to inflate the tyre. Hold the canister
stationary to avoid straining the filler tube.
7.
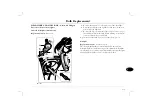
Empty the ENTIRE contents of the canister into the tyre.
When the sealant stops flowing through the tube, release the
button and unscrew the tube from the valve.
NOTE:
If tyre sealant comes into contact with the car's paintwork,
wash the area with water as soon as possible.
8.
If the wheel rim is clear of the ground, drive the car
IMMEDIATELY for approximately 6 km to spread the
sealant evenly inside the tyre. Drive gently and DO NOT
exceed 45 km/h. If the wheel rim does not lift from the
ground, DO NOT drive the car; seek assistance from the
breakdown services.
9.
Drive immediately to a service station and inflate the tyre to
the correct pressure (see ‘TYRE PRESSURES’, page 191). If
the required pressure cannot be reached, then the tyre is too
severely damaged and you should seek assistance from the
breakdown services. DO NOT DRIVE THE CAR!
10.
If the correct tyre pressure was achieved, continue driving.
Drive carefully and do not exceed 80 km/h. At the earliest
opportunity, have the tyre repaired or replaced by a dealer or
tyre specialist and replace the used canister of tyre sealant.
Always inform the tyre repairer that tyre sealant has been
used. If the tyre is to be subsequently deflated, only do so in a
well ventilated area.
Replacing the sealant canister
Always replace a used or out of date tyre sealant canister with one
of the same type and capacity. Where possible, return the canister
to an MG Rover dealer for safe disposal and to obtain a
replacement.
HB0604
Summary of Contents for 75 Saloon
Page 4: ......
Page 72: ......
Page 120: ......
Page 182: ......
Page 254: ......
Page 255: ...6 Technical Data 256 Technical Data 271 Fuel Consumption 274 Declaration of Conformity ...
Page 274: ...274 Declaration of Conformity Declaration of Conformity HB0199 ...
Page 275: ...Declaration of Conformity 275 6 HB0200 ...
Page 276: ......
Page 285: ...END OF OWNER S HANDBOOK ...


