18
|
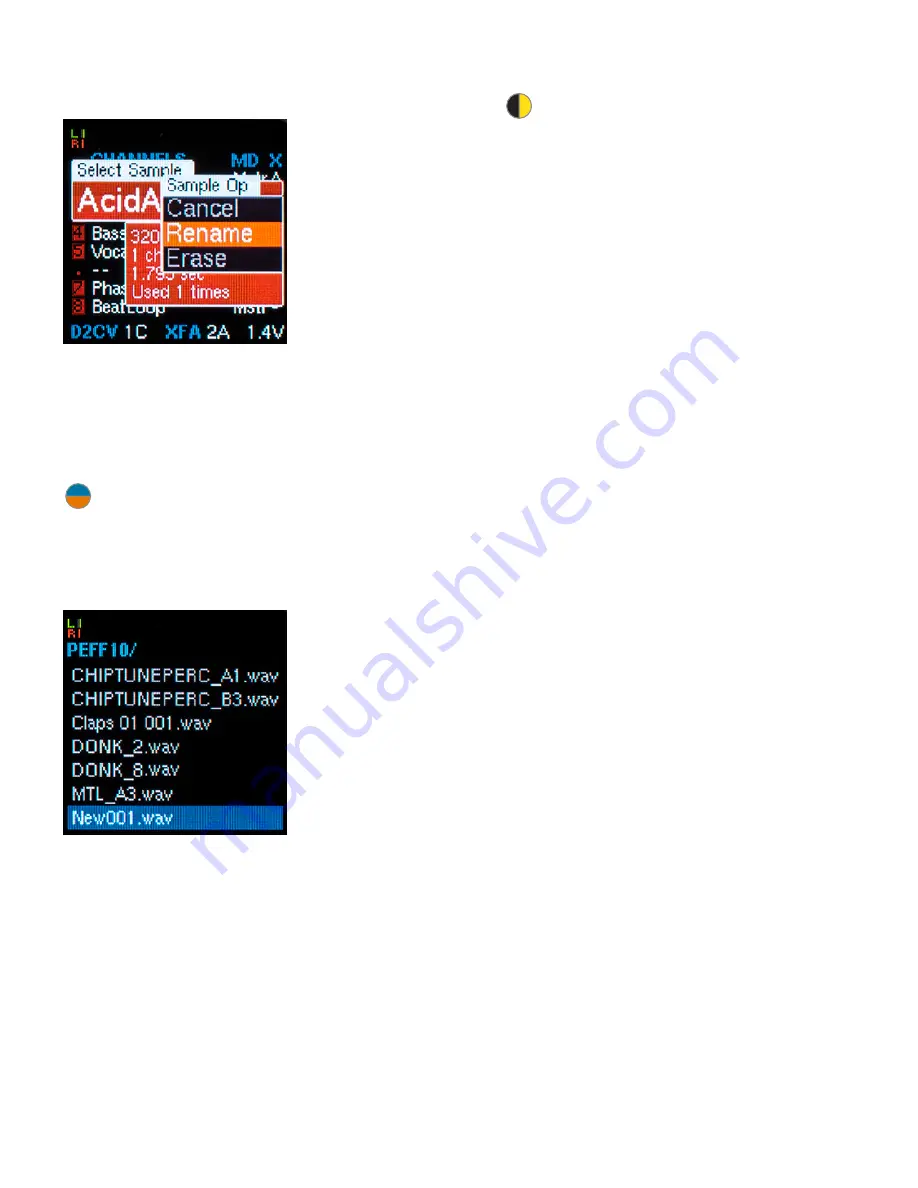
Renaming and Erasing Samples
To rename a
sample or to
erase a sample
from the current
folder (and from
the inserted SD
card), on either
the
Channels
or
Zones
page,
highlight the
sample and click
the encoder to
bring up the
Sample Selection
field. Then
long-press the encoder switch to bring up
the
Sample Op
window and select
Rename
or
Erase
as desired and click the encoder
again. Proceed with renaming or erasing.
NOTE:
Erasing a sample will delete it from
every preset it appears in, so make sure
you know where it’s used before deleting it, as
the deletion is permanent.
Importing Samples
When creating
presets, samples
must be in the
currently loaded
folder in order
to be assigned
to channels or
zones. However,
samples can be
imported from
other folders
into the currently
loaded one.
To import a sample:
>
With the destination channel or zone
selected (i.e., the channel or zone you
want to import the sample into), press the
LOAD
button.
>
Scroll to the
Folder
on your SD card that
contains the sample you want to import.
>
Double-click the
LOAD
button to display
the contents of the selected folder.
IMPORTANT NOTE:
Do
NOT
click
the encoder here. If you do, you
will actually load the folder (rather than
browse its contents) and erase any unsaved
changes in the preset you were working on.
>
Scroll through the folder’s contents to
locate the sample you want to import.
>
Click the encoder to bring up the
File Op
window. Select “Import” and click the
encoder again.
>
The sample will be imported into your
selected channel or zone and you will be
returned to your current preset with your
imported sample in place.
Summary of Contents for ASSIMIL8OR
Page 67: ...67...


