G A L A X Y N A S L X C O N F I G U R A T I O N A N D S Y S T E M I N T E G R A T I O N G U I D E
39
Section 3 Menu Functions
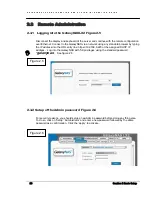
When SFTP is enabled, the user has the access to the share through the authorized user
name and password.
L
Important: If the NAS server uses Windows domain authorization, then a short
name of the domain must precede a user name – connected with a plus sign, i.e.
“Administrator”.
To connect to a share via SFTP in the selected encryption, type in SFTP client NAS support
SSL and TLS explicit encryption. All SFTP shares are in the “shares” directory. Users see only
the allowed shares.
L
Important: Most FTP clients have bookmarks allowing setting up IP, port home
directory, etc. Suggested home directory for the Anonymous is “pub” and for SFTP is
“shares”.
3.1.2 Users
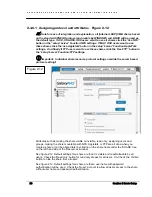
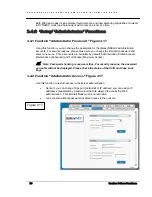
3.1.2.1 Function: “Create new user” Figure 3.6
When using the authentication mode of “Workgroup internal LDAP” the category “Users”
serves as the data entry mask for user accounts. In principal, the process is the same as when
you create shares. Enter new users here and assign each of them a name and a password.
For security reasons, you have to enter the passwords twice.
"
Note: If users forget their password, there is no way to retrieve it. You can only set
a new password.
As with all other functions, you open the entire list and select a certain user. In addition, you
can remove certain users from the list. In the mode “Windows (PDC)” all users are
automatically synchronized with the external server.
If you want detailed control over which shares users are allowed to accesses, simply assign
the corresponding privileges, or add those users to an already existing user group holding the
rights you want to assign to that person.
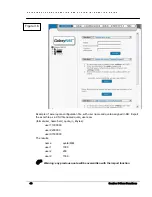
3.1.2.2 Function: Quota for users (import/export) Figure 3.6
This function provides administrator import/export settings of Quota for users.
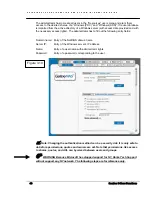
Import
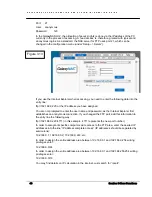
An excel quota_users.csv file must be created for each user showing how much storage each
is assigned using the format specified below. In order to import this quota settings file into the
NAS , prepare a “settings” directory on lv00 volume, then copy the previously prepared
configuration file “quota_users.csv” (see example below). Next click the “Import” button –
which is available in import/export function (settings will be loaded for actually existing users
Note: in case of any errors, there will be a file generated with logs “quota_users_import.log”)

