Copyright ROMPA® Ltd
GYMTOP® USB PROFESSIONAL 20143, KH 2.10
2. Once the CD has been inserted, the installation assistant starts automatically. If the auto-
start function of your PC is de-activated, open through Windows Explorer i.e. Windows key
+ E. Then select the CD-ROM drive and start the program SETUP.EXE
3. Choose your language by pressing the respective flag.
4. Now connect the Gymtop® to your PC. If you use WinXP a message window rises. First
choose ‘No, not this time’ and click on ‘Next’. Then choose ‘Install software automatically’
and click on ‘Next’. Choose ‘Continue Installation’ and then ‘Finish’. Lastly, click on ‘OK’.
5. If the program is already installed, the setup will remove the old version. After this run the
set up again.
6. Select the destination folder for the installation.
7. After installing the files click on ‘Finish’.
SUGGESTIONS
Familiarise the user with the GYMTOP®. Satisfy yourself that the user is able to use the
GYMTOP® appropriately. Use on a flat, stable, non-slip surface. Remove any obstacles and
take all appropriate safety measures.
The user should either wear non-slip shoes or be bare-foot.
The more closely together the legs of the user, the more difficult the activities. Some activities
may be completed on one leg. Stand centrally on the Gymtop®. If appropriate to the user, the
user may sit on the Gymtop®, supposing that the Gymtop® is raised as required (used on an
appropriate chair etc).
Allow the user time to practise movements front to back/left to right/circling.
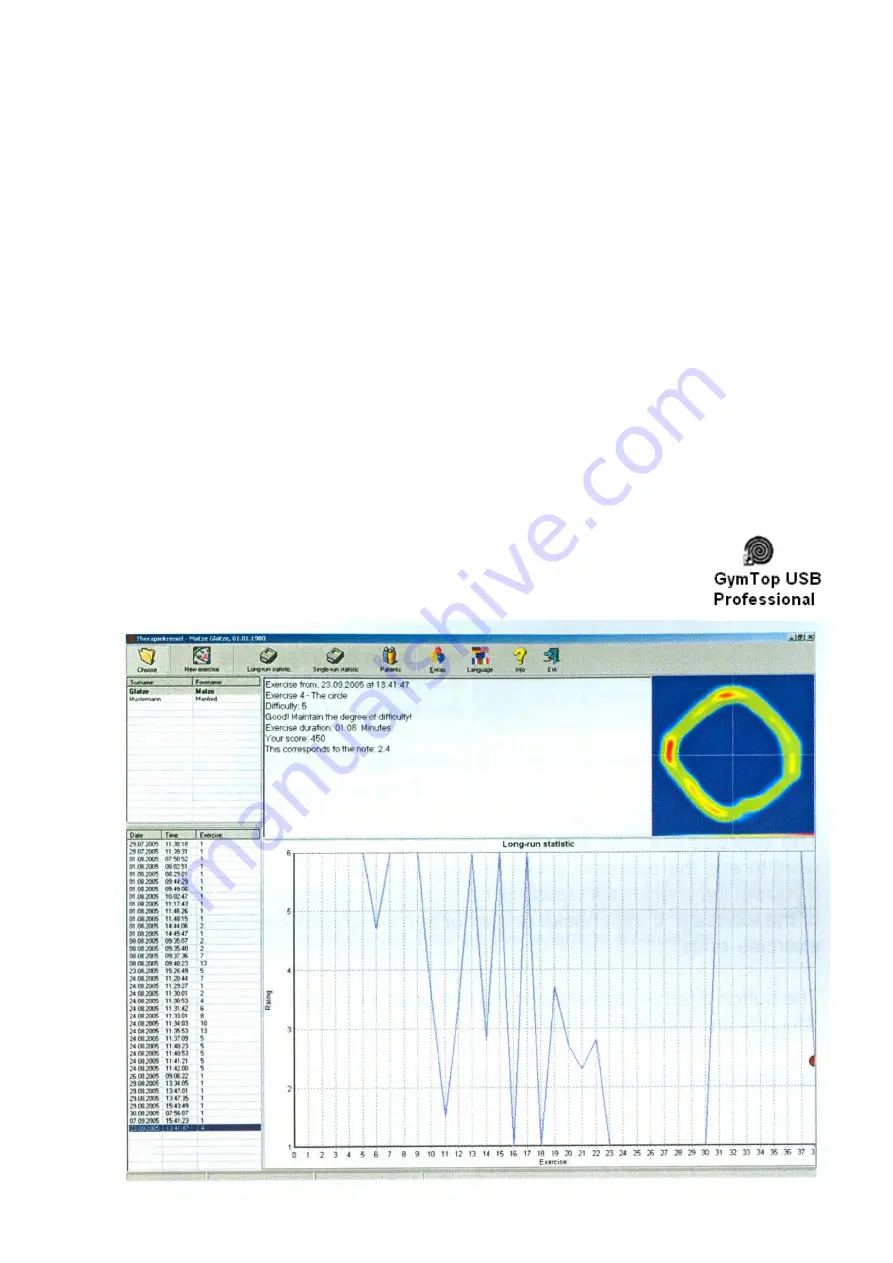
The control centre
The main window is the central control centre. The main window is opened
by double-clicking on the icon shown to the right:


