background image

5

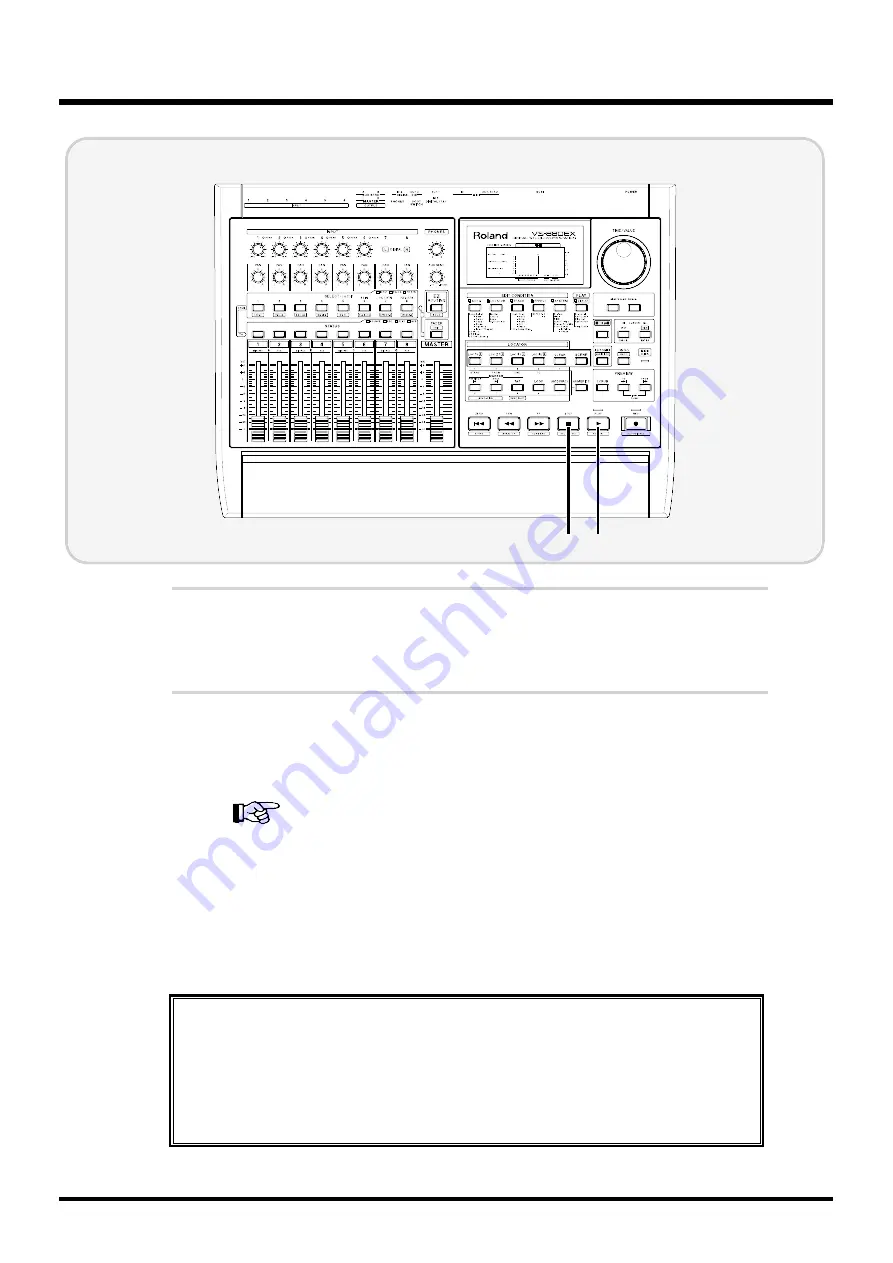
Press [PLAY].

The PLAY indicator lights green, and recording starts. Now begin playing.

6

When you have finished the performance, press [STOP].

The song then stops.

To select the source to record into the tracks, please refer to

“Recording to the Tracks” (Owner’s Manual p. 42) and “Making Mixer
Settings Automatically (EZ Routing)” (Owner’s Manual p. 74).

To record digital signals, please refer to “Recording Digital Signals”
(Owner’s Manual p. 55).

To record while having the metronome play, refer to “Sounding the
Metronome” (Owner’s Manual p. 154).

6 5

To cancel track assignments

You can cancel all assignments (routings) of sources or tracks to tracks (i.e., to a state
where nothing is connected).

1.

Press [PLAY (DISPLAY)].

2.

Hold down the STATUS button and press [CLEAR].

Basic Operation (Multi-Track Recording)

16

Summary of Contents for VS-880EX

Page 1: ...tion terminals controls and so on Example INPUT 1 control indicates the Channel 1 input sensitivity adjustment knob Letters and numerals in quotation marks refer to messages displayed on the screen Ex...

Page 2: ...ting Instruments 14 Recording to the Tracks 15 Playing back Recorded Performances 17 Saving a Recorded Performance 18 Undoing a Recording Operation 19 Re recording a Specific Section 21 Recording Addi...

Page 3: ...devices always turn down the volume and turn off the power on all devices before making any connections When you use headphones connect them to the PHONES jack in the rear panel The sound from the PH...

Page 4: ...wer of the VS 880EX the disk drive must be recognized and certain required data must be loaded Thus it takes a short while for the unit to start up 2 Turn on the power of connected audio equipment 3 R...

Page 5: ...nning once more If an operation has been performed incorrectly or cannot be executed correctly an error message appears in the display When this occurs please refer to Error Messages Appendices p 9 an...

Page 6: ...e saved always be sure to follow the shutdown procedure when you finish working with the VS 880EX Shutdown Appendices p 124 1 Hold down SHIFT and press SHUT EJECT STOP 2 SHUT EJECT appears in the disp...

Page 7: ...rning off the power If STORE Current is Displayed When you begin to execute the various operations such as shutdown the mes sage STORE Current Save the current song is displayed This message asks you...

Page 8: ...ivate personal enjoyment is a violation of applicable laws No data for the music that is played will be output from MIDI OUT 1 Press FADER EDIT several times to let the FADER indicator light green Tra...

Page 9: ...lume The current playback time level meter and other information are shown in the display 6 When the performance is finished press STOP The demo song is stopped CONDITION MARKER MASTER INPUT TRACK AUX...

Page 10: ...and switched you can listen to different mixes or arrangements of the demo song Use the following procedure to compare different mixes of the demo song 1 Press STOP 2 Press SCENE The SCENE indicator w...

Page 11: ...n comparing the different mixes are complete press SCENE again The SCENE indicator will go off For more detailed information please refer to Recording the Current Condition of the Mixer Scene p 44 or...

Page 12: ...tereo headphones Recording source electric guitar synthesizer CD player etc or microphone IDE Appendices p 123 Creating a New Song Recording cannot take place while a demo song is selected This is bec...

Page 13: ...e currently selected song press YES If you do not want to save the song press NO If you have selected a demo song press NO When a new song is created Complete appears in the display The contents of th...

Page 14: ...rom speakers 3 Lowering volume levels When connecting a electric guitar In order to record the electric guitar with the best possible sound quality please use an active type guitar Alternatively use a...

Page 15: ...gned for recording to Track 1 so at the moment this step is not neces sary For now just proceed directly to Step 3 3 Use the INPUT 1 knob to adjust the input sensitivity Set the vol ume of the connect...

Page 16: ...ngs Automatically EZ Routing Owner s Manual p 74 To record digital signals please refer to Recording Digital Signals Owner s Manual p 55 To record while having the metronome play refer to Sounding the...

Page 17: ...gin playback of the song 4 Use channel fader 1 and the master fader to adjust the volume to a comfortable level Does the recording sound as you though it would To listen to a specific channel please r...

Page 18: ...S 880EX for extended periods we suggest that you make frequent use of this pro cedure 1 Hold down SHIFT and press STORE ZERO 2 STORE OK appears in the display If you are satisfied with the results of...

Page 19: ...rding 19 The Undo Function and Undo Level The Undo function cancels the operation that you have performed and returns the data to its previous condition With the Undo Level you can specify the number...

Page 20: ...indicating that the UNDO has been executed prop erly If you wish to cancel the Undo press NO For more detailed information please refer to Recording and Editing Operations Which Can Be Undone Undo Ow...

Page 21: ...ord The STATUS indicator blinks red 2 Adjust the input sensitivity by following the steps as described in 3 of Recording to the Tracks p 15 3 Press PLAY to begin playback of the song 2 1 3 When Using...

Page 22: ...ore The REC indicator goes off indicating that you have returned to playback mode 6 Press STOP to stop playback of the song 7 Check the rerecorded result Press ZERO to return to the begin ning of the...

Page 23: ...on please refer to Recording Over a Portion of a Performance Punch In Punch Out Owner s Manual p 44 If you wish to have the Punch In Punch Out function performed automatically see Specify Beforehand t...

Page 24: ...ening to the performance already recorded on Track 1 1 Hold down STOP and press the Track 1 STATUS button The STATUS indicator lights green 2 Hold down REC and press the Track 2 STATUS button The STAT...

Page 25: ...ou have set it up so that you can listen to Track 1 while still having the signal received Input jack 1 assigned to Track 2 for recording Record and check the content by following the pro cedure descr...

Page 26: ...For actu al recording playback you will specify the bank that you wish to use and then select one of the V tracks This section explains how to record a performance onto V Track 2 of Track 1 1 Press FA...

Page 27: ...of the V track number indicates that that V track is selected In the above display V track 1 is selected for all tracks 1 8 4 Use the TIME VALUE dial to select the V track for recording or playback He...

Page 28: ...lied to the sound Here is an example of how to hear a song played back using the effect to add reverb to Track 1 1 Press EFFECT several times until EFFECT 1 PRM appears in the display 2 Press YES The...

Page 29: ...he TIME VALUE dial to turn the effect on and off Here select PstFade post fader to apply effect to the sound after the output of the channel fader 9 Now it is set up Press PLAY DISPLAY The initial dis...

Page 30: ...the INPUT 1 jack and record it to Track 1 1 Connect your electric guitar to the INPUT 1 jack 2 Press EFFECT several times until EFFECT 1 PRM appears in the display 3 Press YES The number and name of...

Page 31: ...METER to let FX1 Ins appears in the upper line of the display 9 Use the TIME VALUE dial to turn the effect on and off Here select Insert to apply effect to the input source of the INPUT 1 jack 10 Now...

Page 32: ...ng or fast forwarding This feature that allows you to instantly jump to a point in the record designated for playback is called the Locator func tion Here we will see how to register a point in the so...

Page 33: ...LOCATOR 5 holding down SHIFT and press 1 5 LOCATOR buttons whose indicators are not lit contain no stored loca tions 6 Locators will be lost if you simply turn the power off If necessary save the son...

Page 34: ...o let the FADER indicator light green Track Mixer 2 Press CH EDIT for the track whose tone you wish to adjust The specified channel number will appear in the upper left of the display 3 Hold down SHIF...

Page 35: ...not a malfunction If this noise is a problem make adjustments while sound is not playing 7 Hold down SHIFT and press channel 5 EQ Hi CH EDIT The upper line of the display will indicate EQH allowing yo...

Page 36: ...sult on track 4 Volume pan equalizer effects and other settings cannot be adjusted on tracks mixed with track bouncing You should not use track bouncing with tracks to which you want to apply the equa...

Page 37: ...cator goes off 8 Now you have set it up so that you can monitor Tracks 1 3 on Track Channel 4 Press FADER EDIT The FADER indicator light green Track Mixer 9 Press PLAY to begin playback of the song 10...

Page 38: ...stops 17 Check the contents of the recorded performance Press ZERO to return to the beginning of the song 18 Press the STATUS buttons for Tracks 1 3 The STATUS indicator goes off 19 Press PLAY to begi...

Page 39: ...e to the disk by following the procedure described in Saving a Recorded Performance p 18 To cancel track assignments You can cancel all assignments routings of sources or tracks to tracks i e to a sta...

Page 40: ...you want to mix down while adding spatial effects such as reverb and delay to each track 1 Press EFFECT several times until EFFECT 1 PRM appears in the display 2 Press YES The number and name of the c...

Page 41: ...ect1 settings fig 33 fxselect3 eps 8 Use the TIME VALUE dial to turn the effect on and off Here select PstFade post fader to apply effect to the sound after the output of the channel fader 9 Repeat st...

Page 42: ...cord only Tracks 1 3 Perform steps 14 15 15 Press FADER EDIT twice The FADER indicator light orange Input Mixer 16 Hold down the Track 4 STATUS button and press the channel 4 SELECT button The SELECT...

Page 43: ...20 Record and check the content by following the procedure described in Steps 9 20 of Combining the Contents of Tracks p 36 To cancel track assignments You can cancel all assignments routings of sour...

Page 44: ...other settings during mixdown To operate this follow the steps describe below Storing Scene 1 Press SCENE The SCENE indicator lights 2 When the SCENE indicator is lit the LOC buttons 1 5 4 8 act to st...

Page 45: ...1 5 3 Press SCENE again The SCENE indicator light goes off When a Scene is recalled the fader values will be changed according to the recalled settings but the locations of the faders would not be cha...

Page 46: ...onnect the VS 880EX to your recorder For tips on making connections refer to the owner s manuals of your recorder 2 Hold down STOP and press the STATUS buttons for all tracks you want to mix down The...

Page 47: ...listen to the overall mix 8 Adjust the recording levels Adjust the output volume with the VS 880EX s master fader making it as high as possible without causing any input overload on the recorder 9 Pr...

Page 48: ...lips screwdriver of a size appropriate for the head of the screw a no 2 screwdriver If the screwdriver is the wrong size the screw heads may be stripped or you may not be able to turn the screws To re...

Page 49: ...t gently into the installation slot and press it firmly all the way in When doing so let the grooves of the installation hardware slide along the protruded part of the VS 880EX s chassis 4 When the ha...

Page 50: ...isk reversing the installation procedure described above Place the hard disk in its carton and set this in the specified place inside the VS 880EX shipping carton The unit is now ready to be transport...

Page 51: ...ting Instruments 14 Recording to the Tracks 15 Playing back Recorded Performances 17 Saving a Recorded Performance 18 Undoing a Recording Operation 19 Re recording a Specific Section 21 Recording Addi...

Page 52: ...tion terminals controls and so on Example INPUT 1 control indicates the Channel 1 input sensitivity adjustment knob Letters and numerals in quotation marks refer to messages displayed on the screen Ex...

Reviews: