


EngraveLab Configuration for
ADA/Braille Signage.
Apply the tactile material in the area where the pictogram/text is
located.
Configure the engraver for cutting out the pictogram and text and
insert the character cutter.
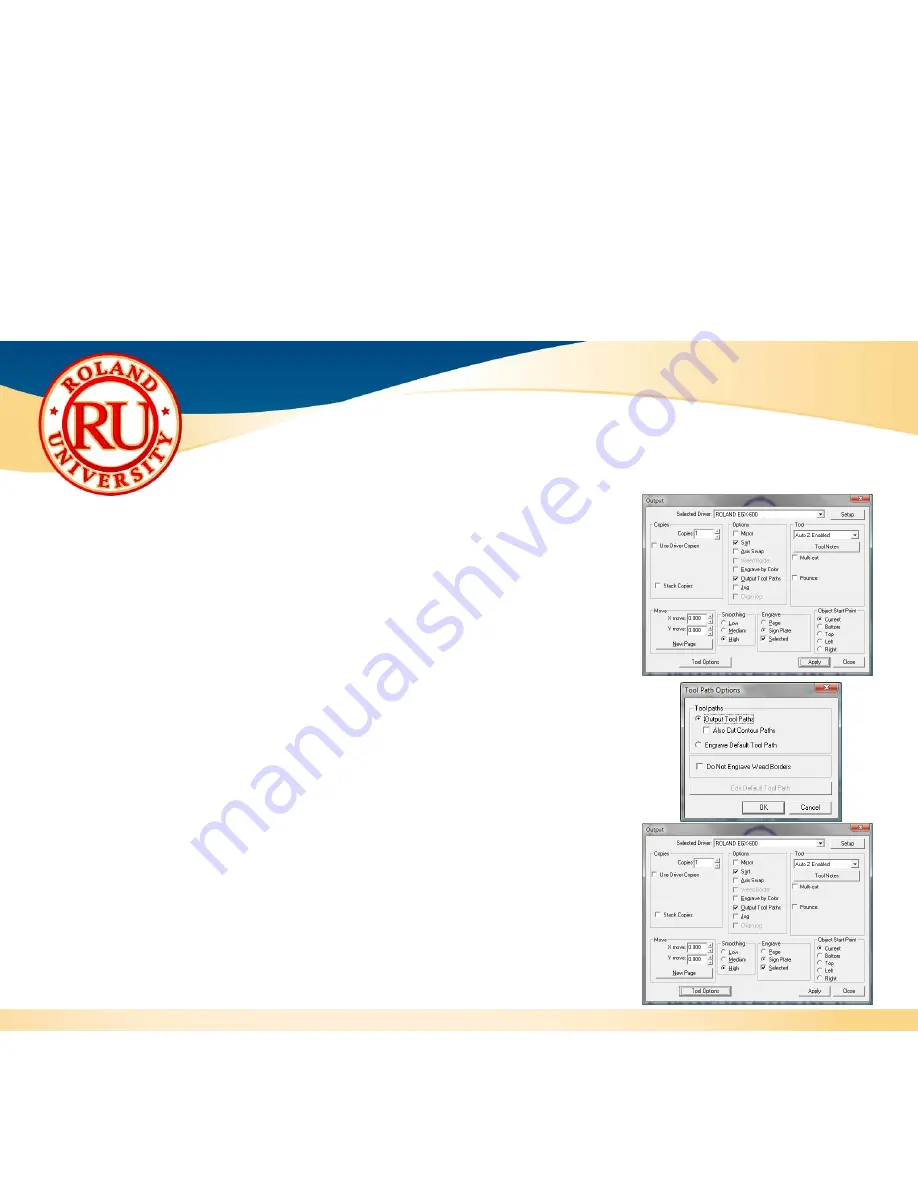
Click on Engrave and Engraving Defaults and for the Tool select Auto Z
Enabled, click on Output Tool Paths and ensure that the Also Cut
Contour Paths box is unchecked and click OK.
Set the Y Move to 0.000.
Click on Tool Options and set the Cut Velocity to 1.0”/sec. and Plunge
Velocity to 1.9”/sec. and click OK and Close.
Select the pictogram and text and output to the engraver to route out
the tactile material.
Brush off the excess material and weed away the tactile material to
show the finished product and frame and/or mount.
Your ADA compliant sign is now complete.
Summary of Contents for EGX-400
Page 1: ...EGX 400 600 ADA Hardware and Software Setup Guide v1 0...
Page 3: ...Configuration of the RasterTM Braille Dot Cutter and Character Cutter...
Page 10: ......
Page 11: ......
Page 14: ......


