8
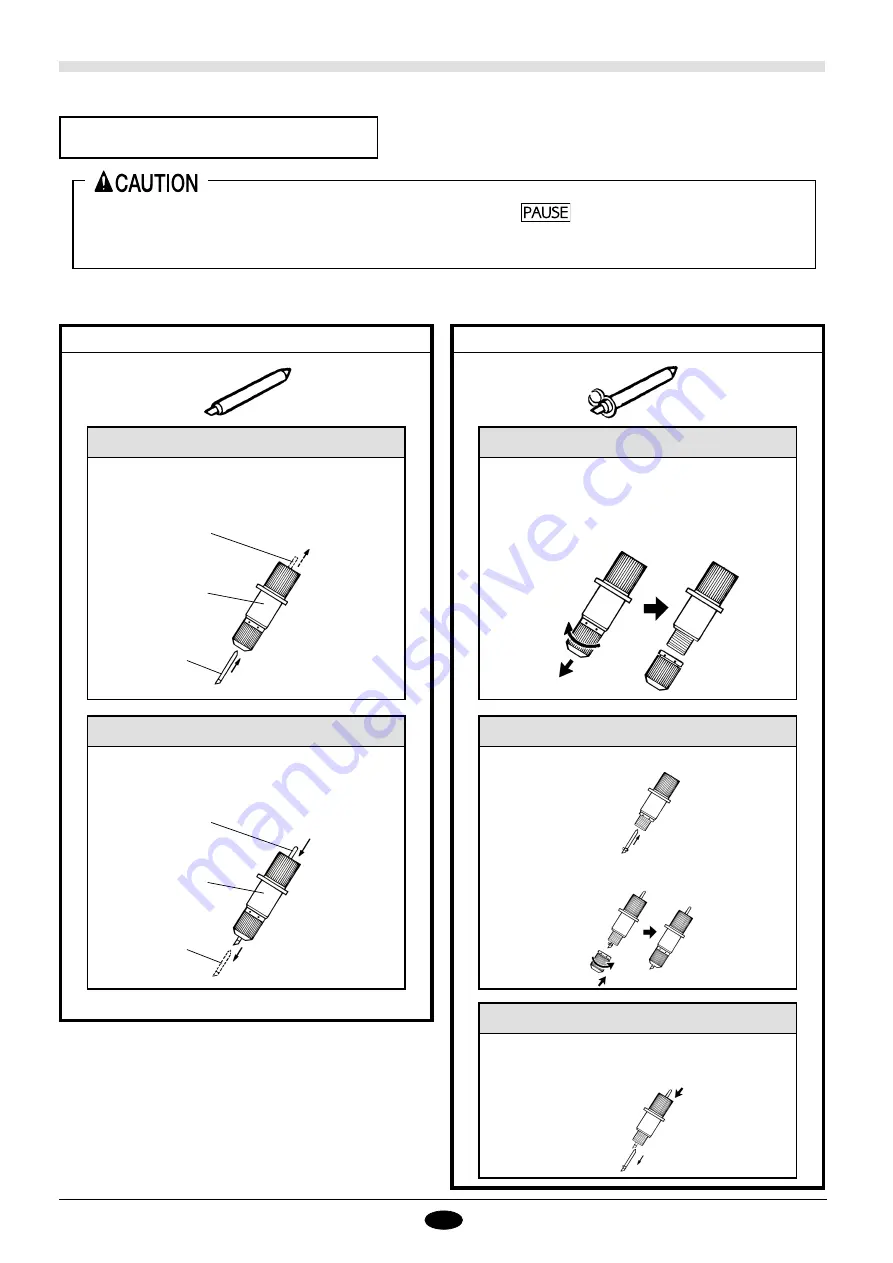
6. Installing the Blade
A
B
Insert a blade into the blade holder until it snaps into
place with an audible click.
Inastalling a Blade
Blade
Blade holder
Push-pin
Press the push-pin and remove the blade from the
blade holder.
Removing a Blade
Blade
Blade holder
Push-pin
Rotate the tip of the blade holder to remove it.
Installing a Blade 1
Install the blade. Insert the blade fully until it clicks
into place.
Installing a Blade 2
Remove the tip of the blade holder (see "Installing
a Blade 1") and press the push-pin to remove the
blade.
Removing a Blade
When removing (or changing) the current blade, press the
key on the control panel to
stop the tool carriage, and then check to make sure the carriage has come to a complete halt
before proceeding.
Depending on the type, the blade may be fitted with a ring to prevent fall-out. If the blade is provided with such as ring, use
procedure B to install the blade.
Reattach the tip of the blade holder that you re-
moved in the first step ("Installing a Blade 1").
Summary of Contents for CAMM-1 PNC-1610
Page 41: ...R12 980109 ...


