22
23
Troubleshooting
No Picture On Any Channel
If you have ANY problems, follow these steps FIRST.
Most technical problems can be fi xed by resetting your digital box.
Here’s how to reset your digital box
1.
Press
on your Rogers remote, select the Self Service menu option and then select
Need help?
2.
Please wait 10 to 15 seconds while the command is processed. Follow the on-screen instructions.
3.
Wait for approximately fi ve minutes while your box restarts.
4.
Check to see if the problem you were having is now fi xed.*
5.
If it isn’t fi xed, please check
page 29
for more details .
*Make sure your TV is on and set to the correct input (e.g., Ch 3, Video 1, etc.).
Symptom:
You turn on your television and digital box but receive no picture on any of your channels.
Potential solutions:
1.
Ensure that all equipment is plugged in and turned on. If it is on and the screen is black, try tuning to Channel 03 on your digital box.
(Ensure that your TV is tuned to the correct input.) If no picture appears, go to Step 2.
2.
There may be a problem with how your cables are connected to your home entertainment equipment. Ensure that the cables are
connected properly and securely. (Additional information can be found at
rogers.com/hookups
)
If there is still no picture:
1.
Disconnect the coaxial cable from your digital box and connect it directly to your television.
a) Change the channels on your TV. If a picture appears, proceed to Step 2 below.
b) If no picture appears, please call us at
1 866 368-8335
.
2.
Disconnect the cable from your television and reconnect it to your digital box, then tune to Channel 01. If no picture appears, proceed to Step 3.
3.
Reset and/or re-authorize your digital box by following the steps on
page 29
.
If this did not fi x your problem, please visit
rogers.com
and click on the Support Tab
to chat live with a Rogers representative, or contact us
at
1 866 368-8335
.
Did You Know:
Inputs vary among TVs. The input could either be a menu setting or a button found on your TV or your TV remote such as
SOURCE or INPUT.
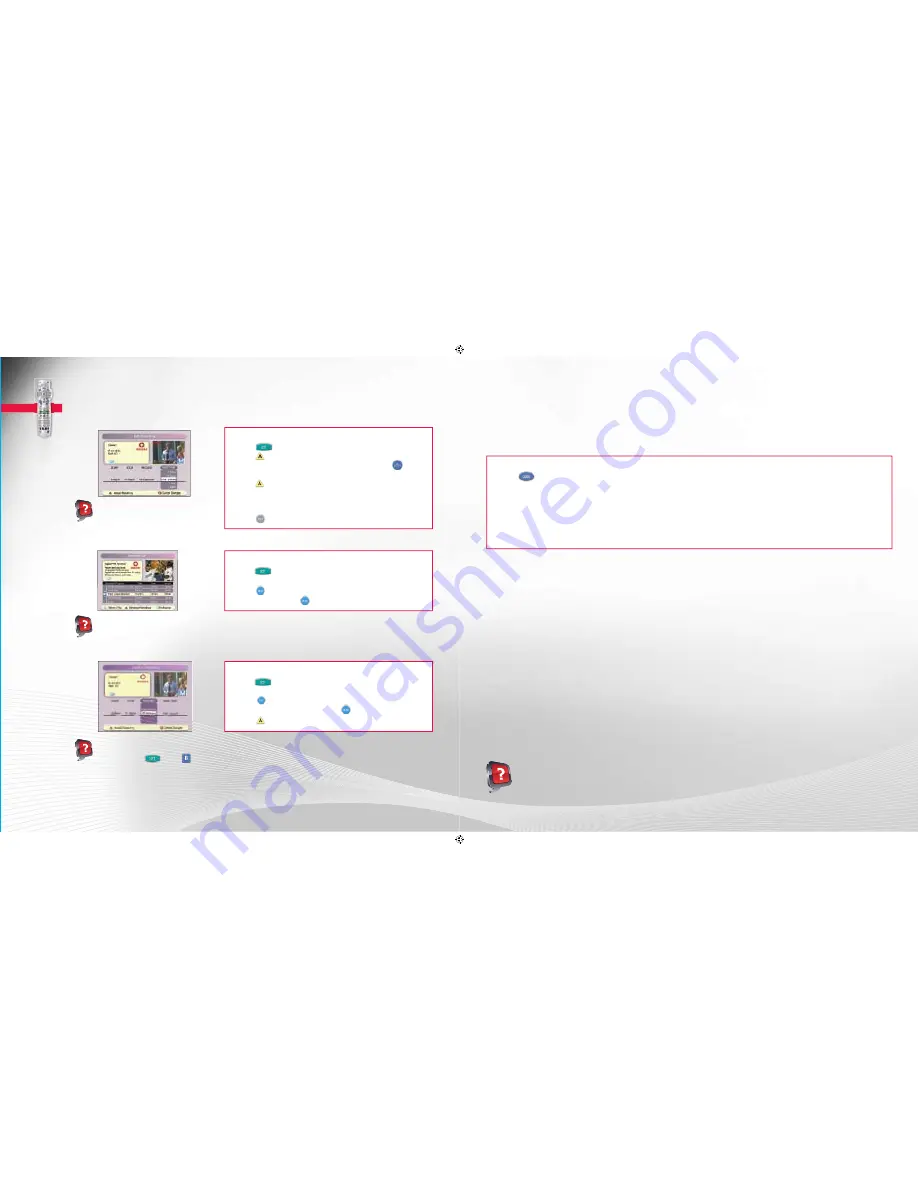
Programming Your PVR
NOTE: Be careful when deleting your saved programs. Once they are deleted, they cannot be recovered.
Did You Know:
If your PVR is low on recordable space, an error will appear on screen. To see how much space is left on
your PVR, press
yy
, then
. To automatically delete your oldest recordings to make space for new ones, highlight
and select TURN ON AUTO ERASE.
•
To view helpful How-To Video on maximizing your PVR storage, visit
rogers.com/myStartup
To play recorded programs:
1.
Press
.
2.
In the List screen, scroll to the recorded program you wish to play.
3.
Press
.
4.
Select PLAY and press
. Your program will begin.
To erase recorded programs:
1.
Press
.
2.
In the List screen, scroll to the program you want to erase and
press
.
3.
Scroll to the ERASE option and press
.
4.
Press
to confi rm you want to erase the program.
To extend the end time of a scheduled recording:
1.
Press
.
2.
Press
to access the scheduled recordings.
3.
Highlight the program you wish to change and press
.
4.
Scroll to the Stop Time and set it to end at a later time.
5.
Press
to save the new end time.
6.
Follow the remaining on-screen prompts – you can change the
length of time a recording can be saved or any other aspect of
the scheduled recording.
7.
Press
to return to the current program.
Did You Know:
You can also access
your PVR Listings through the Quick Start
menu under the What’s On menu option.
Did You Know:
The default SAVE TIME for a single program/episode is 14 days, but this can be changed. For the
ALL EPISODES option, the default SAVE TIME is Until Erased. To learn how to change the default SAVE TIME, visit
rogers.com/myStartup/PVR
ROG_3892_BODY_GDE_EN.indd 22-23
3/2/11 11:32 AM


