


29
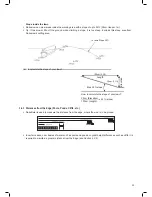
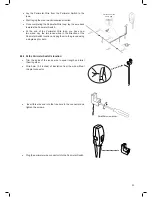
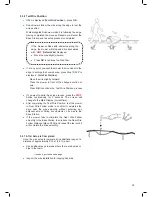
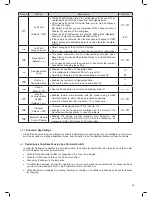
5.2.6 Test Wire Position
•
U003
is displayed
(
Test Wire Position
) –
press
OK
.
•
Robomow wll follow the wire along the edge to test the
wire position.
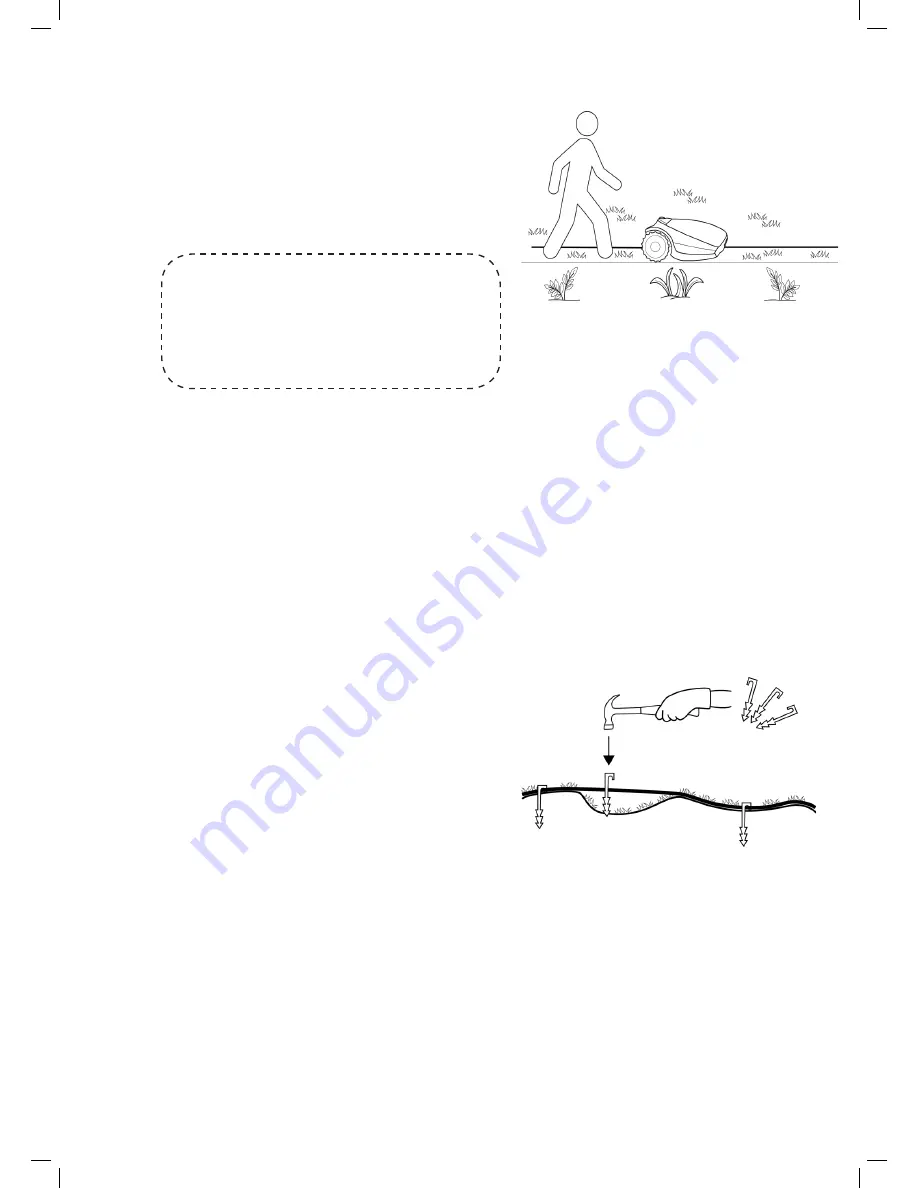
Walk alongside Robomow while it is following the edge.
Having completed the process, Robomow will enter the
Base Station and the setup process is completed.
If the mower collides with obstacles along the
edge, the mower will stop and drive backwards
with
‘
U052
’ (
Adjust Wire
)
displayed:
•
Move the wire slightly inward.
•
Press
OK
to continue the Wire Test.
•
If, at any point, you wish the mower to drive closer to the
edge to enlarge the covered area, press Stop
(‘
U003
’
is
displayed -
Test Wire Position
):
-
Move the wire slightly outward.
-
Place the mower in front of the changed section of
wire.
-
Press
OK
to continue the ‘Test Wire Position’ process.
•
If you want to quite the setup process, press the
STOP
button continuously for 3 seconds. The screen will
change to the Main Display (current time).
•
After completing the Test Wire Position, test the mower
in Near Wire Follow mode to confirm it completes the
drive near the wire smoothly, without acquiring any
adjacent wire or hitting any obstacle on its way to the
Base Station.
•
If the mower fails to complete the Near Wire Follow
smoothly to the Base Station, then reduce the Near Wire
Follow Distance (Menu P004) and repeat the test until it
will complete the drive smoothly.
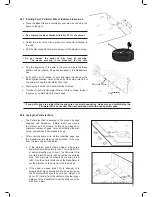
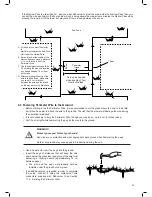
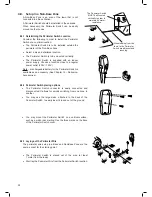
5.2.7 After Setup is Completed
Once the wire setup is complete, drive additional pegs at a
distance of approximately 0.75 m (2.5 ft.) apart.
•
Use additional pegs in areas where there are bumps or
dips in the lawn.
If needed, purchase extra pegs.
•
Inspect the wire installation for tripping hazards.
Summary of Contents for MC150
Page 50: ......


