88
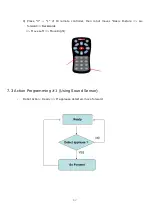
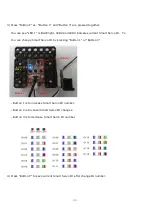
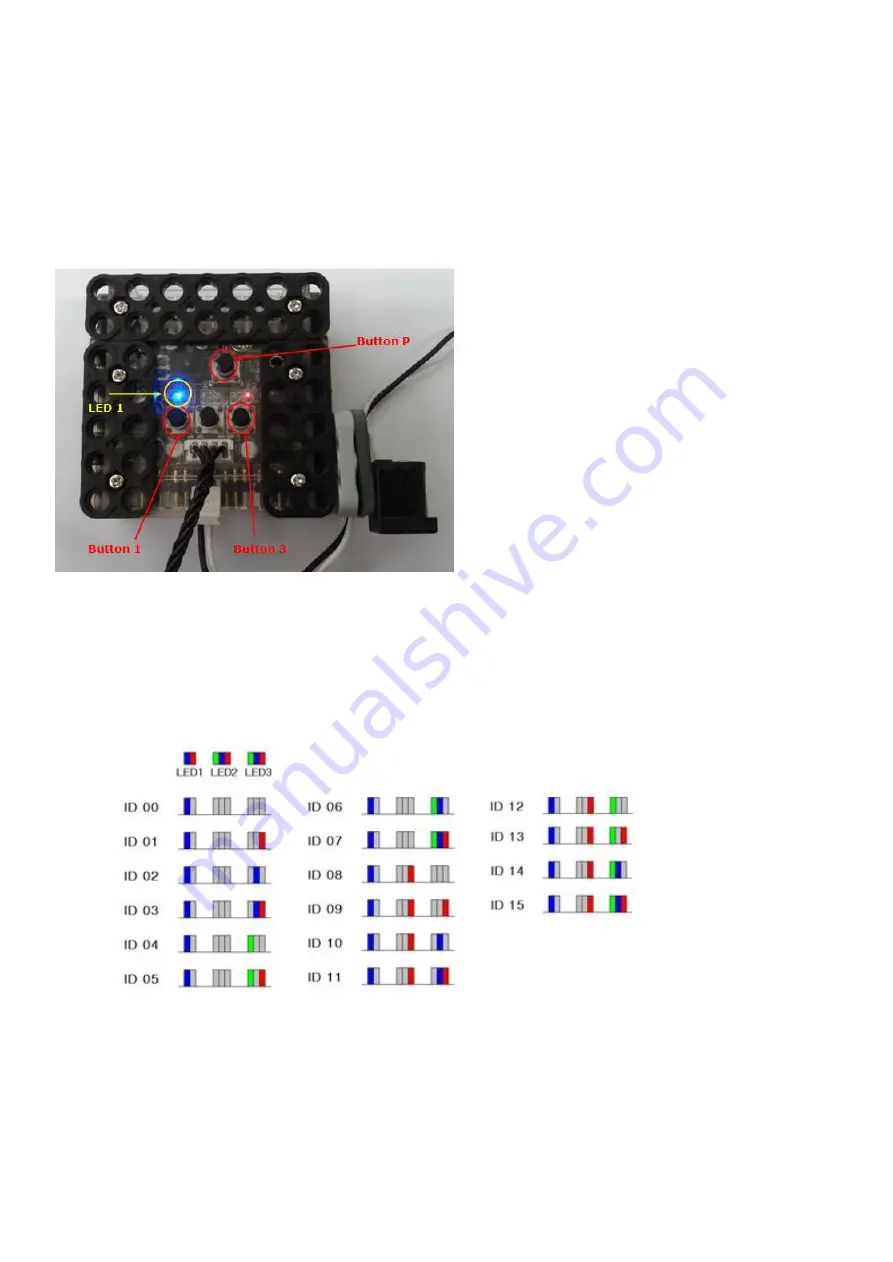
3) Press “Button P” as “Button 1” and “Button 3” are pressed together.
You can see “LED 1” is BLUE light. LED2 and LED3 indicates current Smart Servo ID. Yo
You can change Smart Servo ID by pressing “Button 1” or “Button 3”.
- Button 1 is to increase Smart Servo ID number.
- Button 2 is to cancel Smart Servo ID changes.
- Button 3 is to decrease Smart Servo ID number.
4) Press “Button P” to save current Smart Servo ID after change ID number.
Summary of Contents for RQ-110
Page 1: ......
Page 12: ...12 1 3 Rivet Tool Rivet Tool Usage ...
Page 13: ...13 ...
Page 14: ...14 ...
Page 15: ...15 ...
Page 31: ...31 STEP4 Connect Joint Frame that connected with ID14 and ID15 by using 3s rivet ...
Page 34: ...34 STEP4 Connect Joint Frame that connected with ID14 and ID15 by using 3s rivet ...
Page 54: ...54 3 Click Next and finish the installation as shown in the below ...
Page 60: ...60 Screen Layout This is the screen layout of the MotionBuilder ...
Page 61: ...61 ...
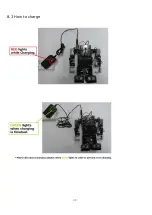
Page 89: ...89 8 3 How to charge ...

