4
CH III
Connecting your R1 3D Printer
Physically connect your printer
Locate a solid flat surface to place your printer- somewhere close to your computer
You also need to be close to a power outlet
Plug the USB cable that comes with your kit into the right side of the printer and
connect the other end to an available port on your computer.
*
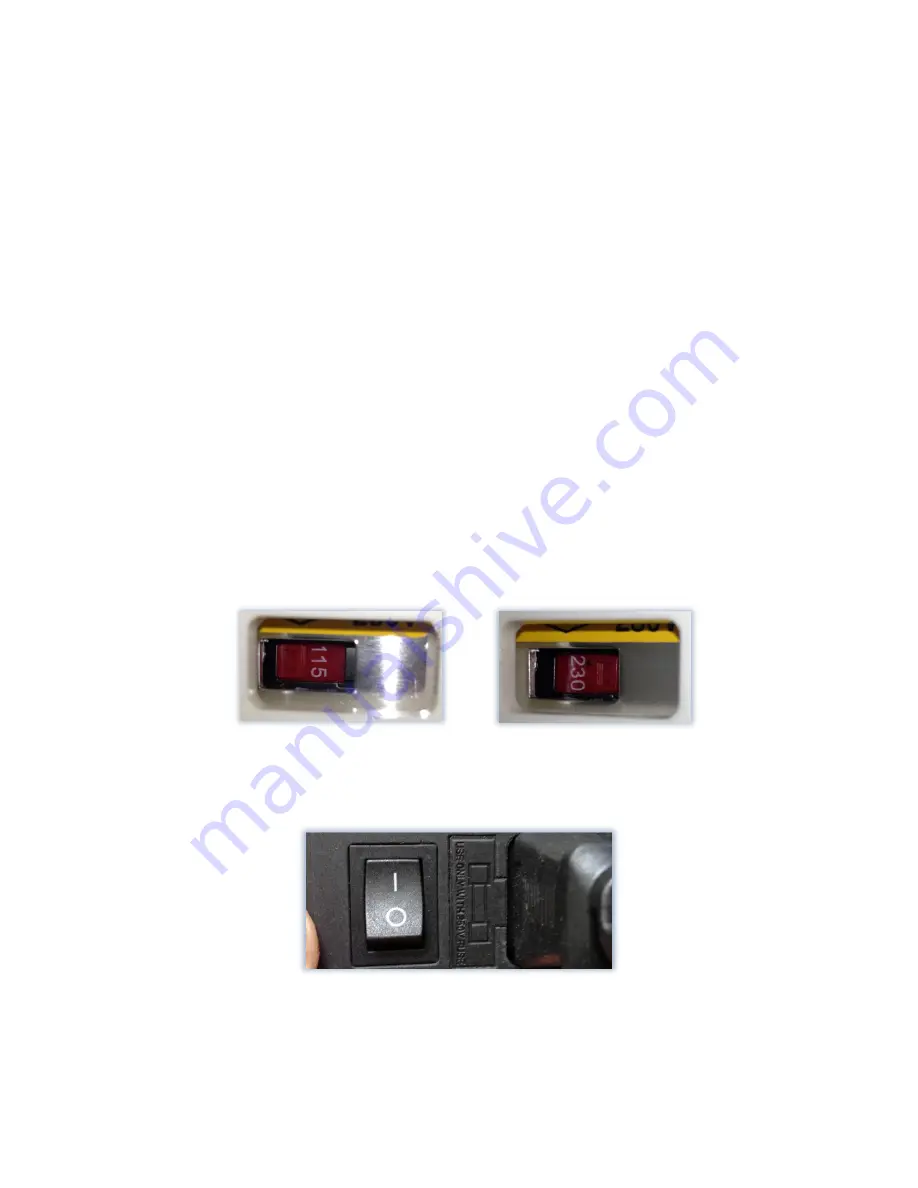
IMPORTANT!! Make sure you set the voltage on the power supply on the back
side of your printer to the correct position before use! Use a flat head
screwdriver or a pen to move the slider. Use 115 (3.1a) if you are in the U.S. If
you are out of the U.S. or need a higher voltage setting for another reason, move
the slider to the 230v (3.1b) position.
(3.1a) (3.1b)
Flip the switch on the back right side of the printer to the on position (3.2)
(3.2)


