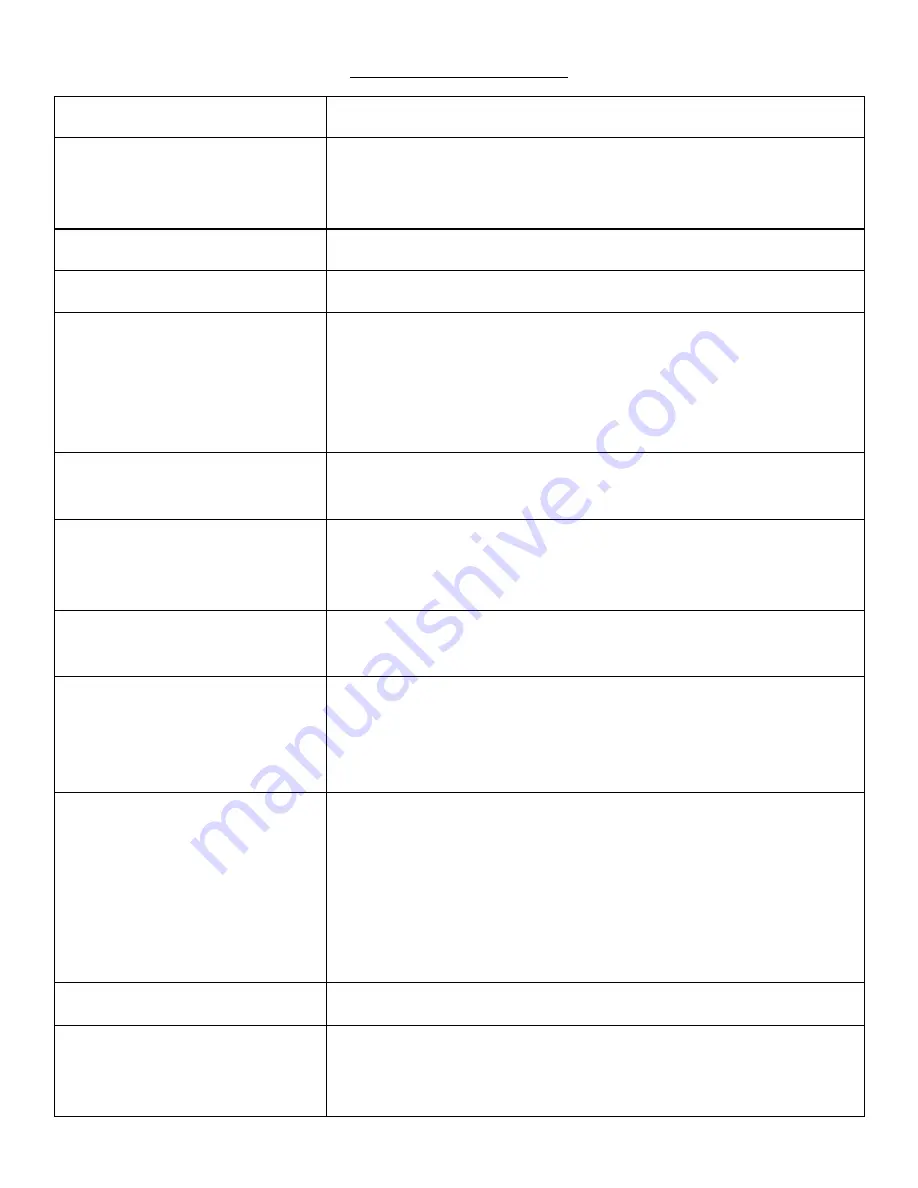
CAMERA ORIENTATION
ITEM
DESCRIPTION
1.LCD Screen
Shows the battery life, storage, GPS, Wifi, mute, Infrared,
video recording status; press the power button to turn the
LCD on/off
2.Charging Dock Connector
Connect charging dock for charging or connecting to PC
3. Camera lens
Full High Definition camera
4. Status Indicator LED
Green: Camera is powered up and in standby mode (but
not recording)
Solid Red: pre-record mode
Flashing Red: video recording mode
Flash once (red): taking photo
5. Charging Indicator LED
Blue: charging status
White: Camera is fully charged
6. InfraRed lights
Providing infrared light compensation to help the camera
record good quality video in low light situations, able to
clearly see faces up to 10 metres
7. Light Sensor
Detects changes of light and auto turns on/off the IR for
low-light recording when night vision is in auto mode
8. Record Button
a)press to start a video recording
b)hold for 3 seconds to stop the video recording
c)while the camera is powered off, hold for 3 seconds, the
camera will turn on and automatically start recording
9. Snapshot Button
a)press to take pictures in standby mode
b)press to take a single snapshot image while in video
recording mode
c)hold for 3 seconds to enable covert mode; voice, LED &
LCD will be disabled and the camera will only vibrate; start
recording will vibrate once, stop recording will vibrate
twice
10. USB Port
Connect to the USB cable for charging or connection to PC
11. Fn Button
a)press to turn on/off infrared lights when infrared lights
are in manual mode
b)when the camera is in standby mode, hold for three


