


10 - English
TM
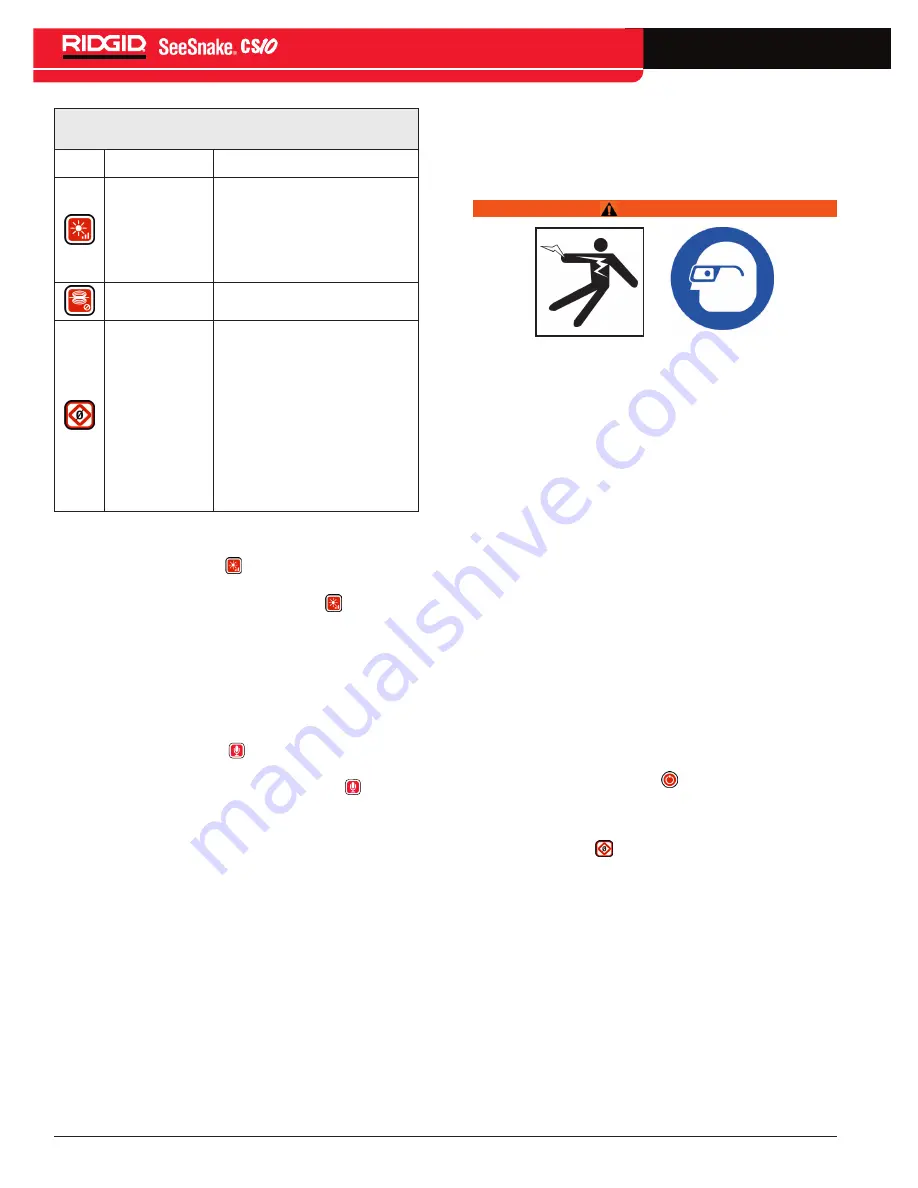
Table 6
CS10 Keys and Functions
Icon
Name
Function
LED Brightness
Key
Press to step up or down
through various brightness
levels or press once and then
use the arrow keys to step
through the brightness levels�
Sonde Key
Toggles the Sonde ON or OFF�
Zero Key
Press the Zero Key once to
reset a temporary relative
zero point for intermediate
measurement� Relative zero
will appear in brackets� Press
the Zero Key a second time to
stop relative zero and return to
your actual count� You can also
press and hold the Zero Key to
do a hard reset�
LED Brightness Key
The LED Brightness Key controls the brightness of
the LEDs in the camera� At minimum brightness the
blue LED next to the LED Brightness Key will be OFF
and at maximum brightness the LED will be ON steadily�
In between, the LED will blink faster the brighter the
setting� In addition to the blinking LED, an indicator bar
will appear in the Status Overlay to visually represent
the increasing and decreasing camera LED brightness�
Microphone Mute Key
The Microphone Mute Key is ON by default, meaning
that the microphone is unmuted and audio is being
recorded� Press the Microphone Mute Key to mute
the audio when recording video or Autolog video�
Screen
The on-screen interface has two regions: the Live View
and the Status Overlay�
Live View is the term for the largest area of the screen
where the live video feed appears�
The Status Overlay appears at the bottom of the screen
and displays the time, date, and if equipped with the
SeeSnake Reel, the Count
Plus
distance count� If the
attached SeeSnake Reel does not have a Count
Plus
,
four dashes “----” will appear in the Status Overlay to
indicate that the CS10 cannot measure the cable count�
During video or Autolog video recording and after
taking a photo, the Status Overlay will also include the
percentage of space remaining on the USB thumb drive
plugged into the USB port�
Operating Instructions
WARNING
Always wear eye protection to protect your eyes against
dirt and other foreign objects�
When inspecting drains that might contain hazardous
chemicals or bacteria, wear appropriate protective
equipment, such as latex gloves, goggles, face shields,
and respirators to prevent burns and infections�
Do not operate this equipment if operator or machine
is standing in water� Operating the CS10 while in water
increases the risk of electrical shock� Rubber soled, non-
slip shoes can help prevent slipping and electric shock,
especially on wet surfaces�
Follow operating instructions to reduce the risk of injury
from electrical shock and other causes�
Starting Up the CS10
Start the CS10 in accordance with the following:
1� Check that the unit is properly set up�
2� Connect the CS10 to both a power source and a
SeeSnake camera inspection system�
3� Place the camera head into the inspection start
point, typically the pipe entrance�
4� Press the Power Key to turn the CS10 and
camera ON�
5� If desired, zero the counter by pressing and holding
the Zero Key �
6� Push the camera head through the line� Proceed
with pipe inspection in accordance with the
SeeSnake Reel’s operator’s manual�
After completing the start up, the display will show a
view from the camera head� While pushing the camera
through a pipe, watch the screen to monitor the camera�
Summary of Contents for SeeSnake CS10
Page 21: ...English 19 TM Notes ...


