20 – English
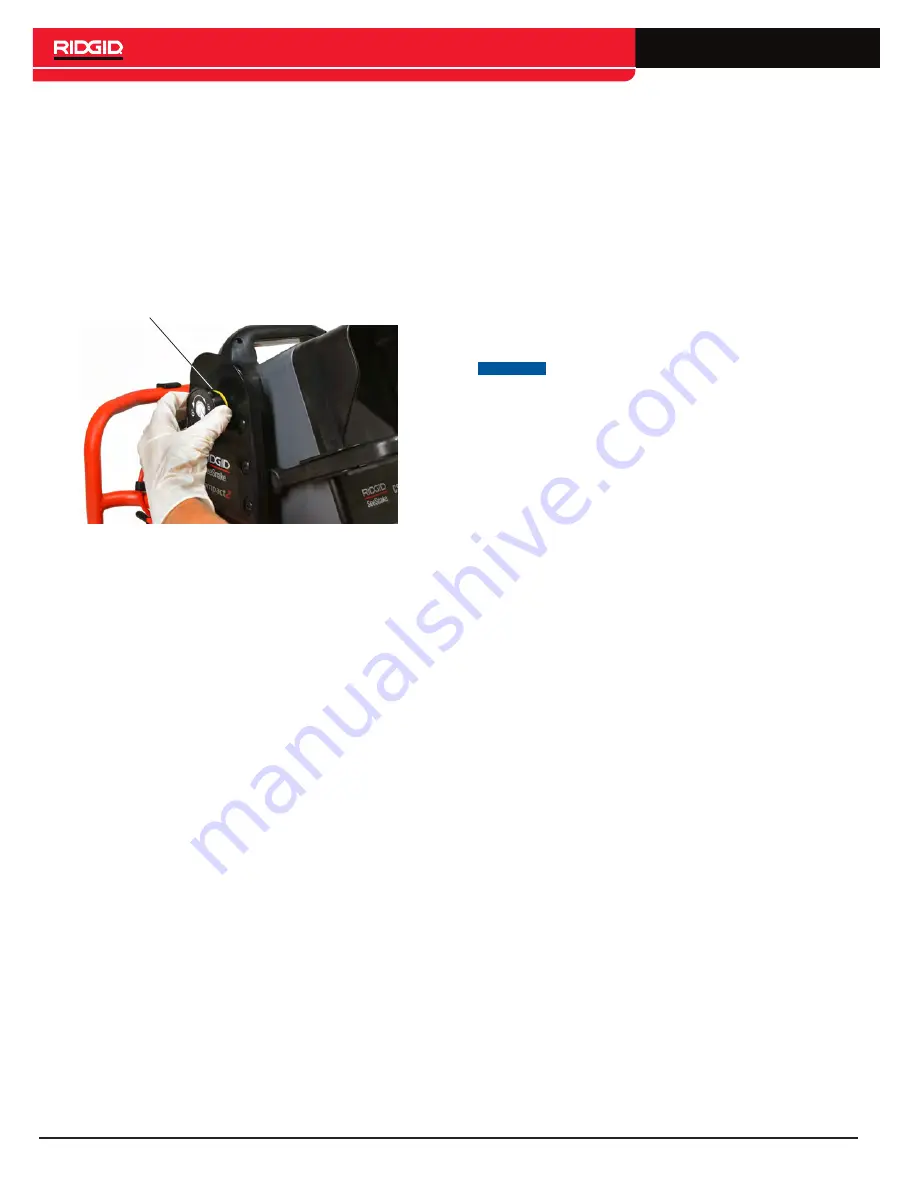
Removing the Monitor
1. Place the Compact2 so you can grasp both quick-re-
lease knobs.
2. Pull both knobs out and away from the docking fins.
In the same motion as pulling the knobs out, turn
the knobs together in either direction to disengage
the locks.
Note: The locks are disengaged when the yellow in-
dicator labels are visible under the knobs.
Yellow Indicator Label
3. Grip the docking handle and pull the digital reporting
monitor straight up.
Maintenance and Support
Maintaining Components
Camera Head
The camera head requires little maintenance other than
keeping the LED ring and sapphire window clean. Use
a soft nylon brush, mild detergent, and rags to clean the
camera.
Scraping tools may permanently scratch the camera.
Scratches on the LED ring have a minimal effect on the
camera’s performance.
NOTICE
Do not sand the LED ring to remove scratch-
es. Sanding the LED ring can damage the
watertight housing.
Spring
Stretch the spring end-to-end as far as it allows so you
can visually inspect the inner components. Stir the spring
in lukewarm water and a mild detergent to flush away de-
bris.
Push Cable
Keep the push cable clean. Run a rag over the push
cable as it goes back into the drum after each inspection
to clean it and reduce debris accumulation.
Visually inspect the push cable for cuts and abrasions
while pushing it back into the drum. Replace or repair the
push cable if the outer jacket is cut or abraded.
www.
GlobalTestSupply
.com
Find Quality Products Online at:


